Helping Machinima Creators Bring Their Spartans Outside Halo Infinite
How I created a refined process on bringing an optimized model and rig of your Halo Infinite Spartan to VRChat and other engines.
 Written by Okom on May 18, 2026 in Halo. Last edited: May 18, 2026.
Article summary
- I wanted to get my Halo Infinite Spartan to VRChat after getting a VR headset in 2025, so I looked at available solutions. After realizing there wasn't full tutorials on the process, I made a guide video myself that covered the missing parts.
- I got contacted by Machinima creators due to the video guide who commissioned me to make their Spartans for VRChat. I met these creators at a Halo event and got to know more Machinimators after the event.
- Over the course of a year I made 28 Spartans for VRChat use and created a more refined guide for the process in video and written form that now covered every step and some extra features.
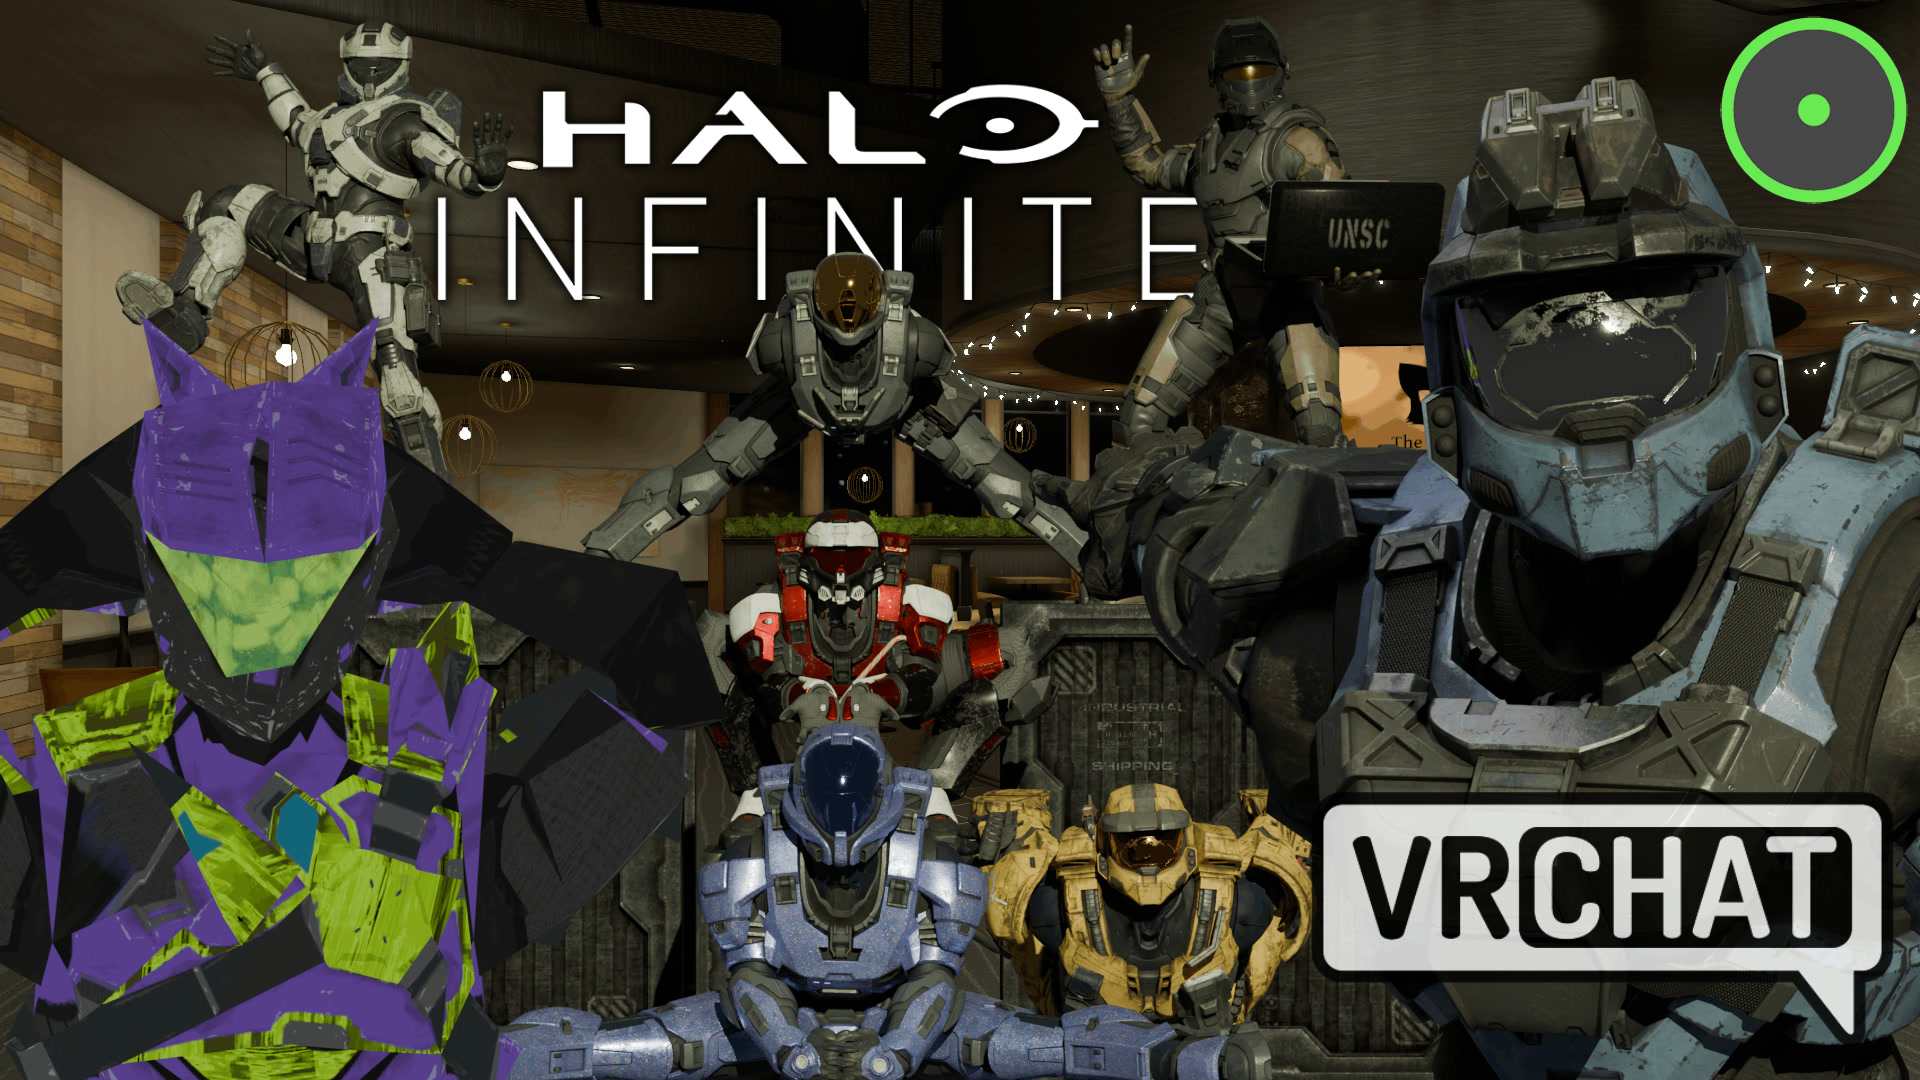
- I directed and produced a short film Machinima for the new guide video with a story that relates to the avatar creation process. The Machinima featured seven Halo Machinima creators each playing their own character.
I got a VR headset and installed VRChat in May 2025 and soon after wanted to get my Halo Infinite Spartan to VRChat after seeing some Halo avatars in the game. I thought that since people have done it before, there surely must be some info about it in the Halo community. What followed was an unintentional journey that had me learning about the best practices of avatar creation, and connecting with the Halo Machinima community in a meaningful way.
Existing resources and help
YouTube tutorial
I found a YouTube tutorial by OneWeirdGuy about how he gets Halo Infinite Spartans to VRChat, and followed it with my own Spartan that I had ripped from Halo Infinite using Ekur. With these two resources I was able to get 95% of the way there, but in the end had issues with too many bones on the avatar as it later turned out there were multiple armatures meant for IK and FK rigs, and the original bone placements were all still present on the model which totalled to over 450 bones.
The Halo Archive
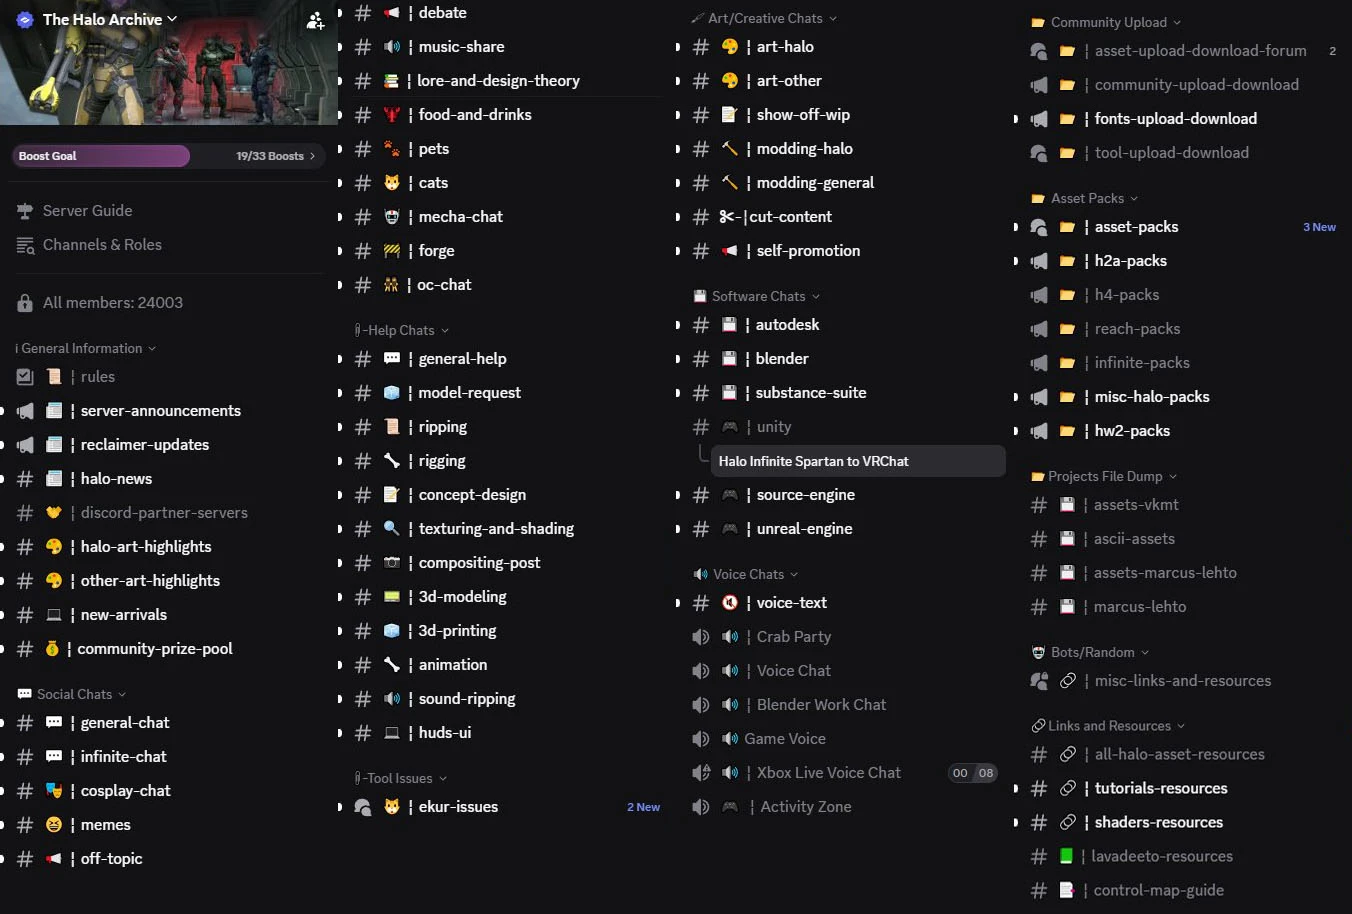
The place I looked next for help was The Halo Archive Discord server which was a place to get in contact with the creators of the aforementioned Ekur program (Surasia) and the creator of the IK and FK rig (purplmunkii) that was attached to the Spartan I was having issues with.
After looking for existing conversations about people wanting to get their Spartans to VRChat and only finding scraps of information and unanswered questions that got lost in general chats, I made a new thread in a text channel and pinged some relevant people in hopes of getting some guidance in a timely manner.
Off-topic notes about The Halo Archive Discord server structure
At this point I also messaged the owner of The Halo Archive about the bad organization of The Halo Archive Discord server, and my suggestions on how to improve it; the majority of their server structure was in individual text channels which led to a lot of unanswered questions that were frustrating to come across during my research.
The server has 24,000 members at the time of writing and I don't have an issue with having 12 different general chats for non Halo-related topics as long as they can be hidden, but my main complaint is that a community like The Halo Archive at its core is about sharing Halo assets and providing help with said assets, and the way the helping portion is executed does not live up to the standards of a server that size.
The server has 12 text chats categorized for "help", and 6 chats under "software", which are also used for help; this is way too much categorization for something that could be a single "help" forum with tags for each category. A major downside of having help in text channels is that multiple questions are left unanswered if there happens to be no one glancing over the chat during the timeframe that the question can be seen. If a day passes on a server that size, that question will often be forgotten. Forums with individual posts about specific questions not only solve this issue, but are also more searchable and organized.
I resorted to the next best organized way of asking for help with a specific topic, which was a thread in a text channel that I thought fit the topic of the issue.
The answers I got in the thread were less than ideal and weren't addressing the issues I tried to explain to the best of my understanding at the point, so after two days of looking into the issue, I figured out the fix myself.
The fix was to delete the neatly organized collections of bones in Purp's IK Rig that were irrelevant to an armature I'd need for VRChat, and to rename the vertex groups of the Spartan model to the 51 separate bone names that had been retained. This way the already existing weights painted on the ripped Spartan model would be associated correctly with moving each bone.
My initial video guide
After figuring out how to do the process of ripping a user's personalized Spartan from Halo Infinite into Blender and then optimizing it to work for VRChat, I wanted to make a video tutorial of the process that would explain all the necessary steps so someone else with the same intention wouldn't have to go through the week-long research rabbit hole of trying to figure it out.
I settled for a 30-minute video that explained the parts of the process that weren't explained in OneWeirdGuy's tutorial, and just pointed viewers to continue watching his video at the points where it was necessary.
Response and Spylens
I really didn't know what I was stepping into when making this tutorial as I had never done anything related to avatars in Blender beforehand, and just wanted to share a process that worked for me. The video received a positive response and just three days after publishing, a Halo Machinima creator "Spylens" reached out to me on X about potentially helping with his and other creators' models.
I agreed and got added to a small group chat with the Machinima creators Spylens, M4rk M4dness, CorbinoBamBeano, RoadDogTV and CertainPoint. Each ended up commissioning me to do their personal Halo Infinite Spartans for them as VRChat-compatible models for use in Machinima creations where more unique body acting was needed than the head-bopping that could be done in Halo Infinite.
This was a really cool way to get introduced to people in the Halo Machinima community, and it gave a good reason for me to also interact with them at the 2025 Halo World Championship event which was just five months away.
Improved guide
Over the course of a year, I made 28 Spartans of varying complexity—some commissioned, some not—which allowed me to learn more about the avatar creation process along the way and refine it. The new process is an improvement to the old guide in many ways, including:
- An all-in-one tutorial: You can now find all the info about getting a Spartan from Halo Infinite to VRChat in one video
- Mobile-compatibility: A section about creating an optimized "quest-compatible" variant of your Spartan for VRChat
- Reduced number of steps: Optimizations to the process have reduced the number of manual steps
- More reliable information: After more research and development, I'm more confident in teaching you relevant and correct information about each discussed topic
- Exporting and importing the VRChat avatar: Sections about how to export and import the avatar for use in VRChat whether you'd like to do commissions for others or just know how to upload your own avatar to VRChat
With the full process now being clearly explained, you can also adapt the importing of the Spartan model and textures into other engines like Unreal following similar guidelines as how the avatar is imported to- and set up in Unity. You basically just need to set up the materials and the rig.
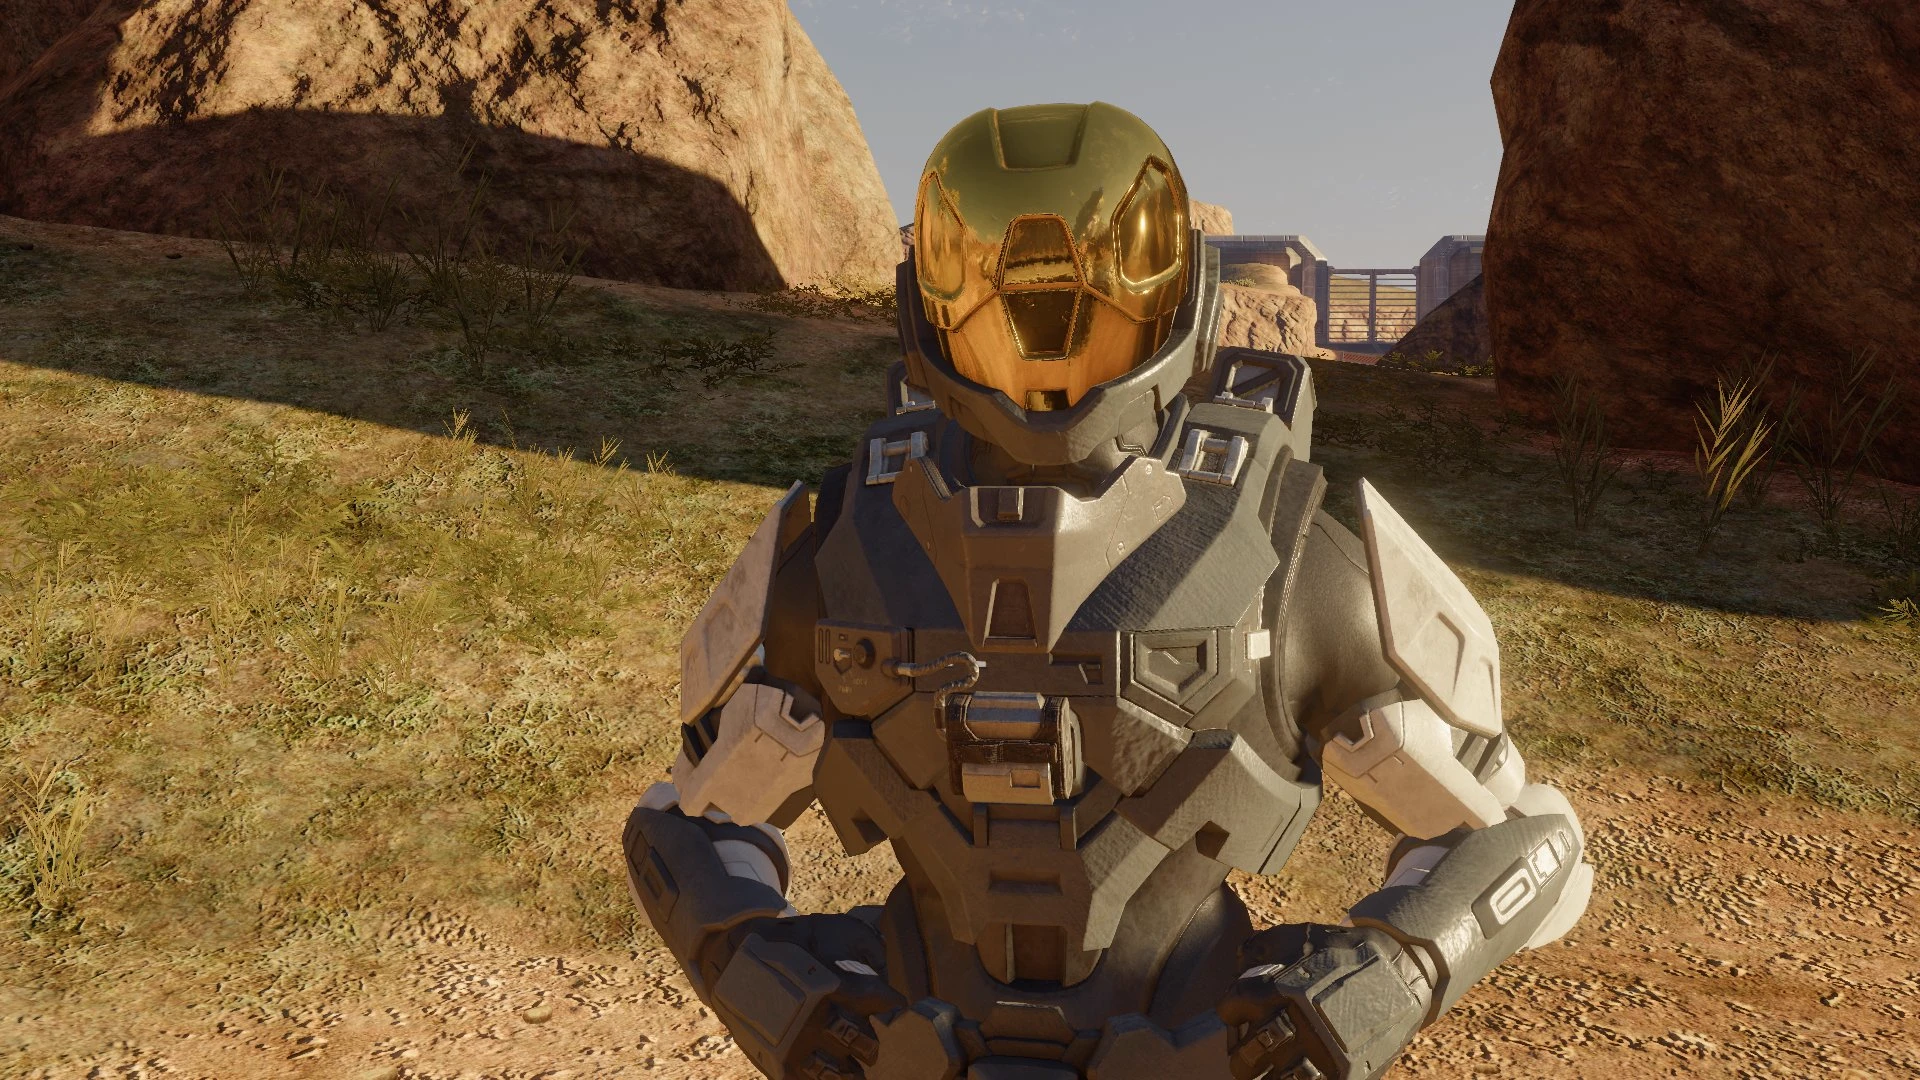
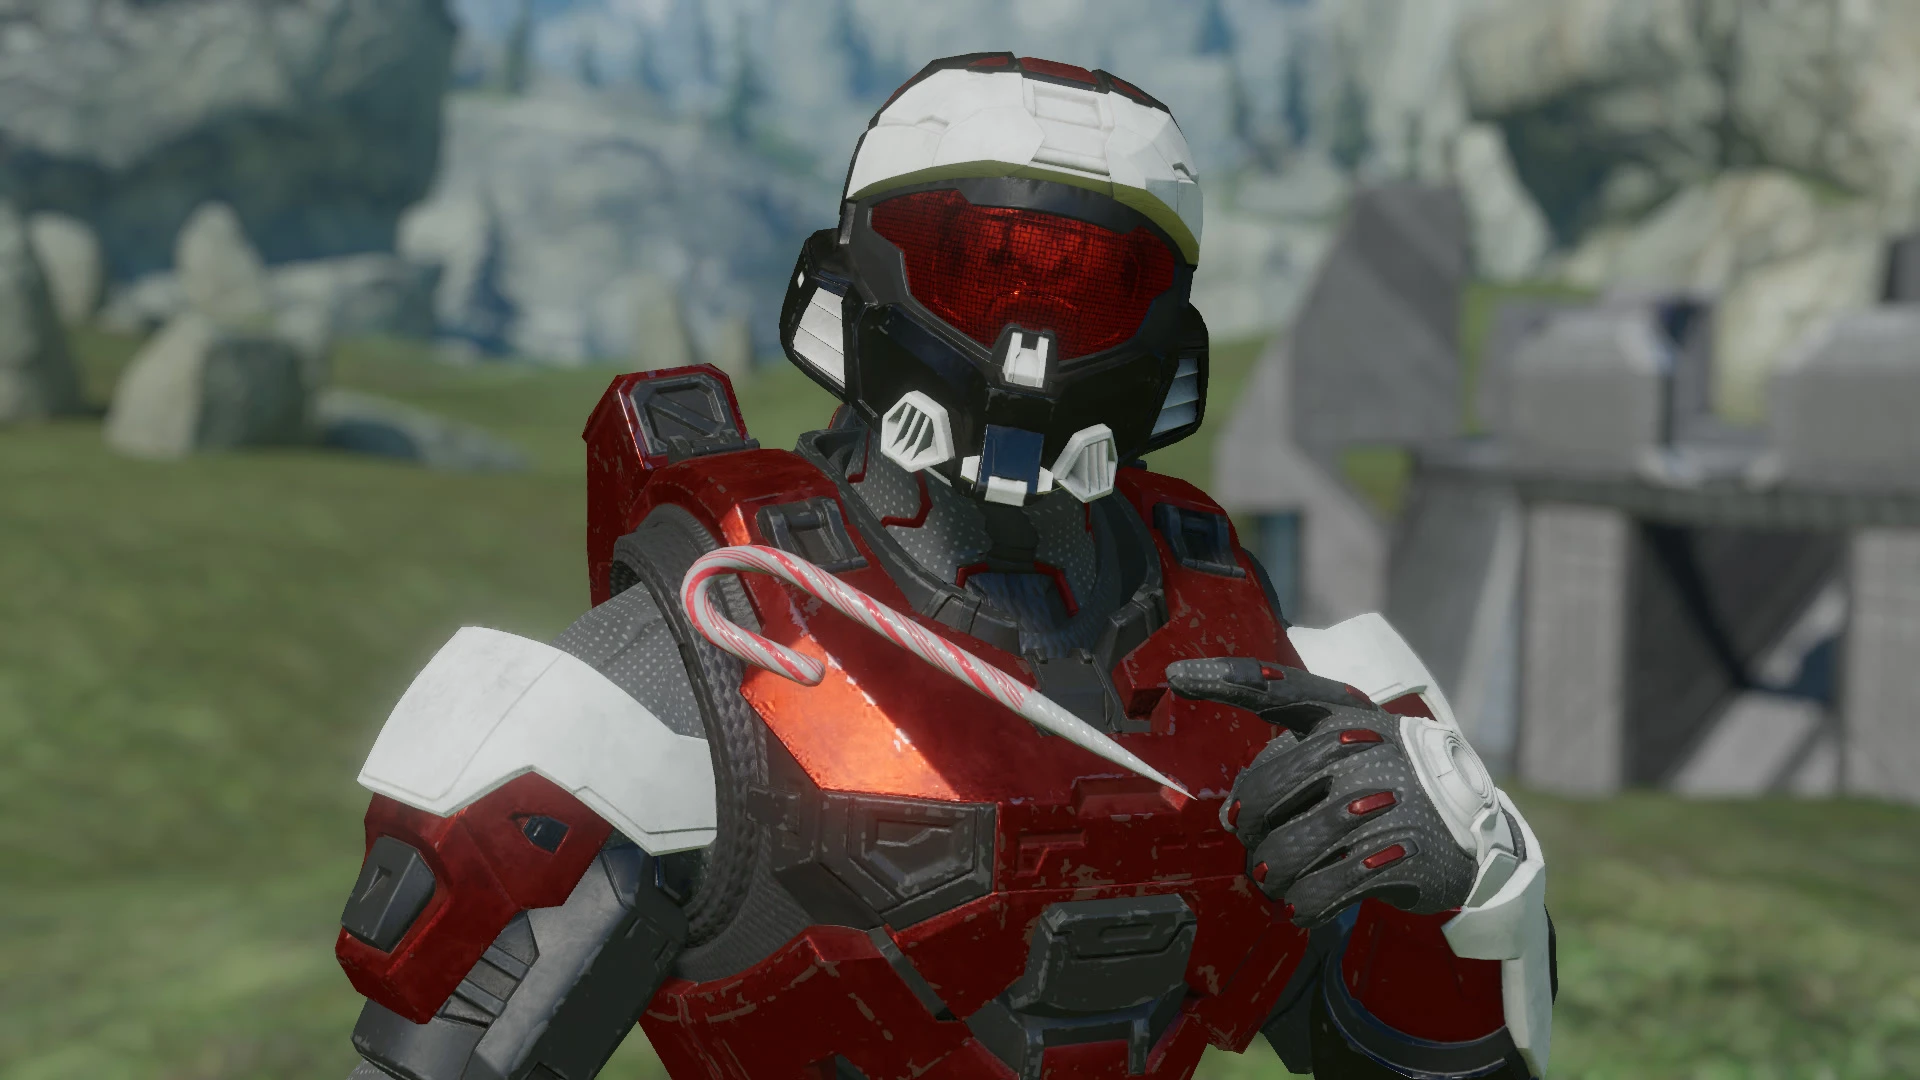
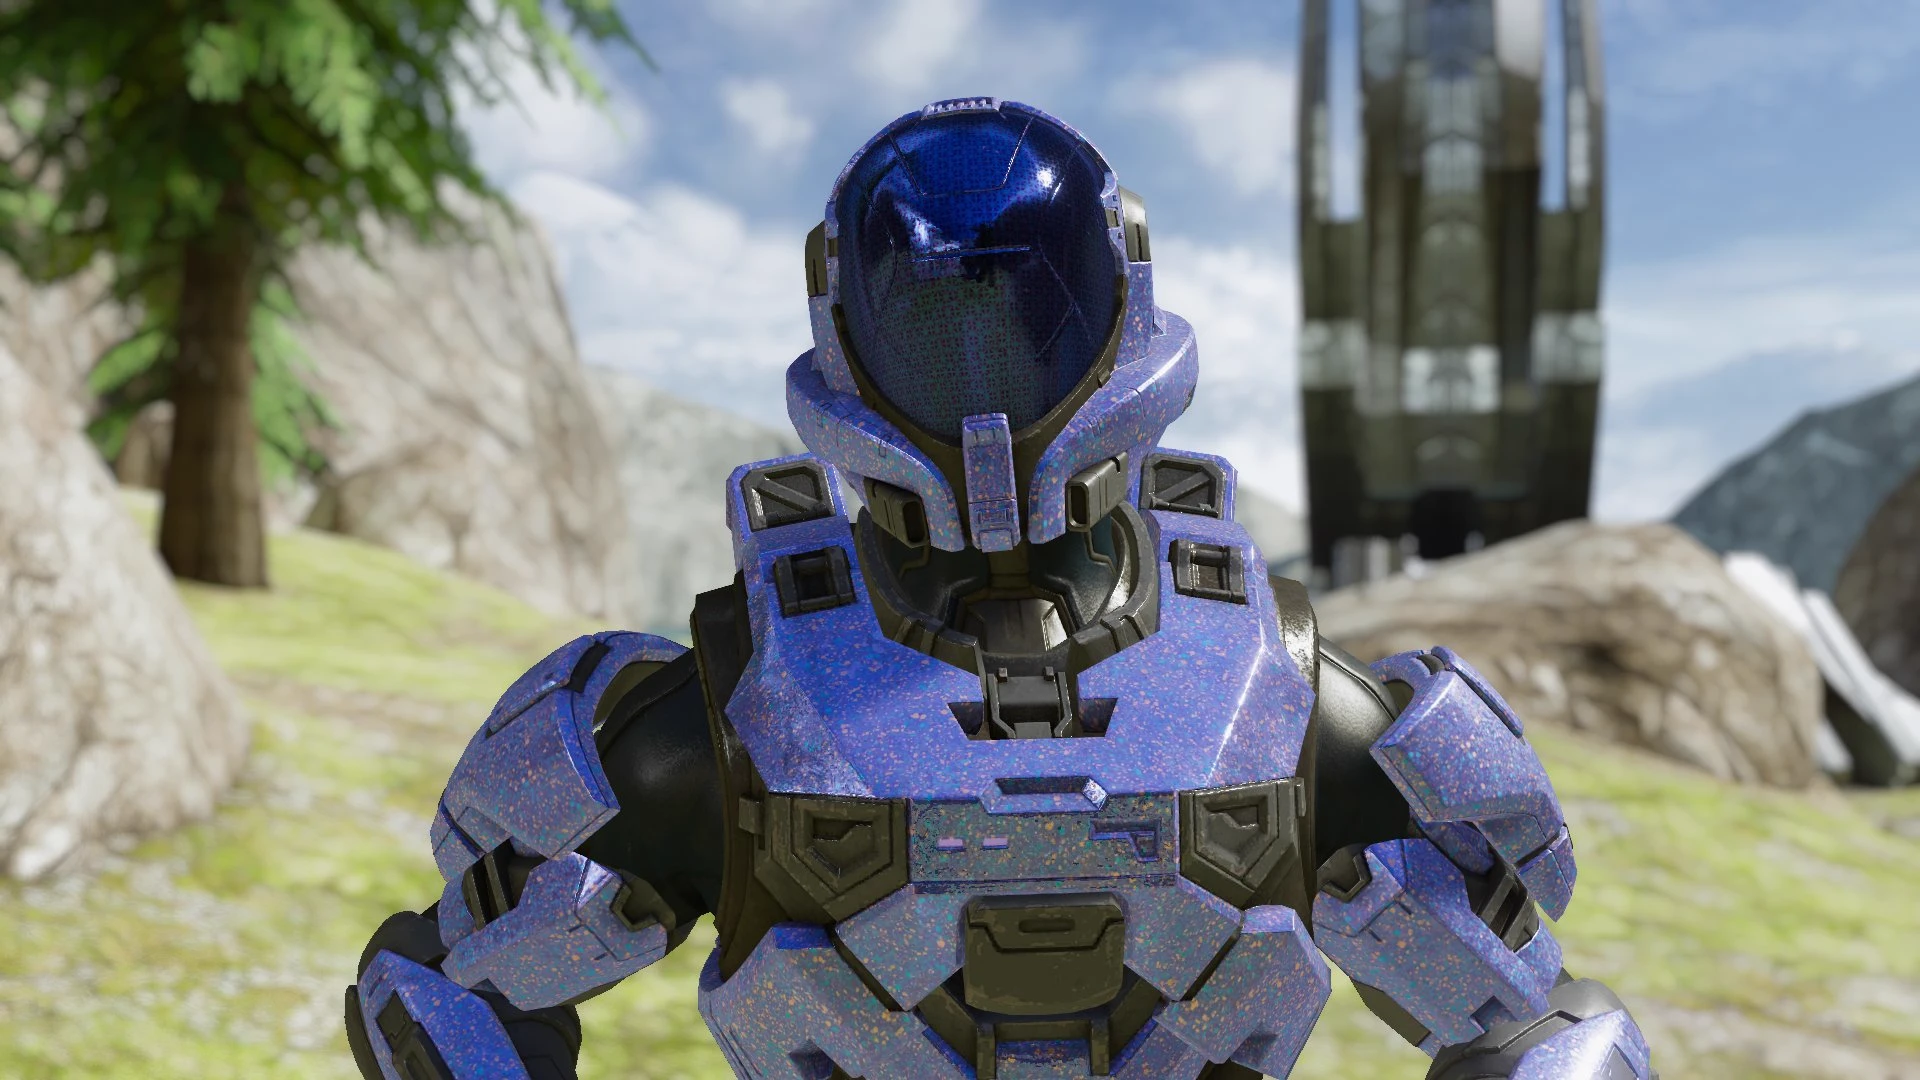
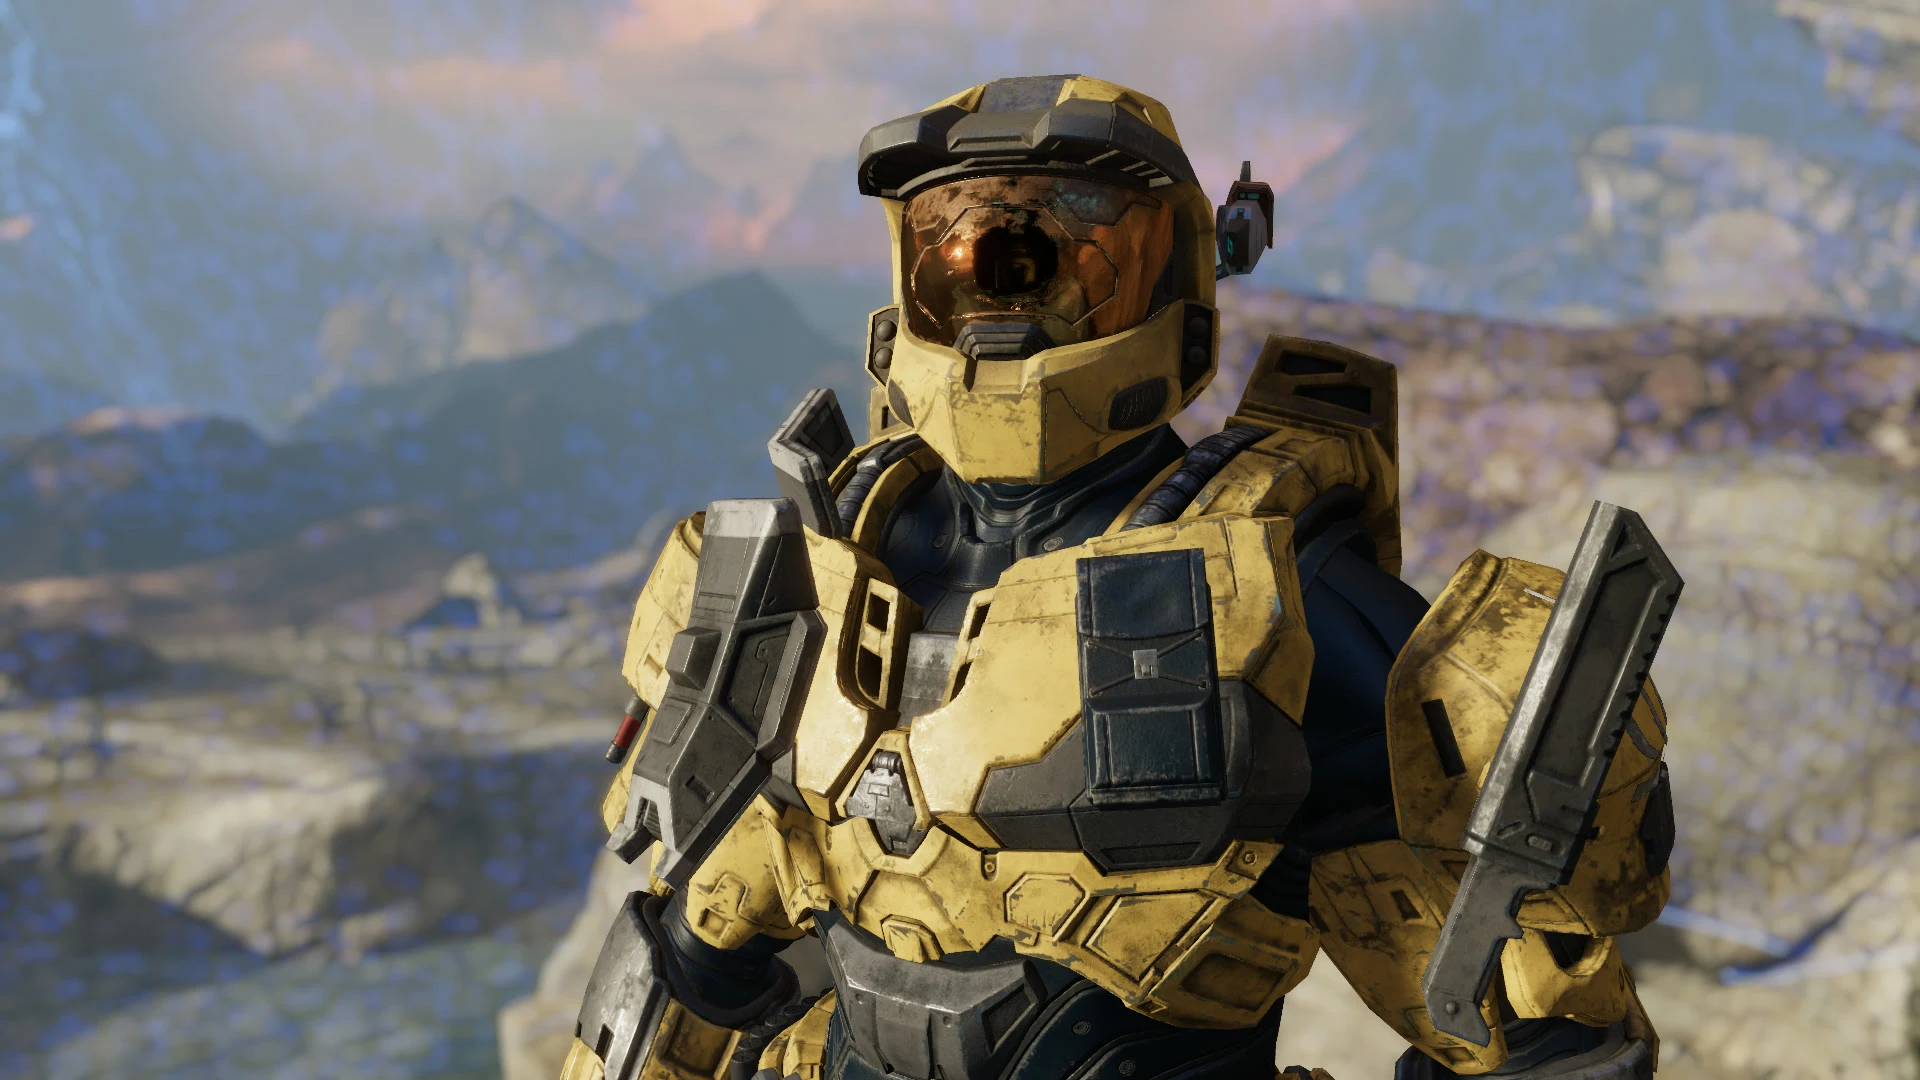
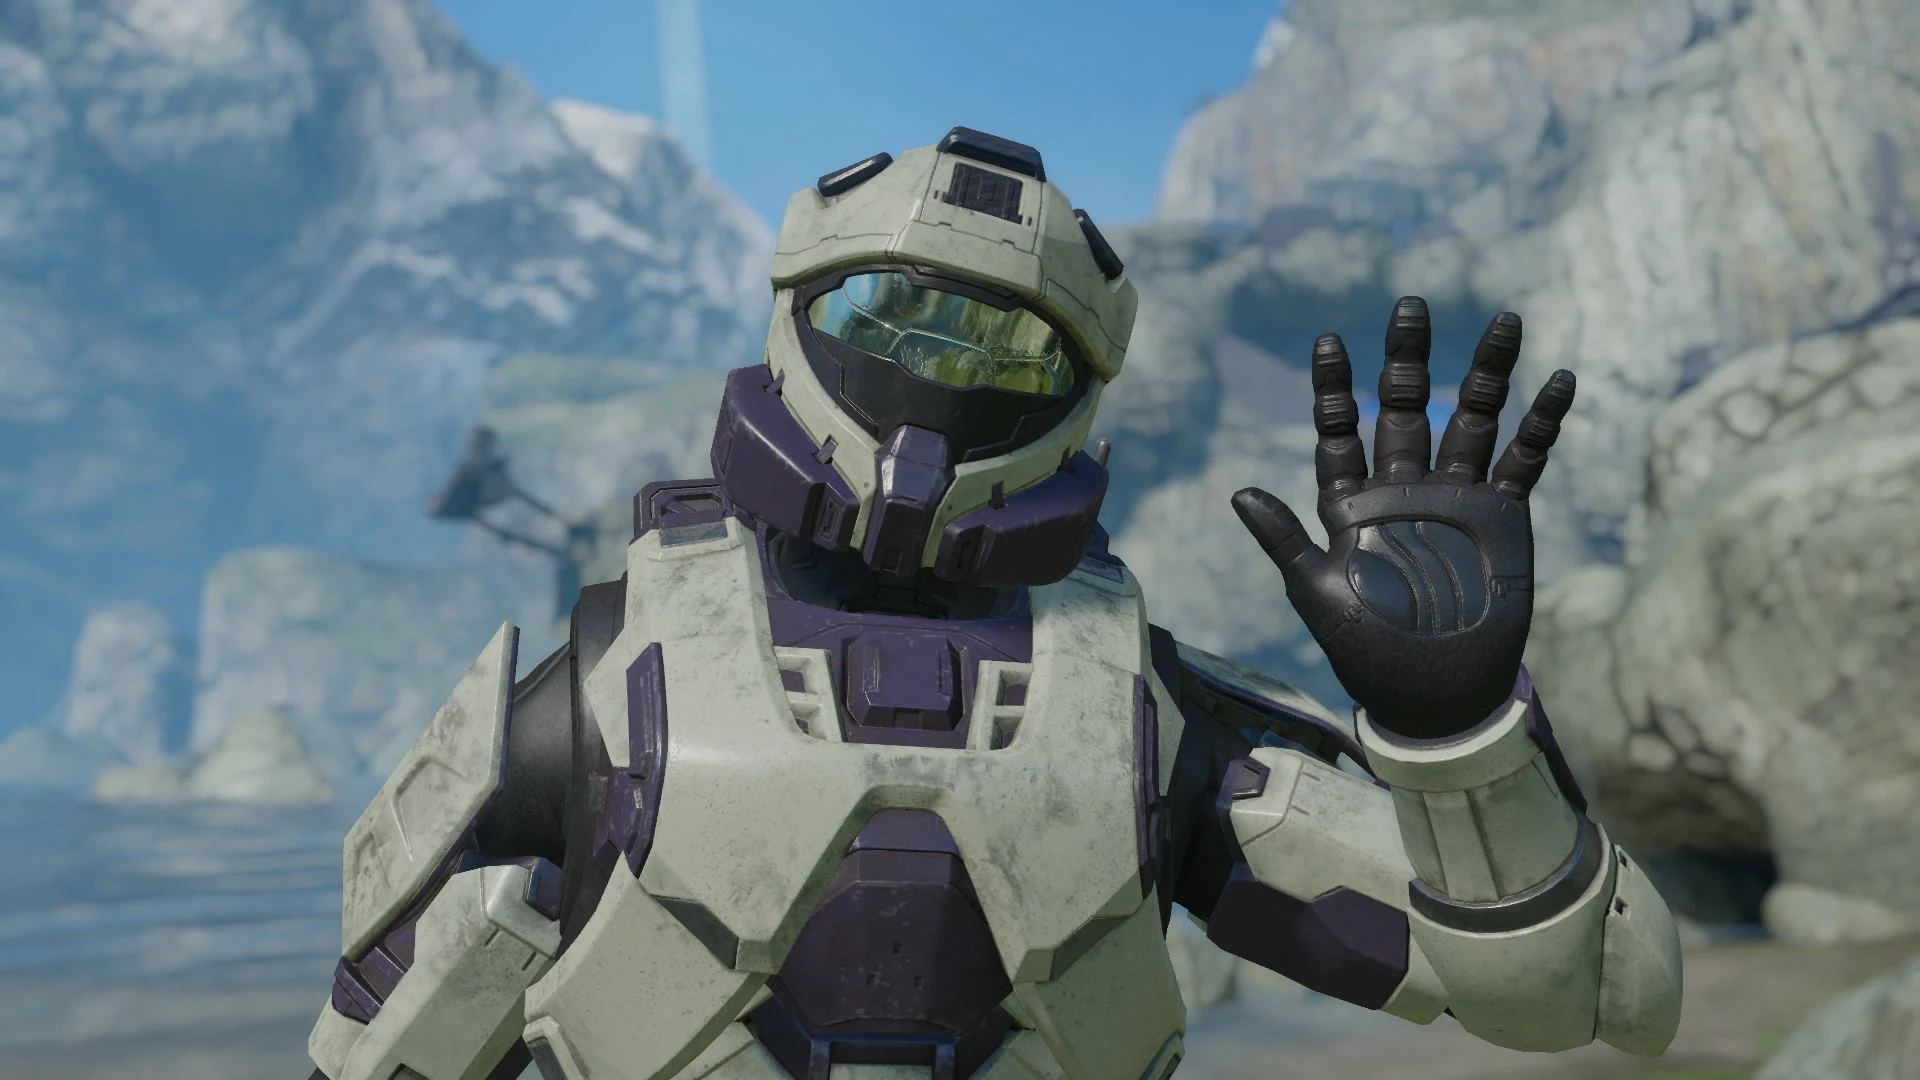
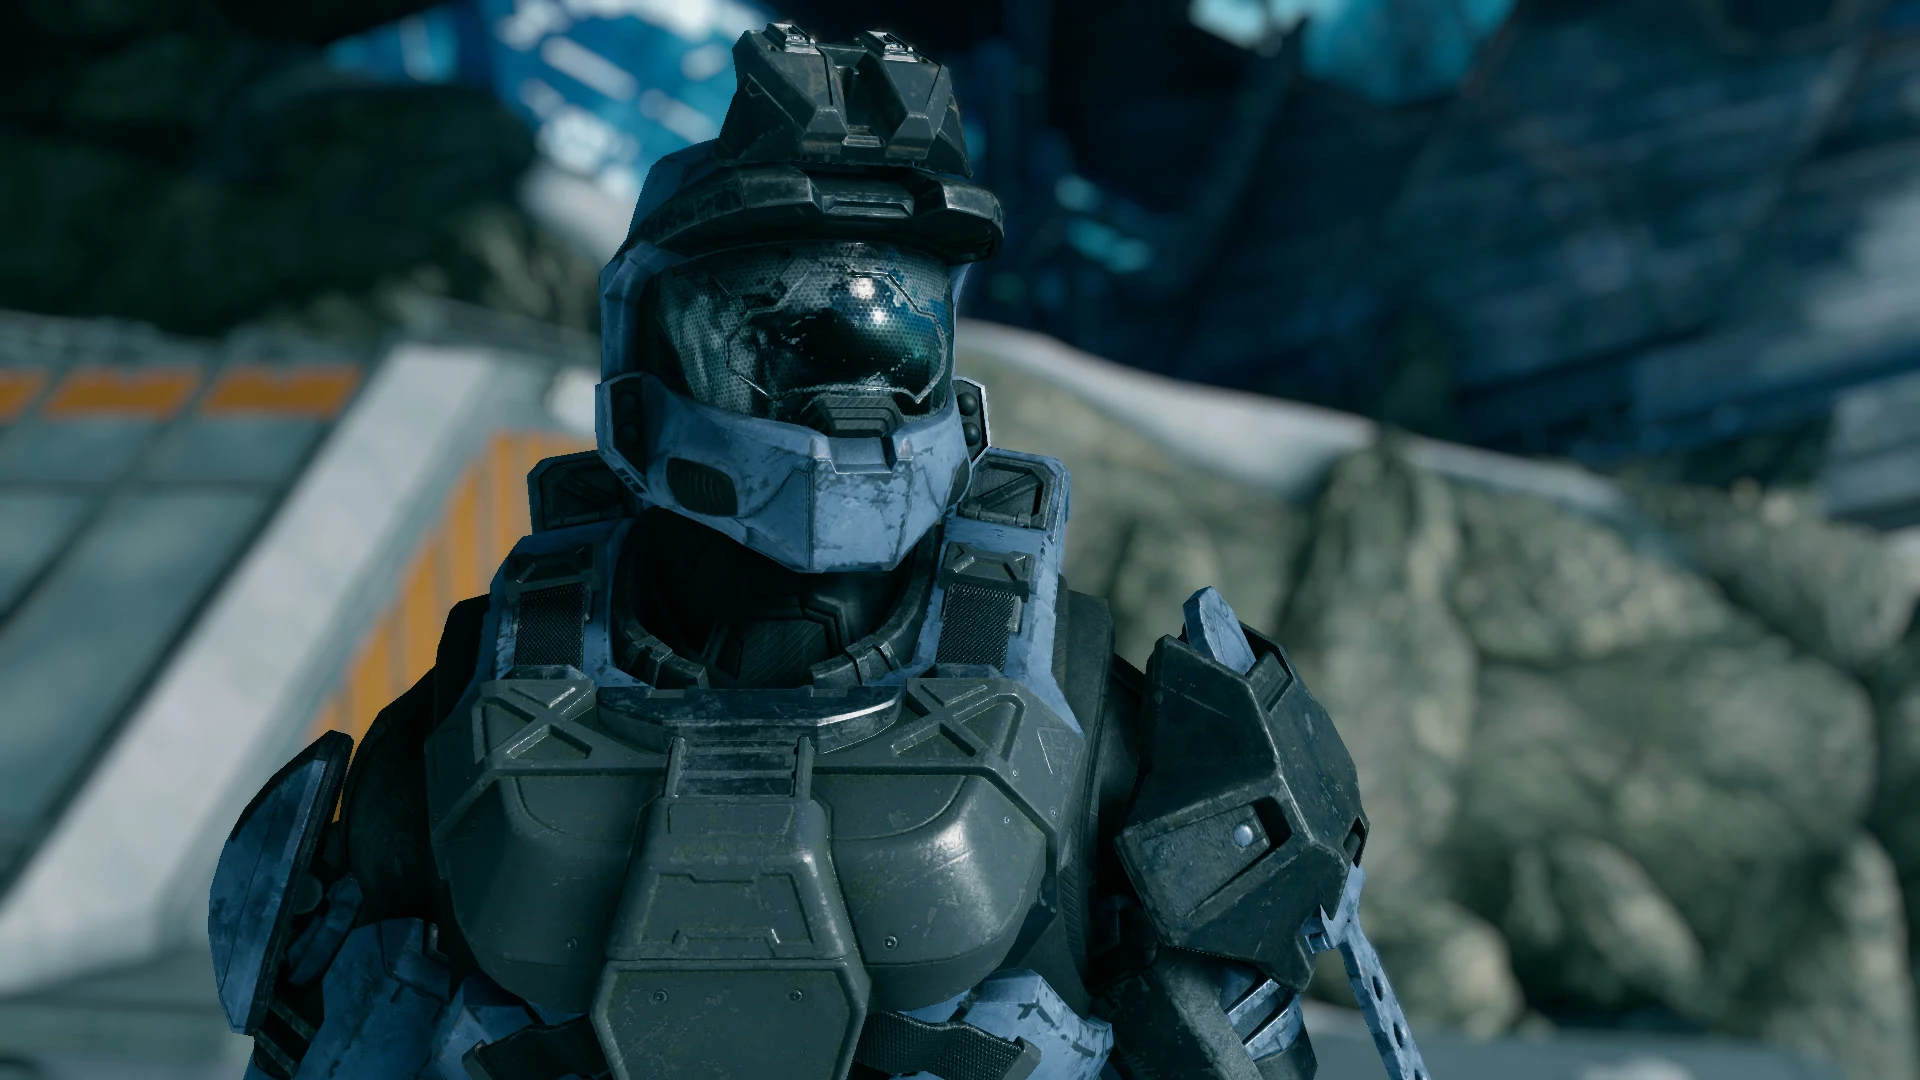
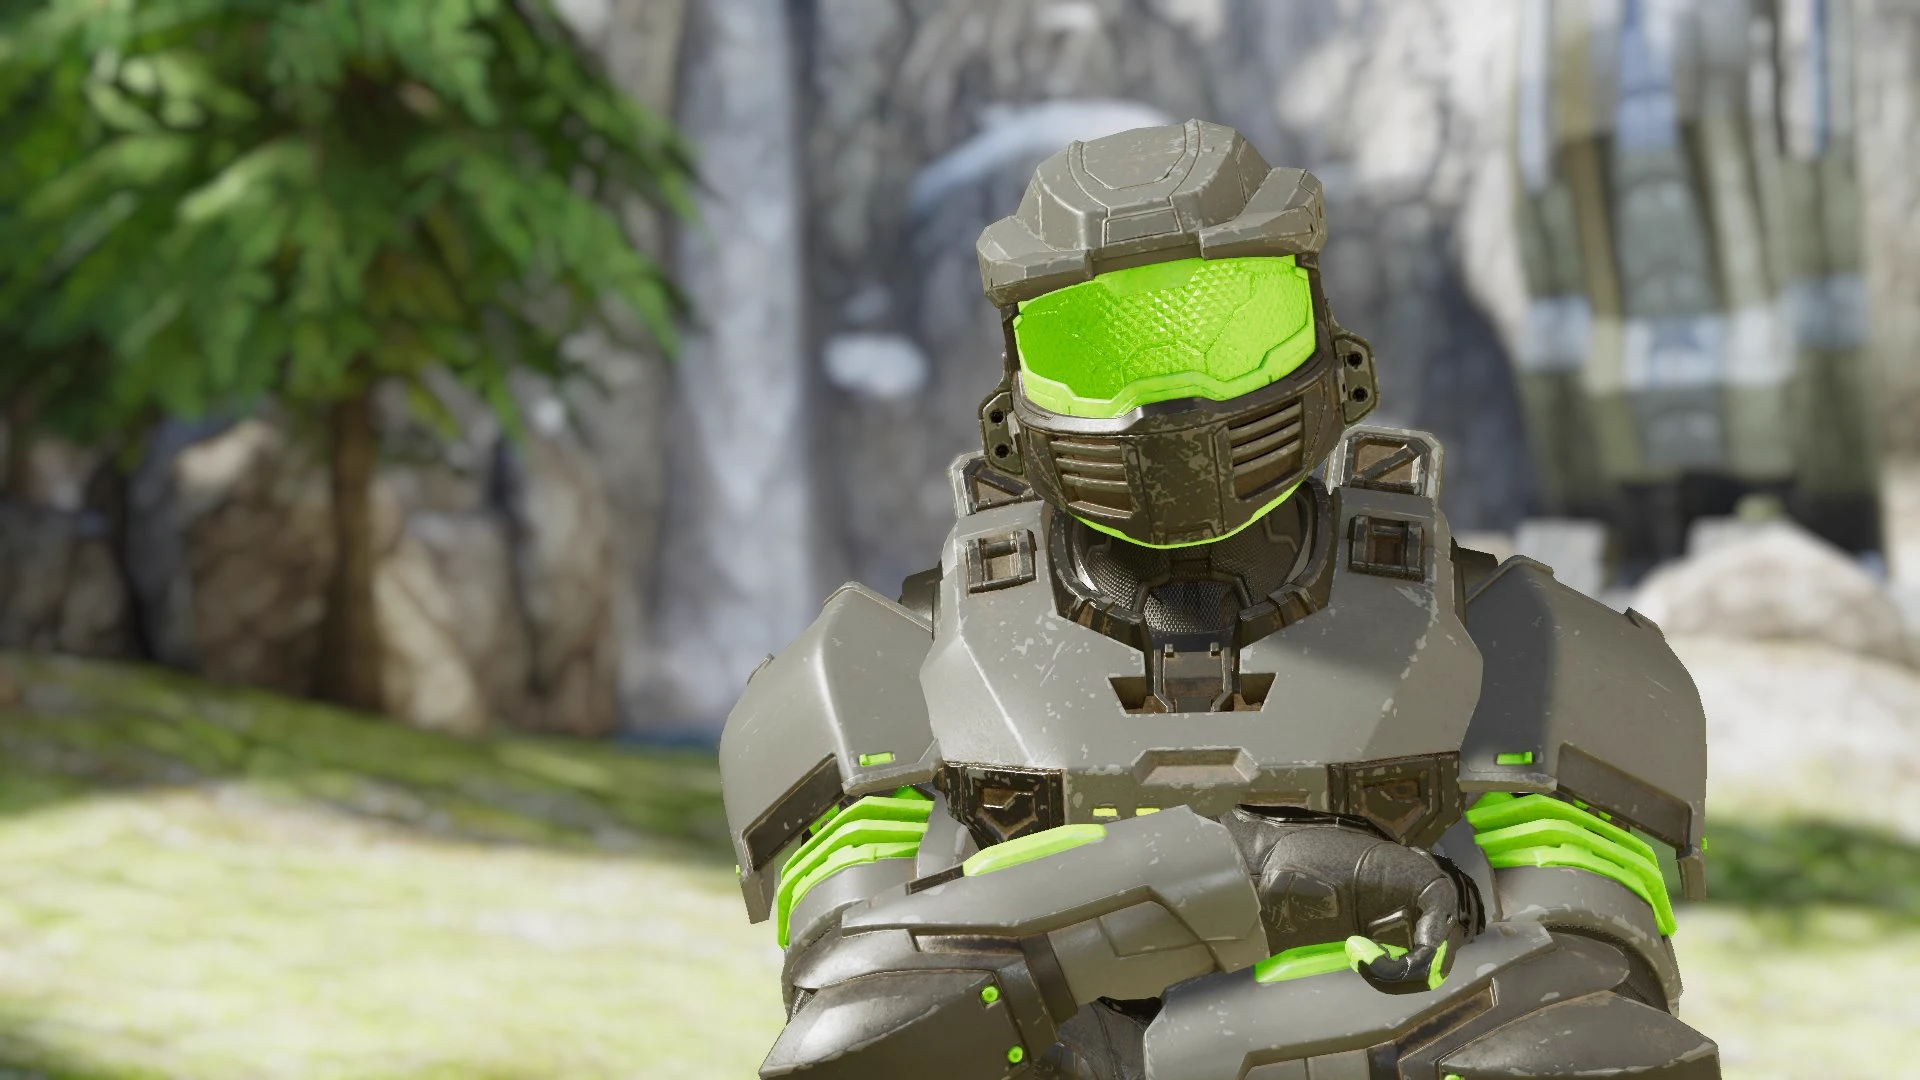
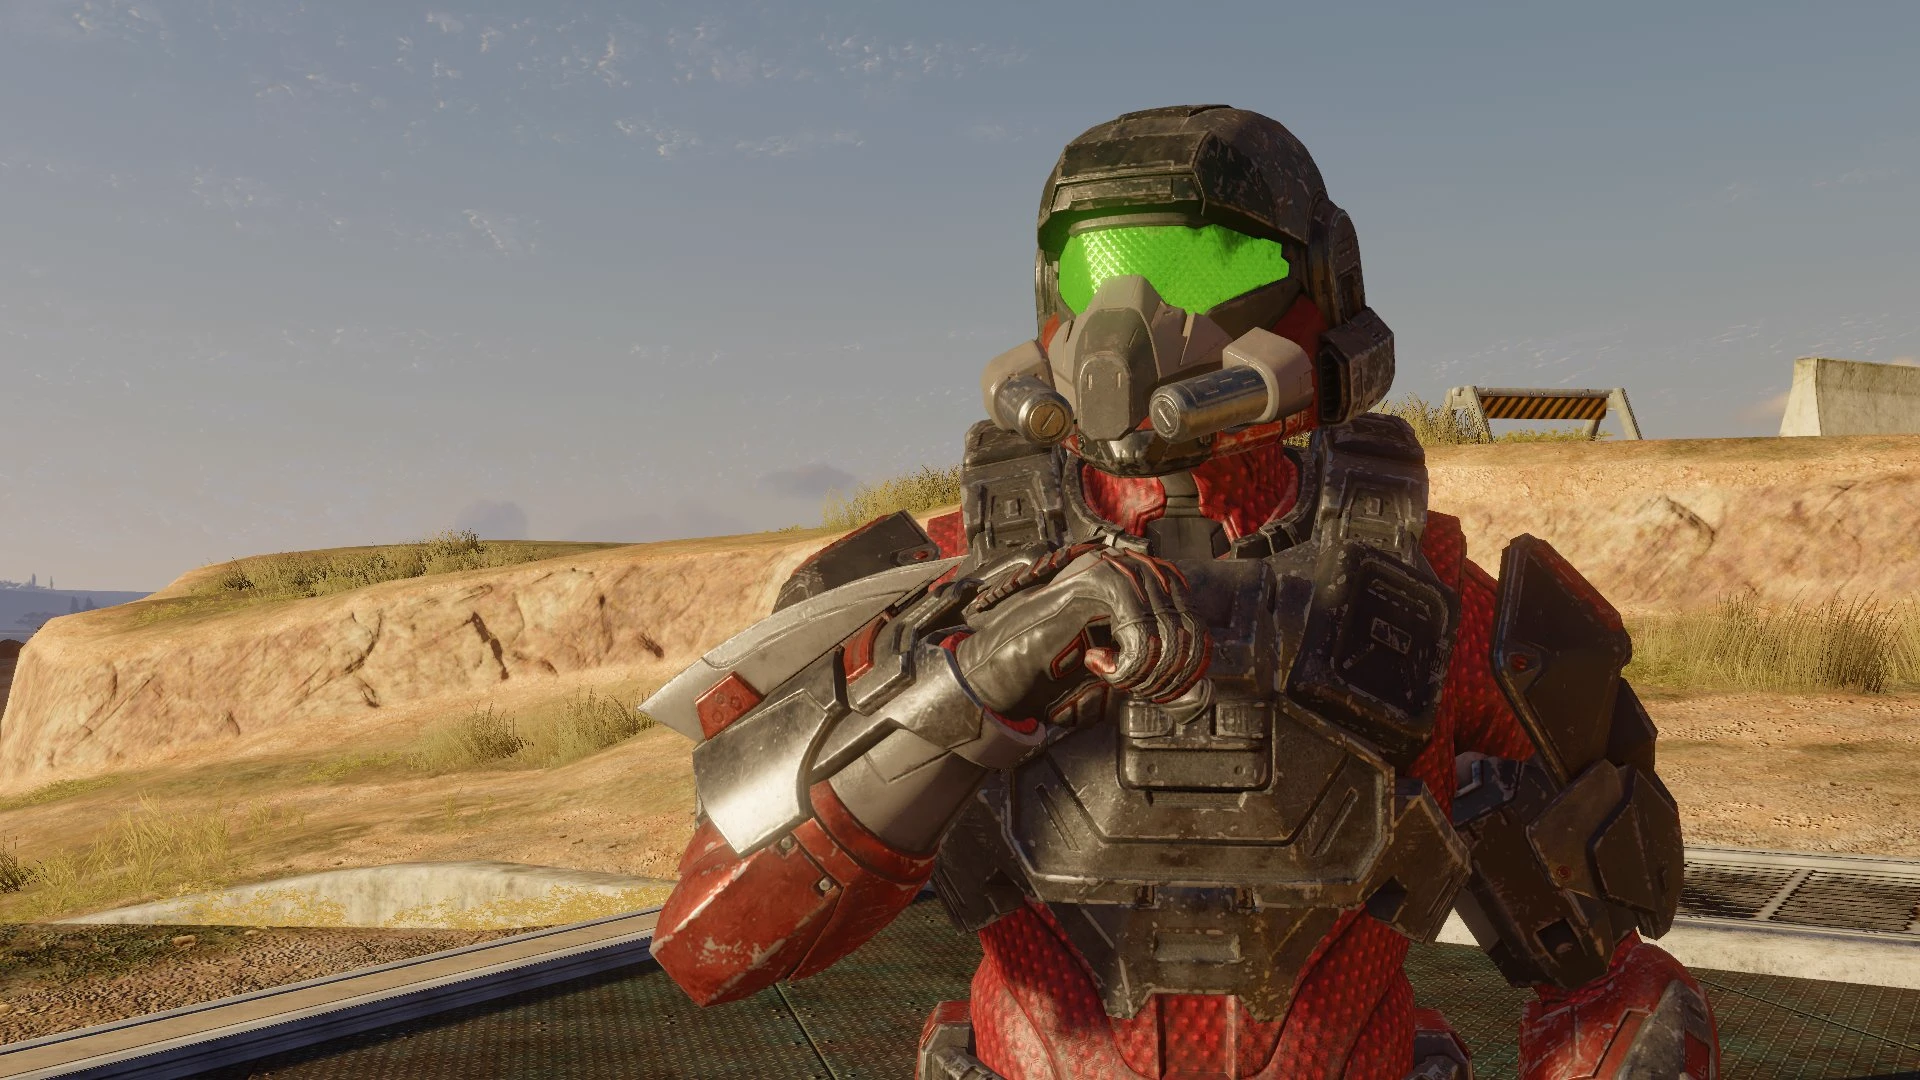
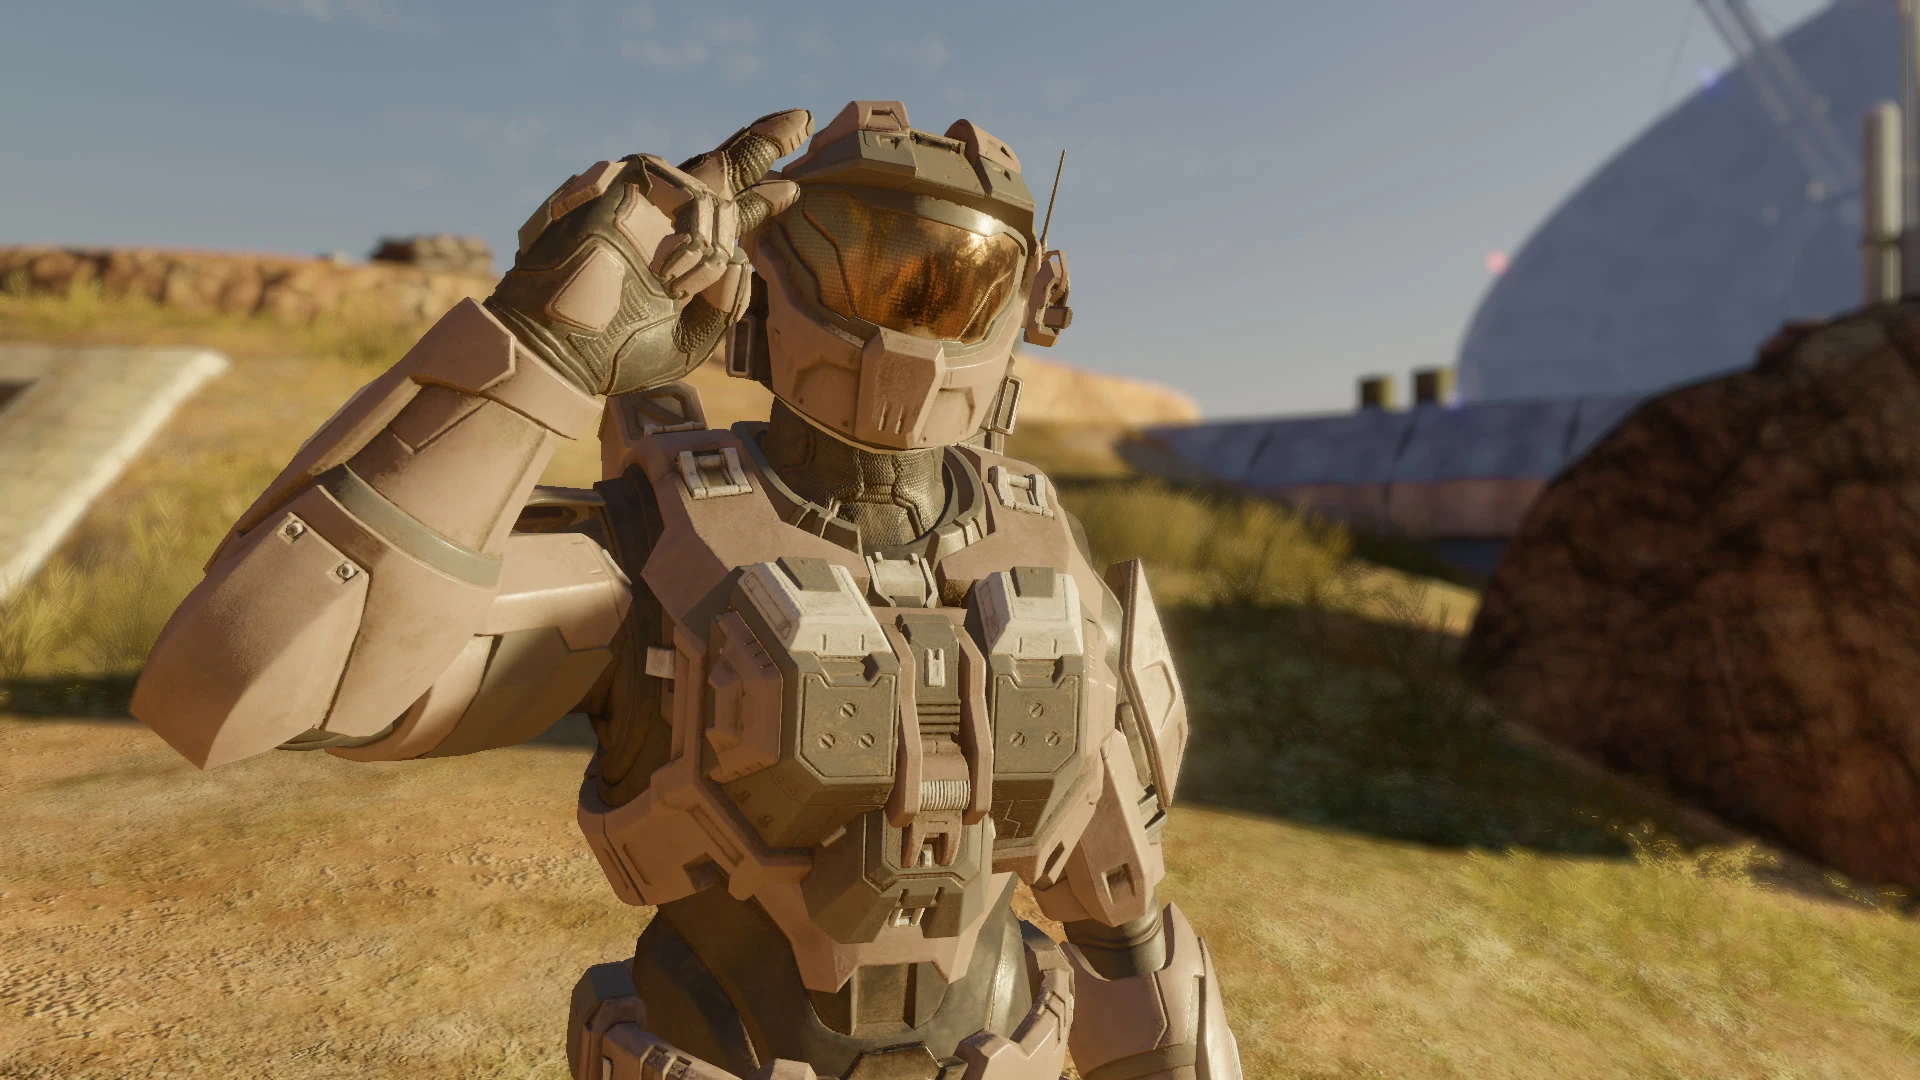
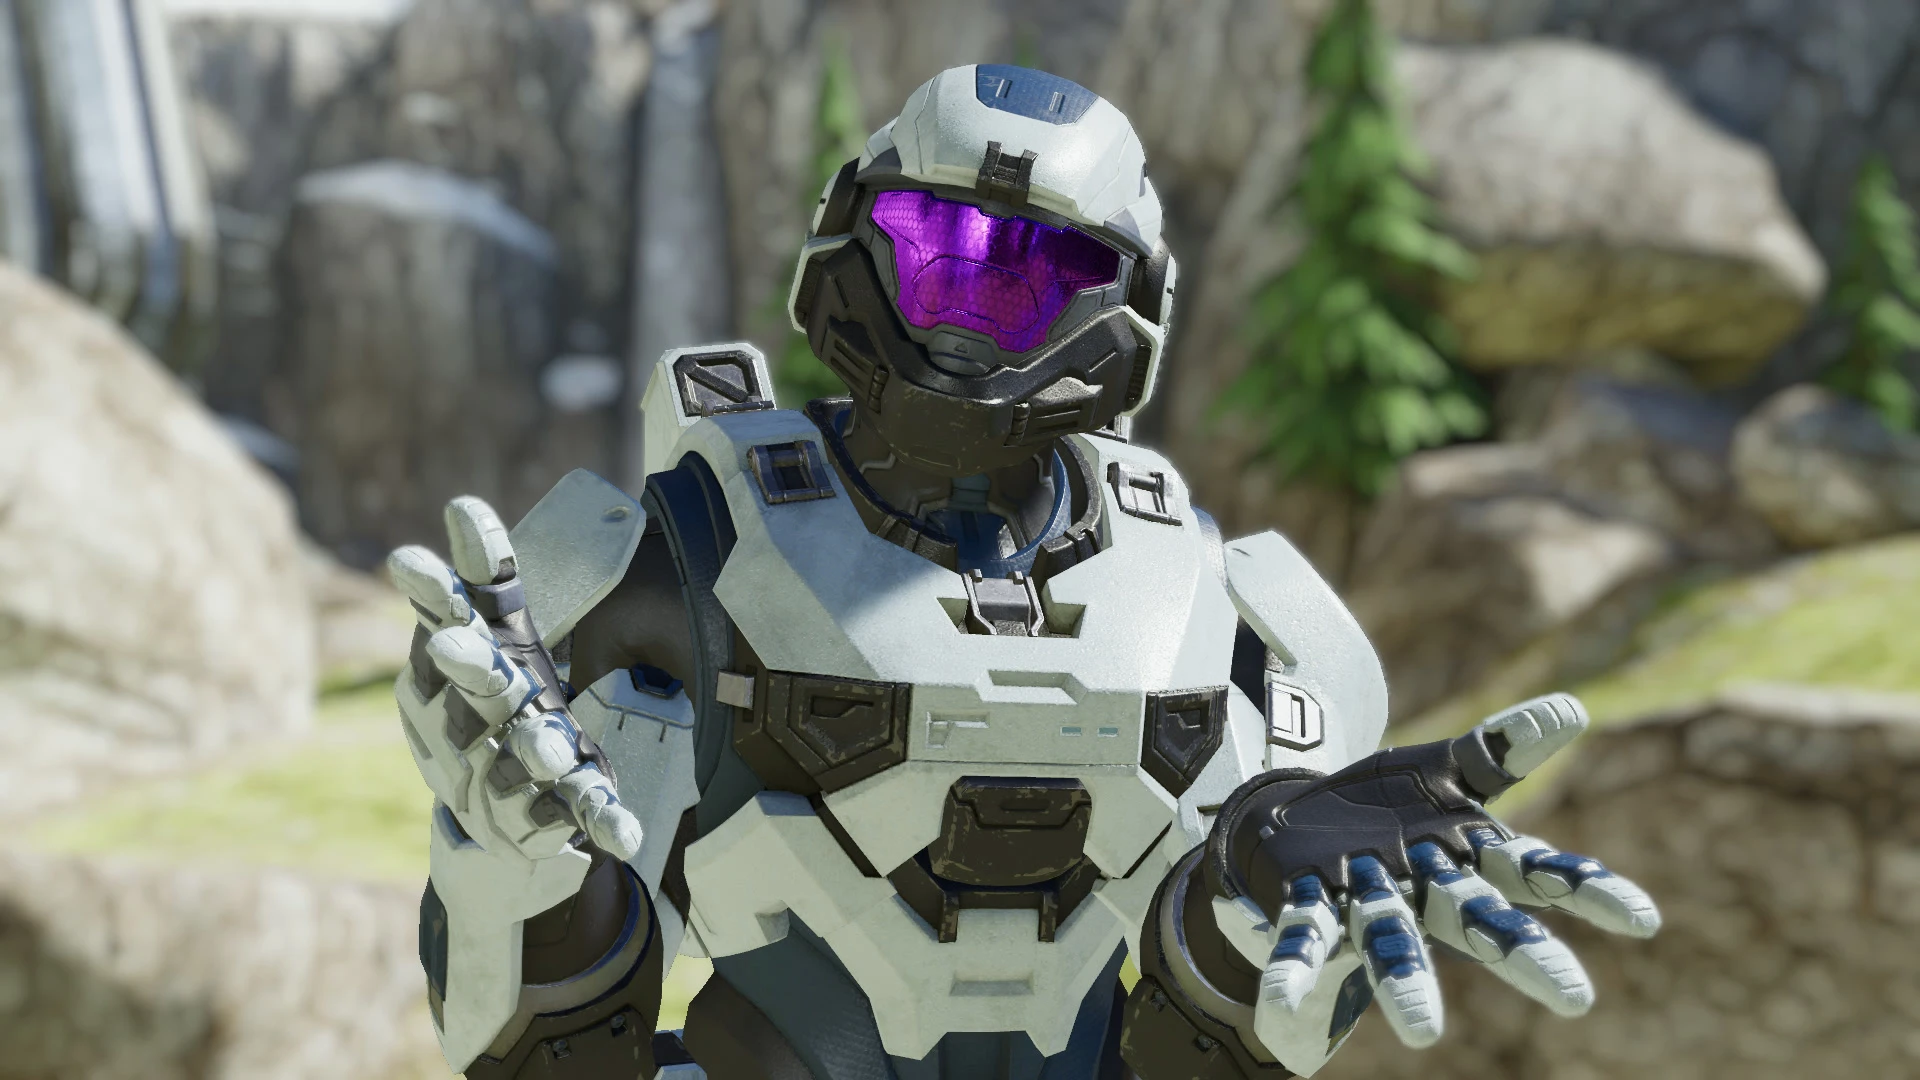
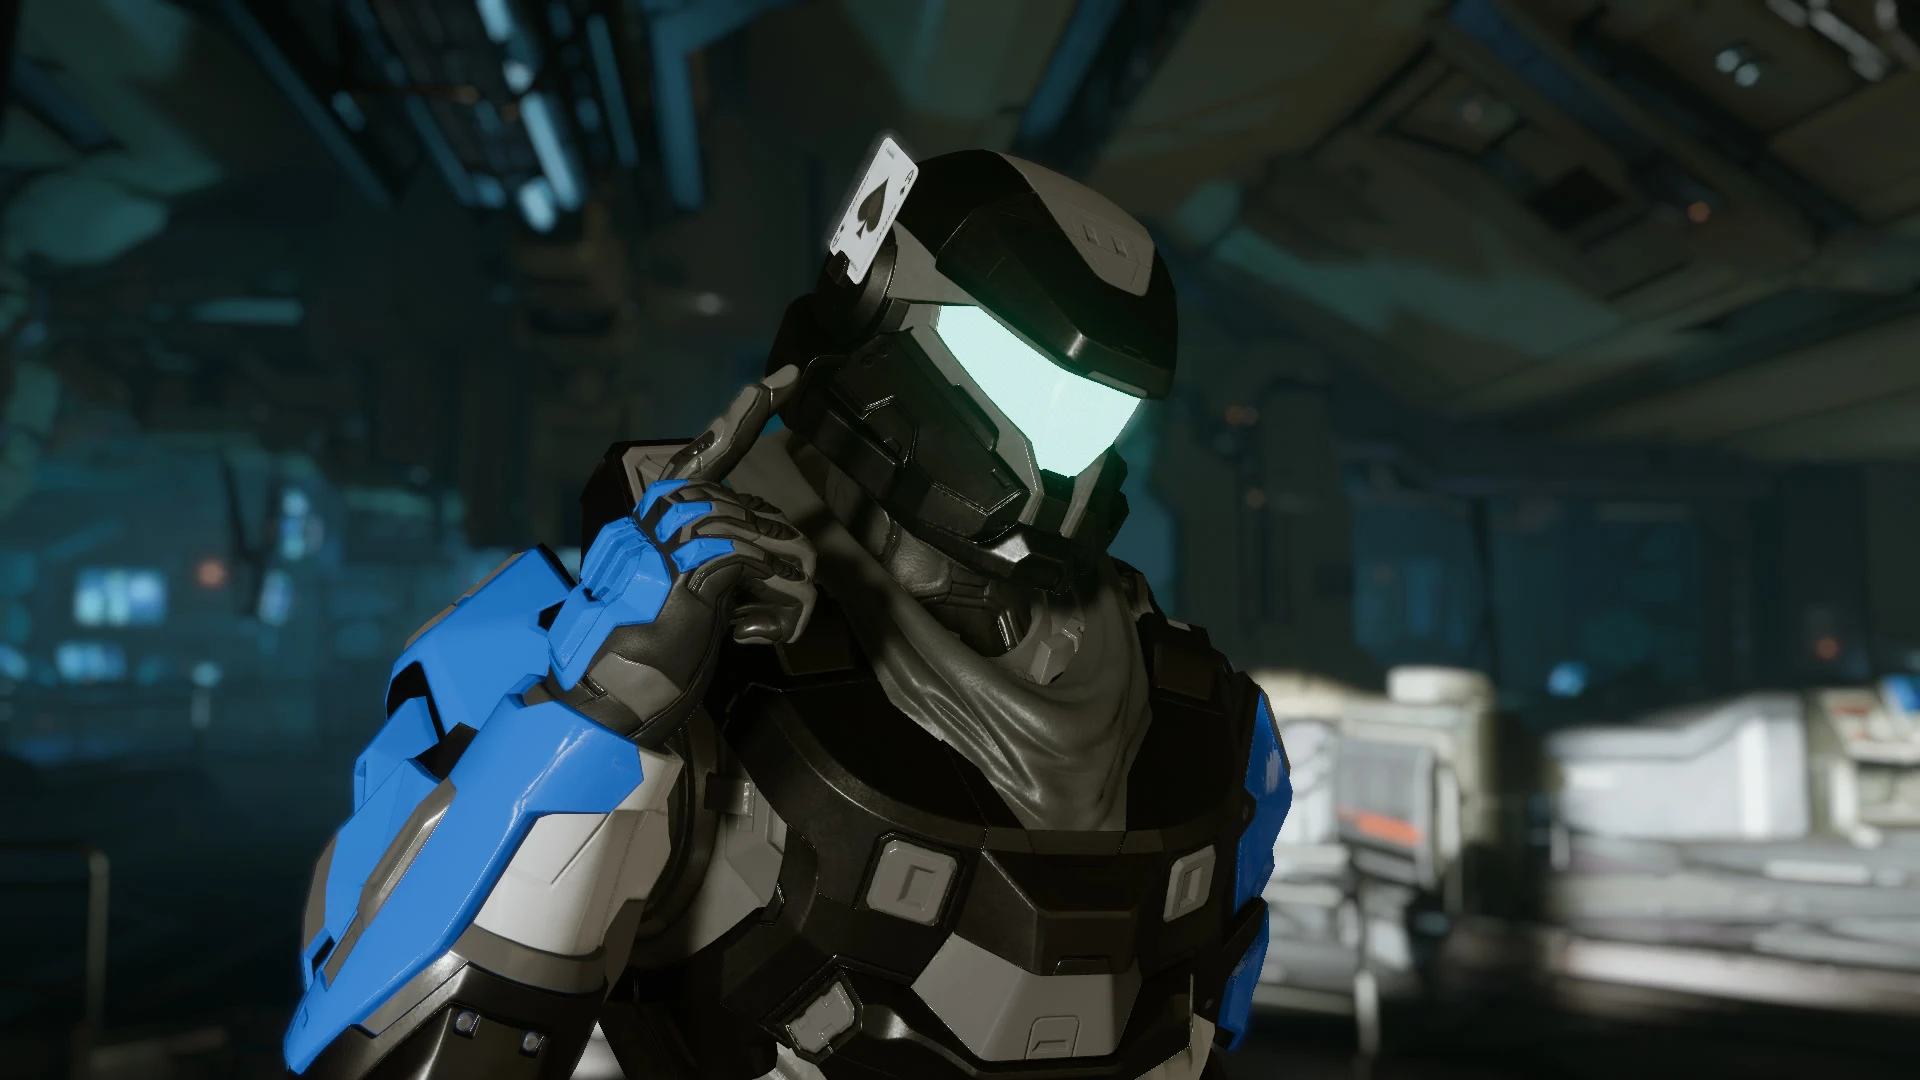
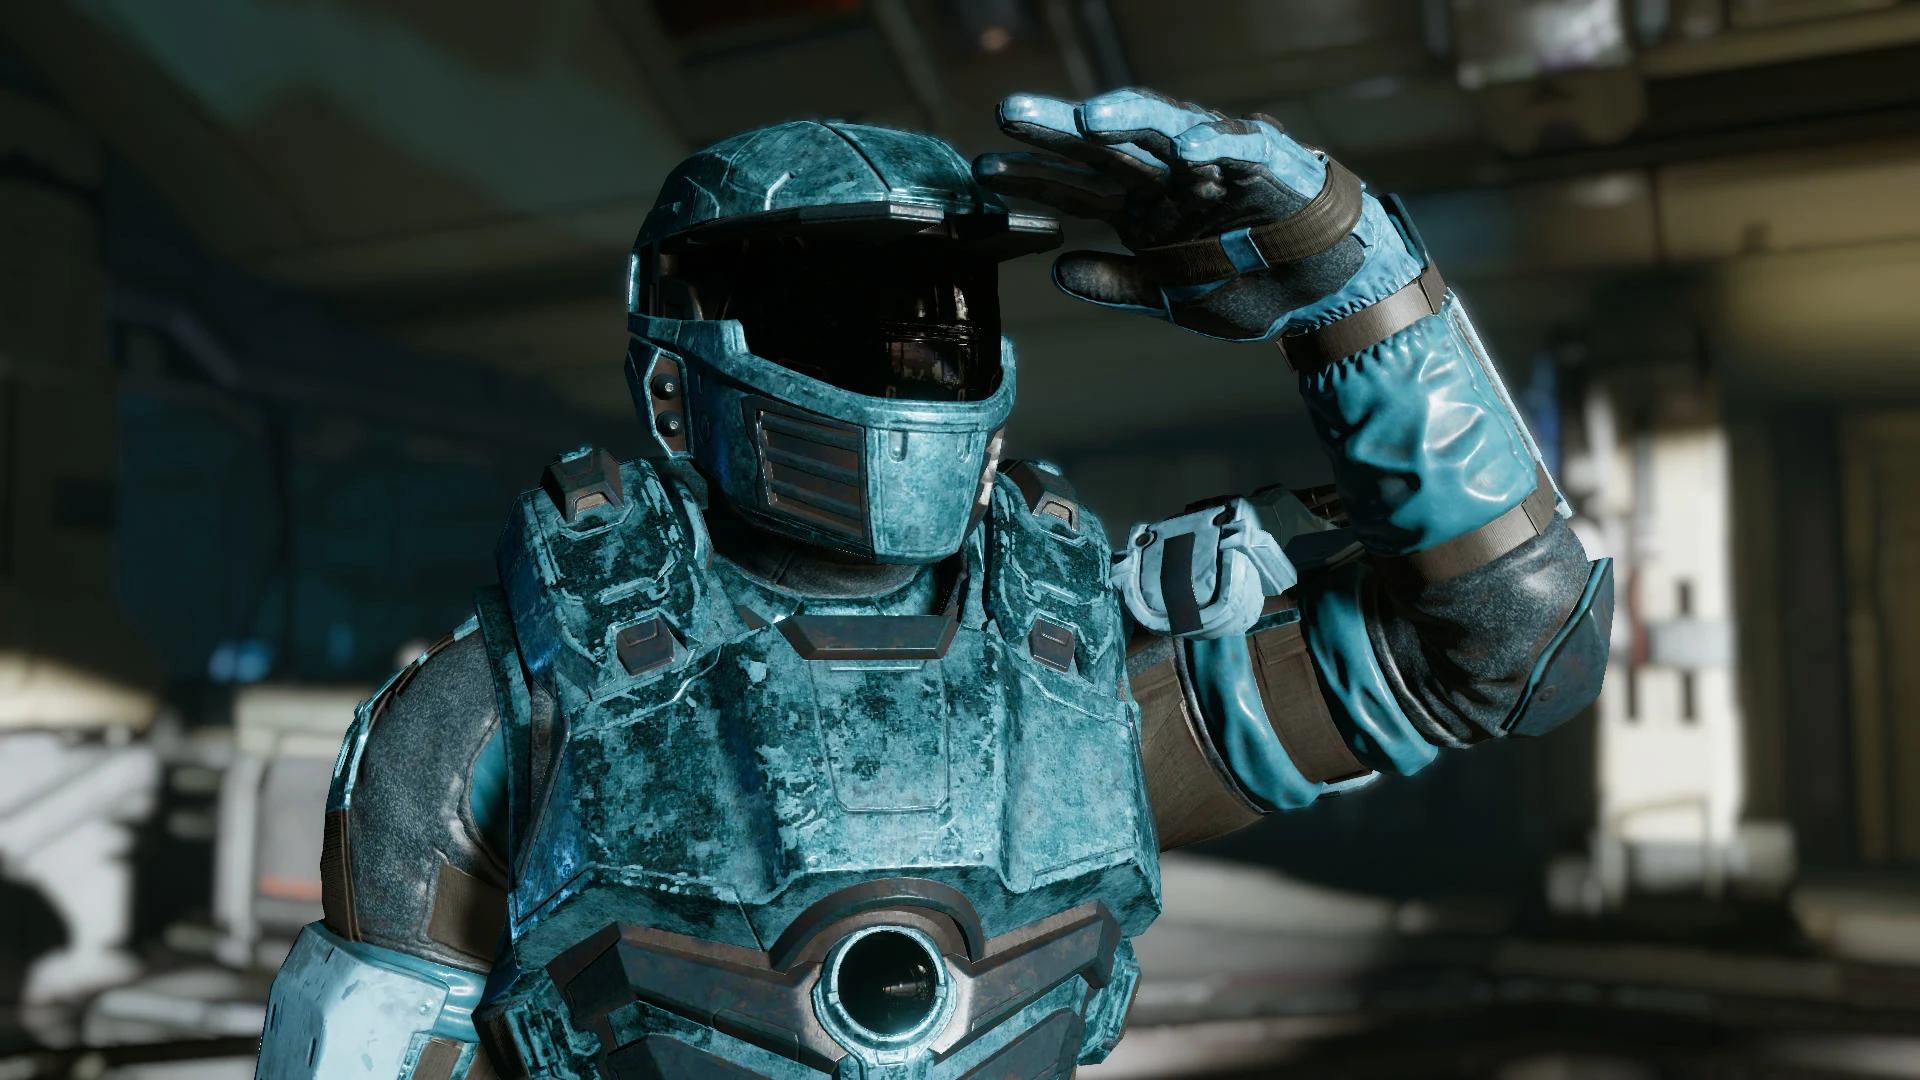
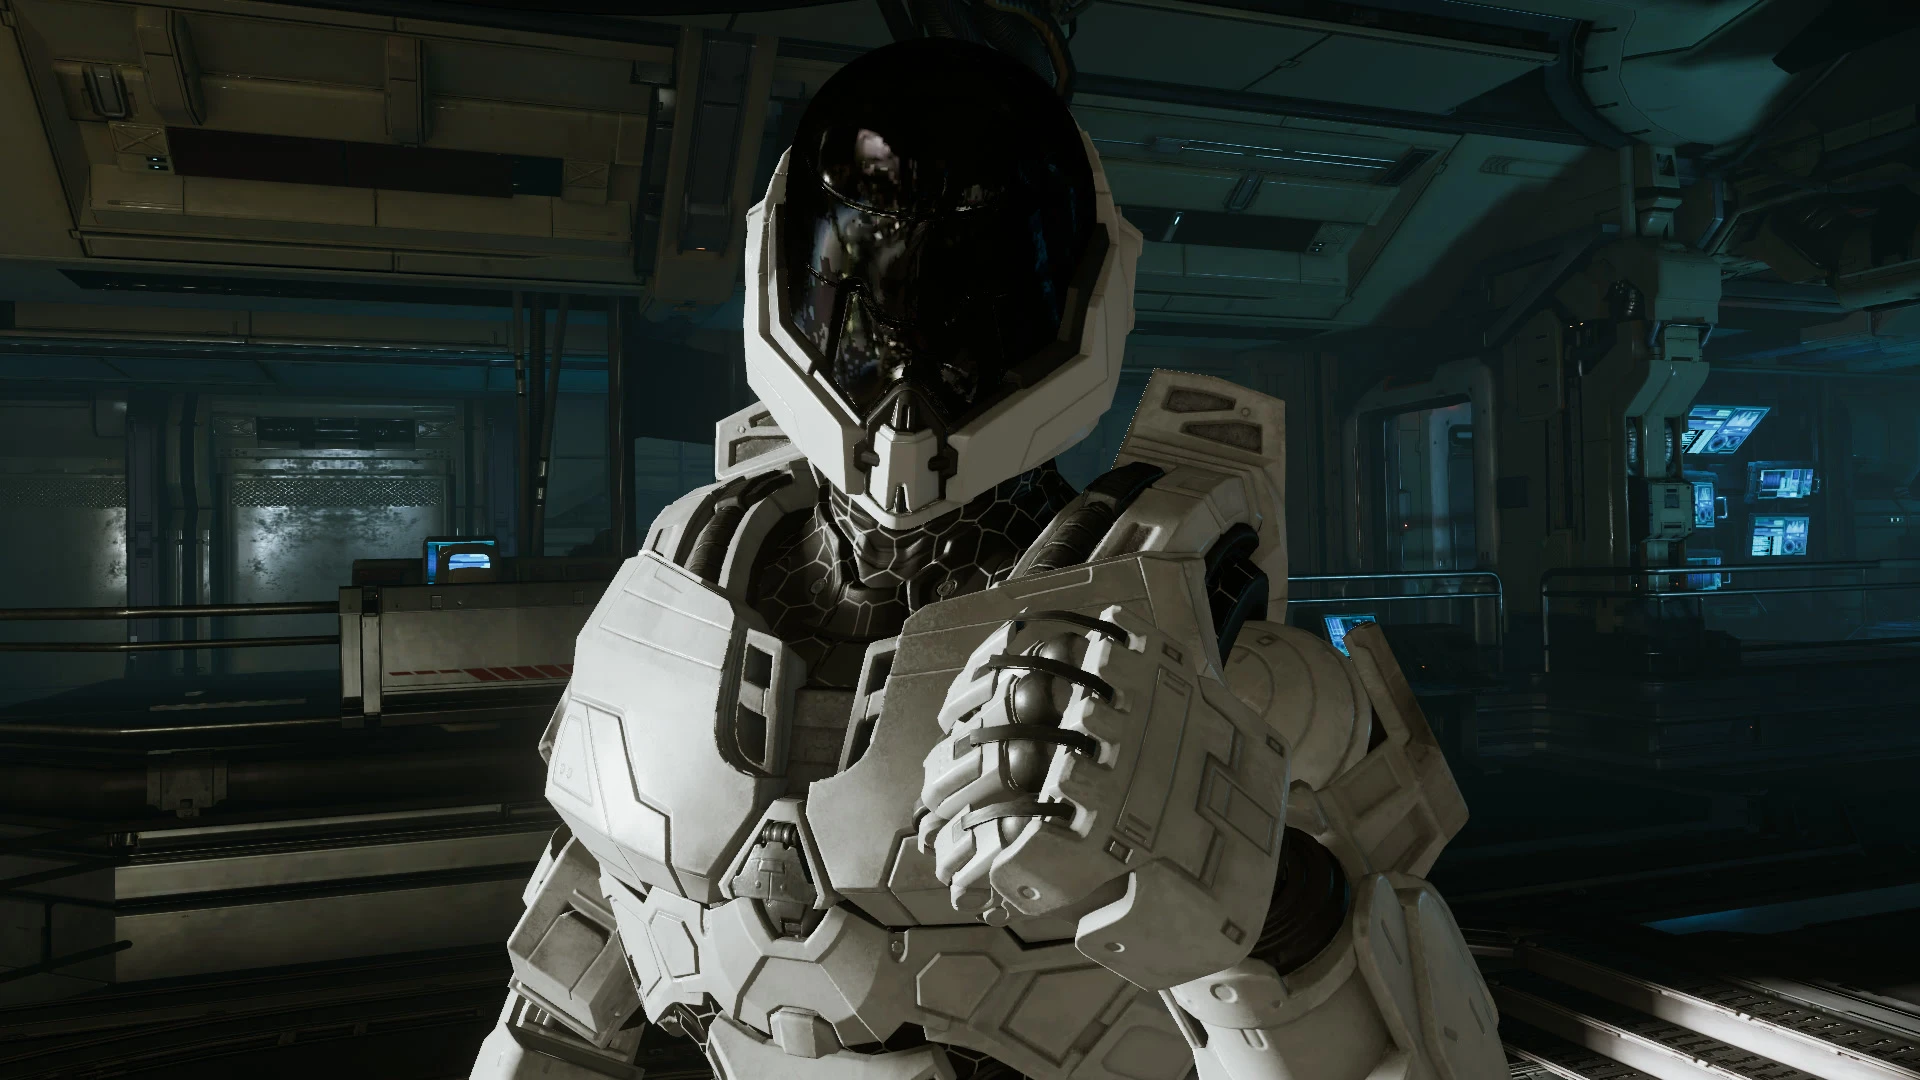
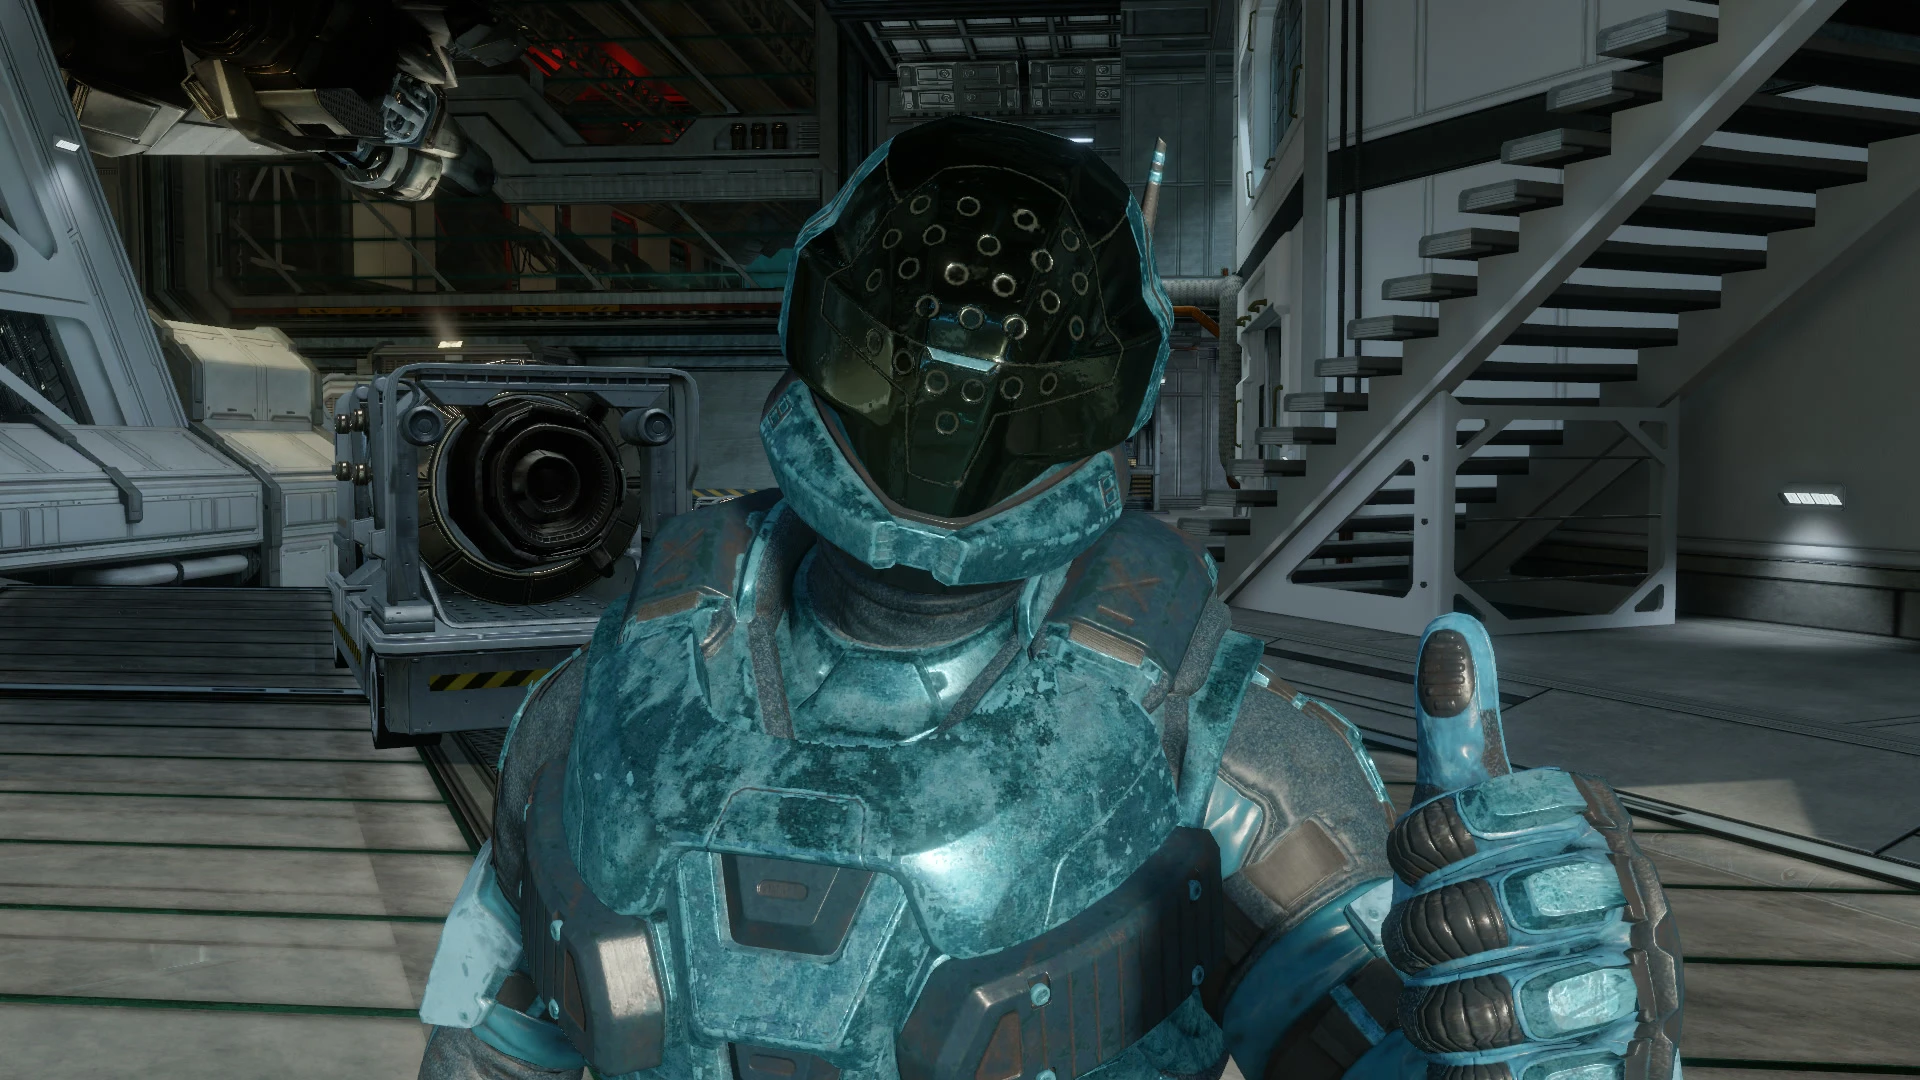
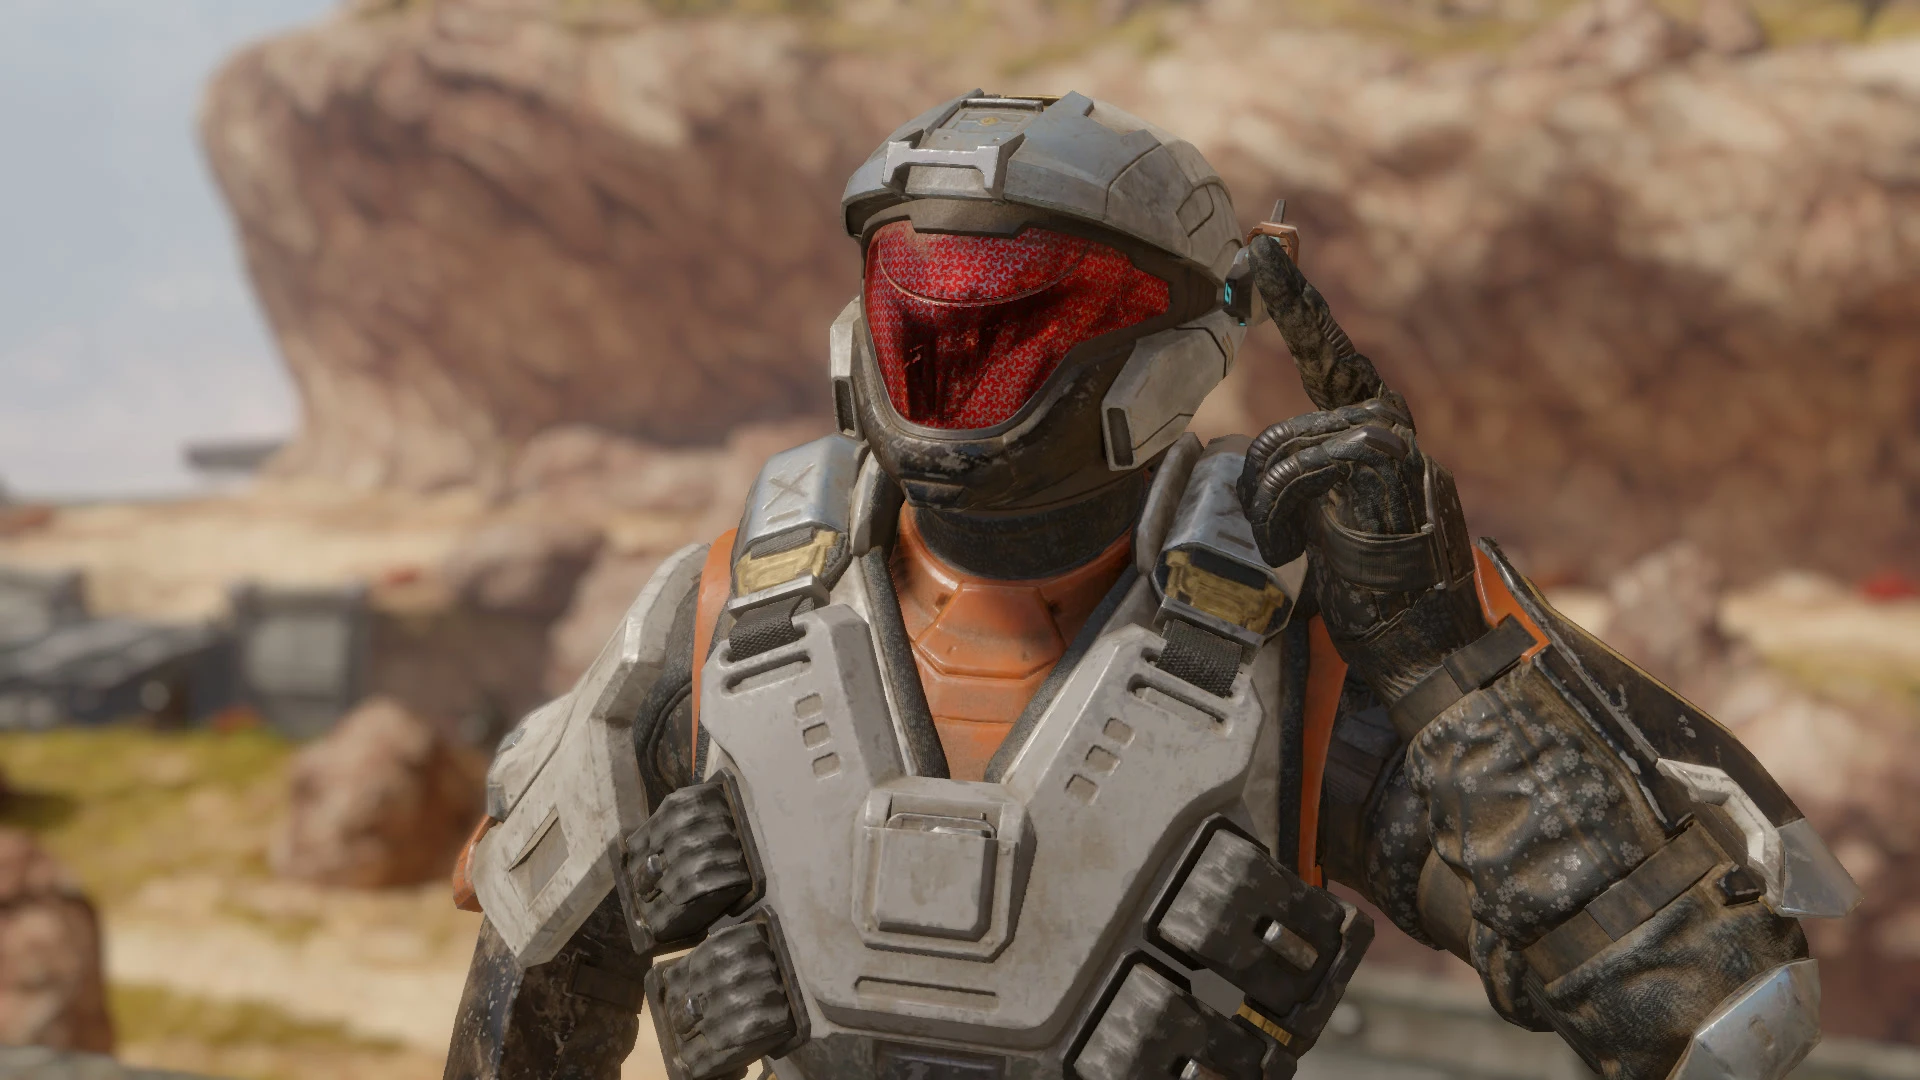
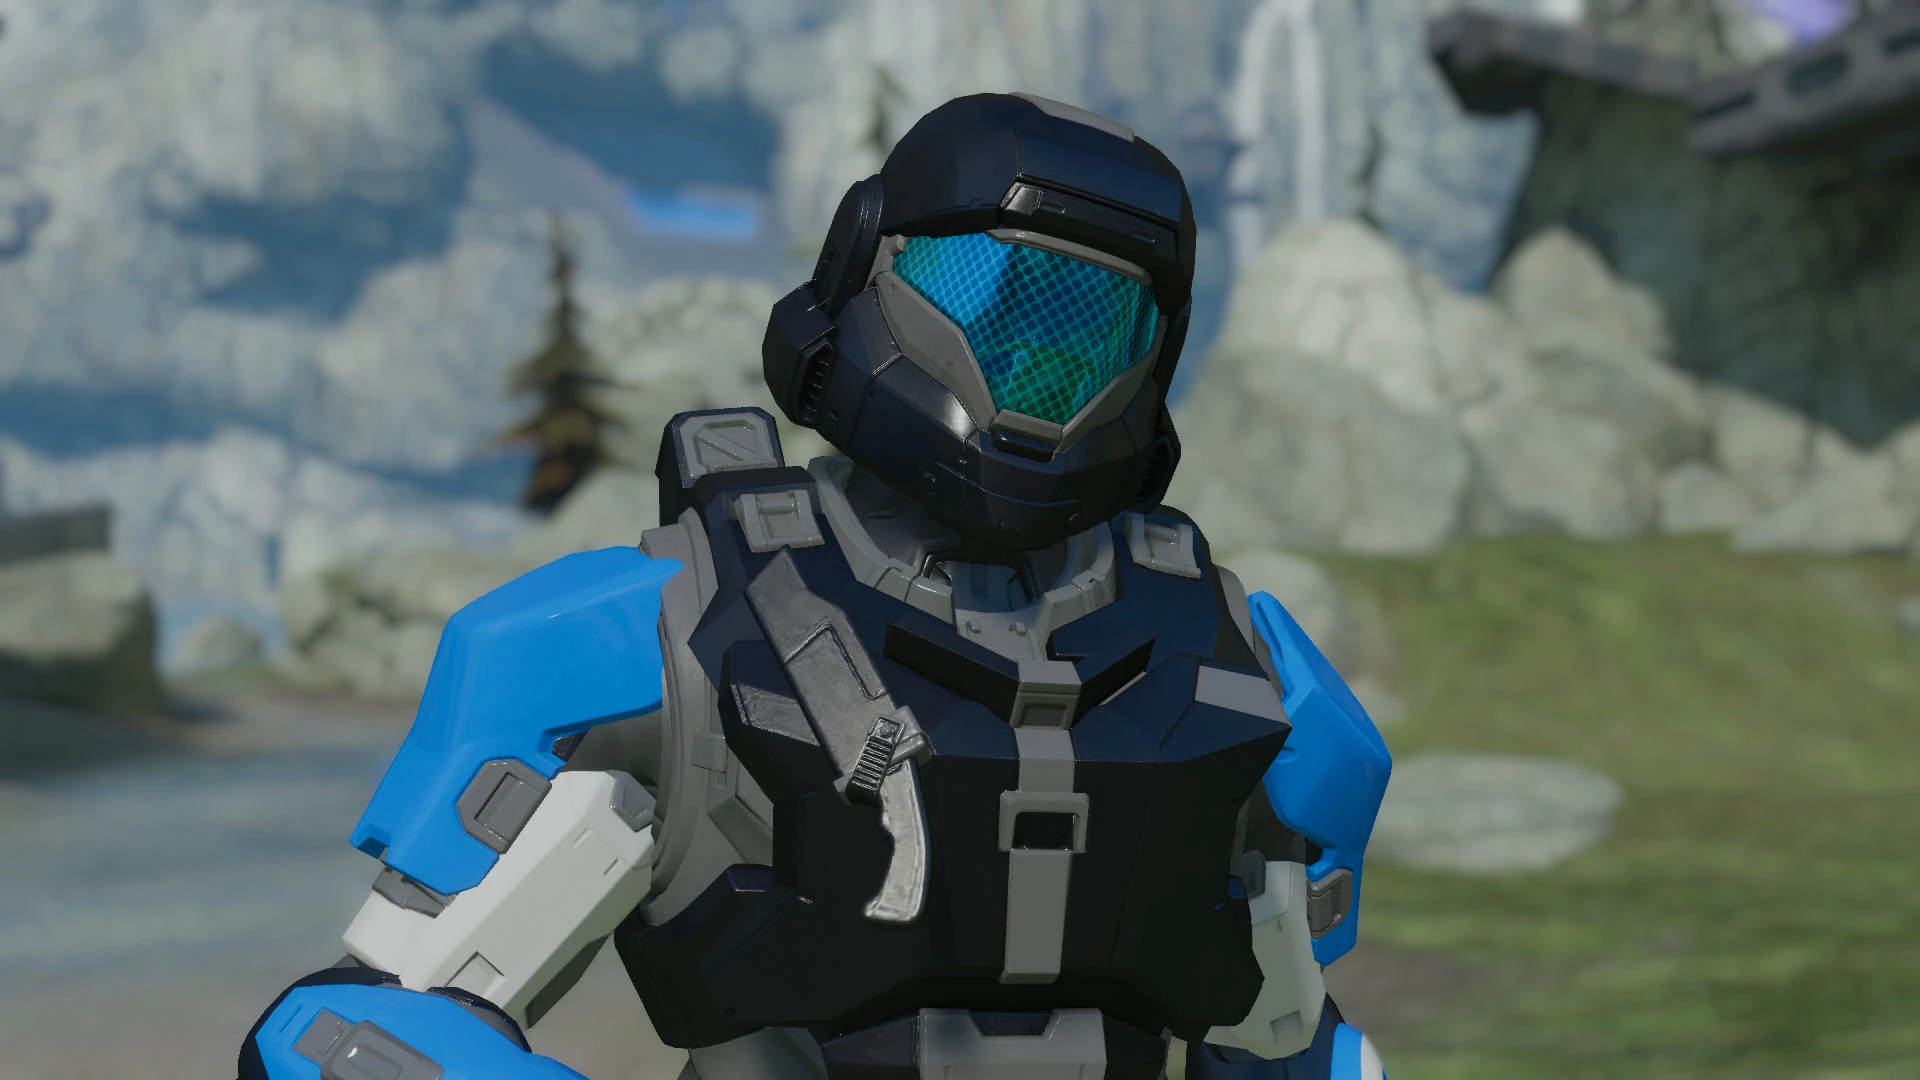
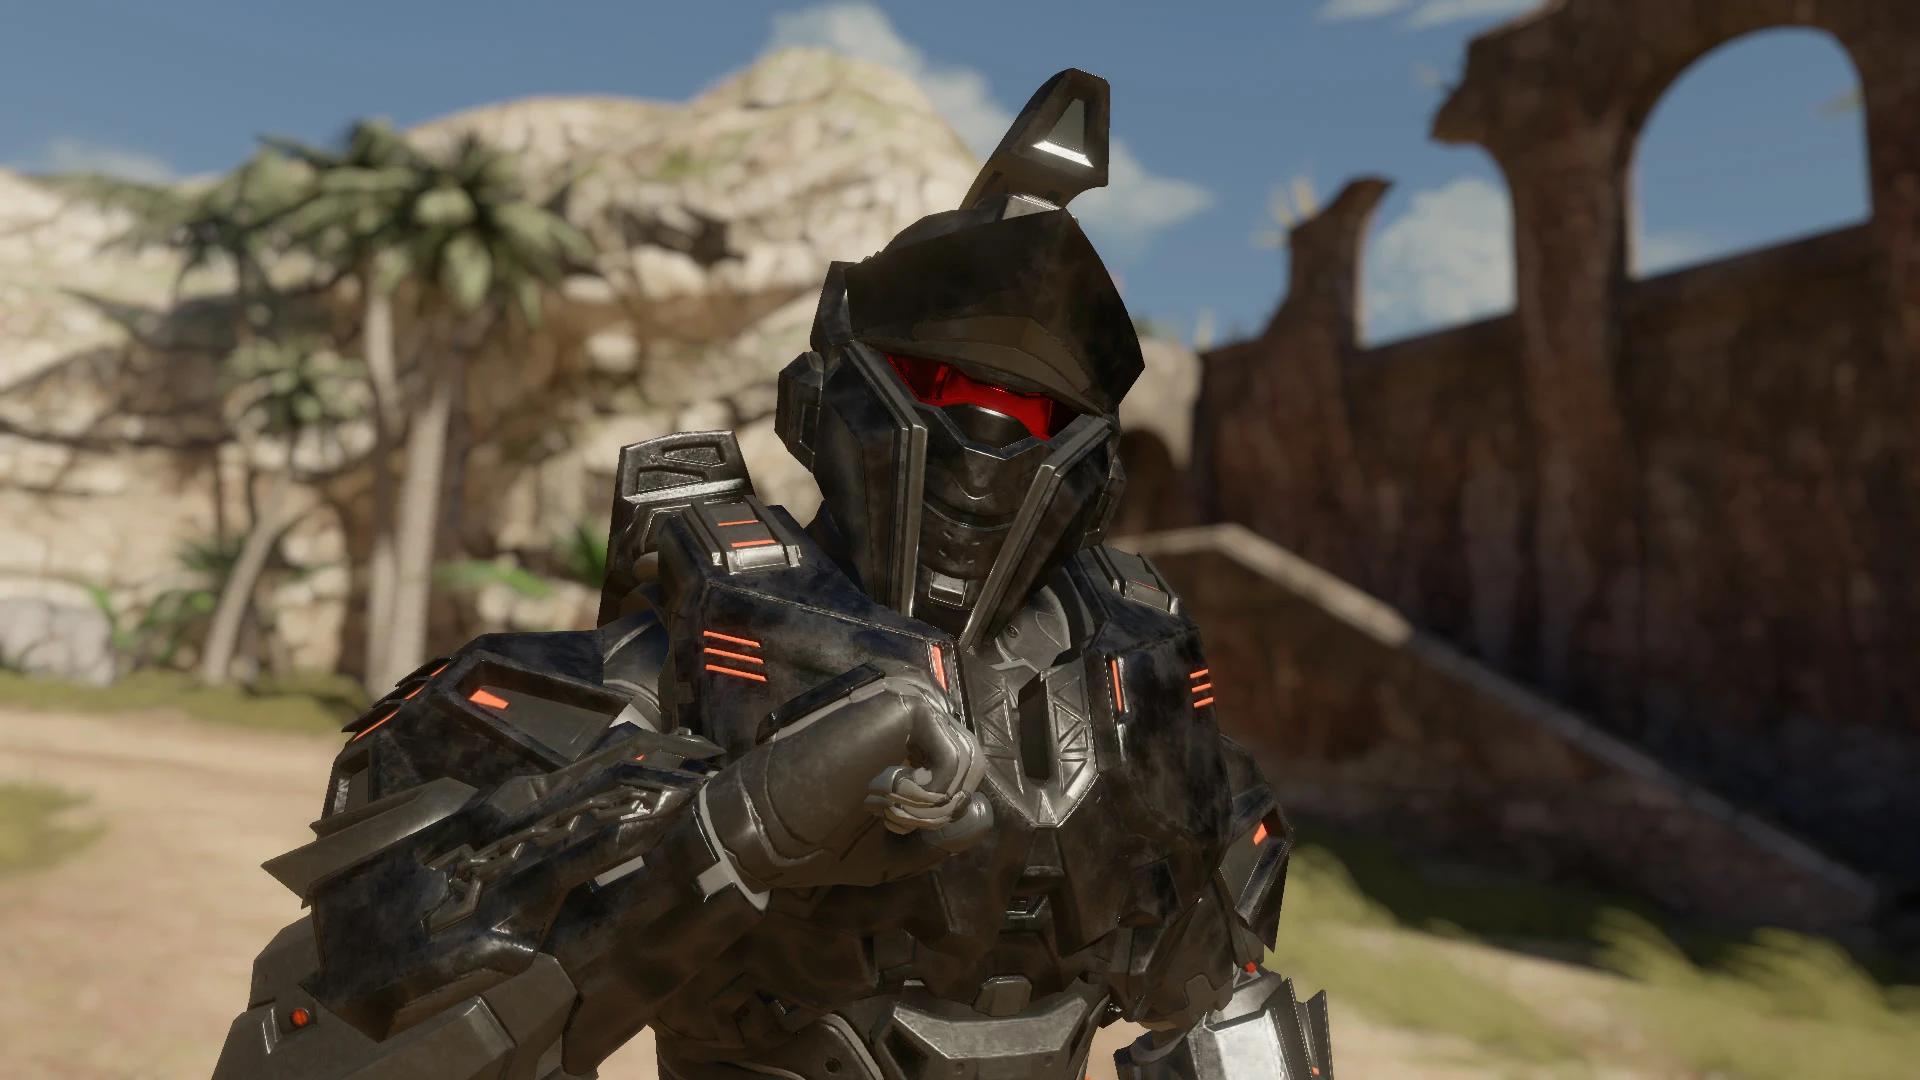
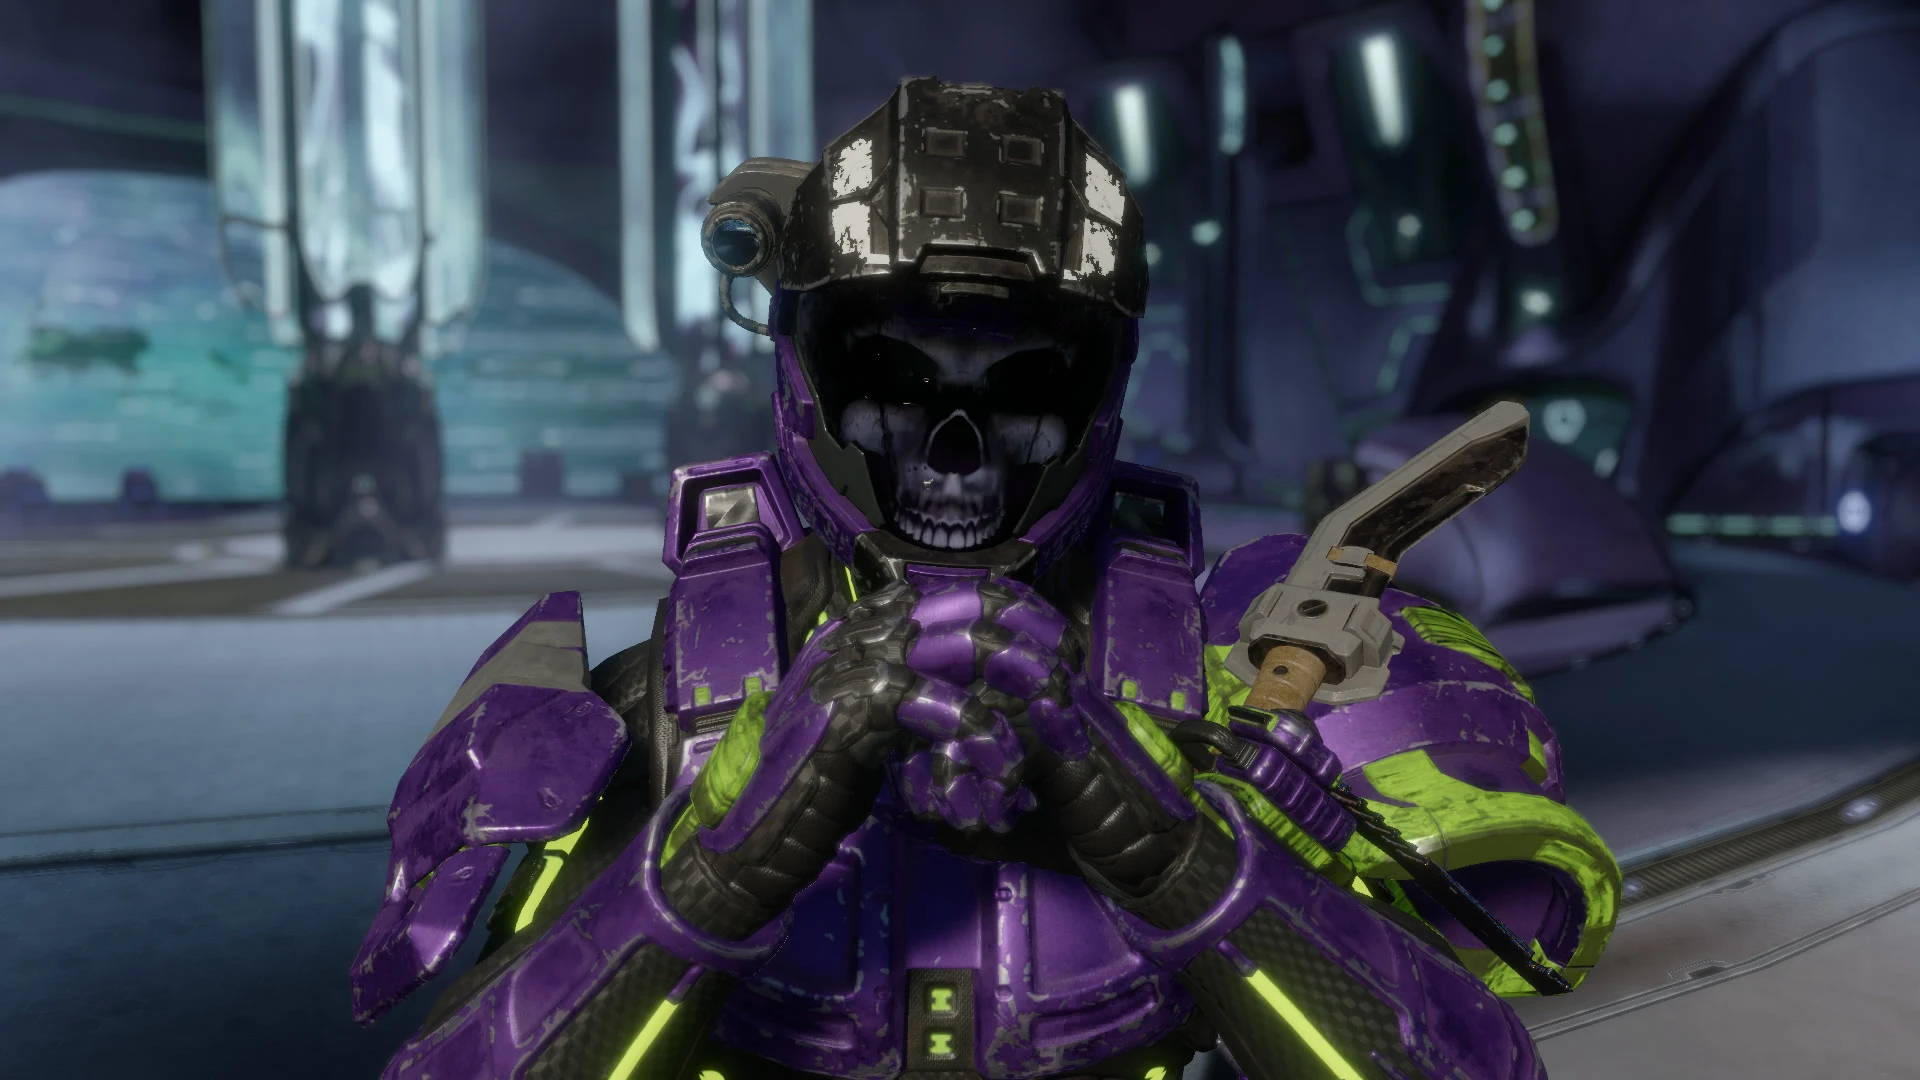
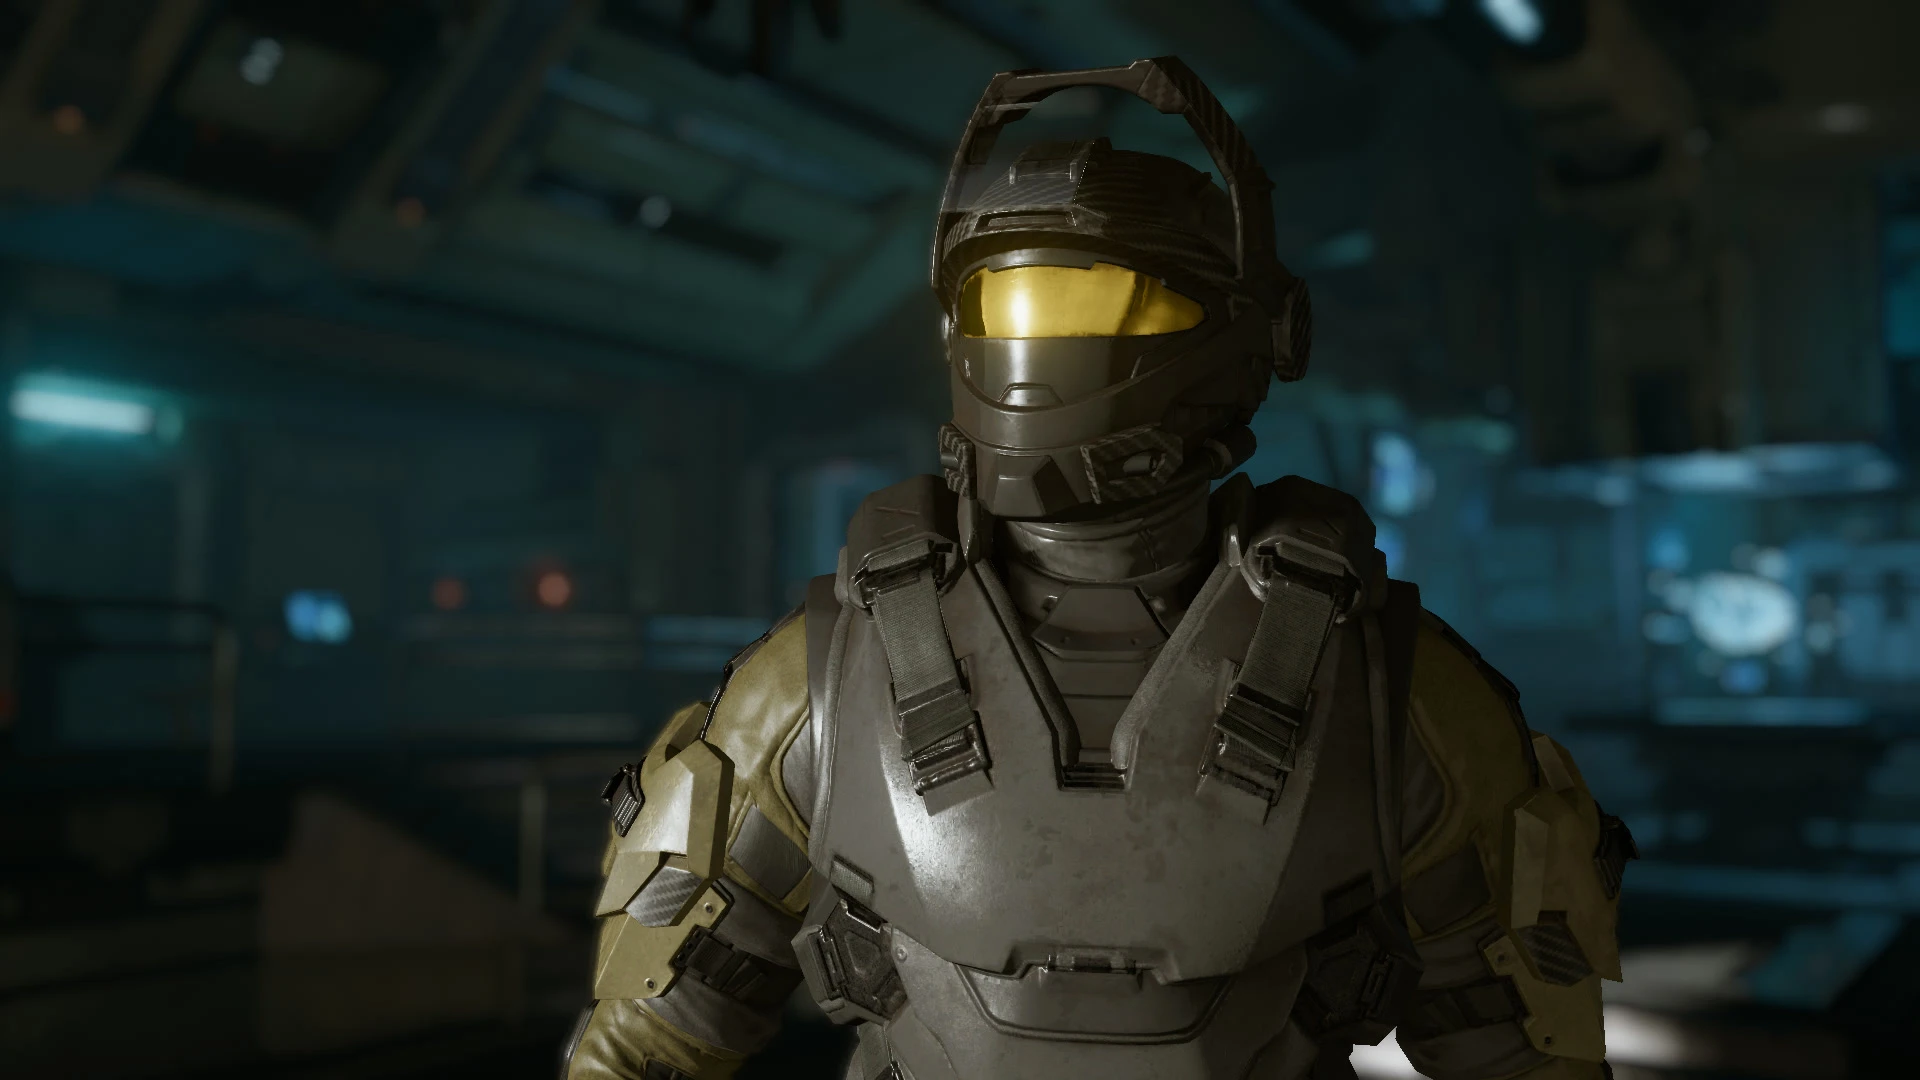
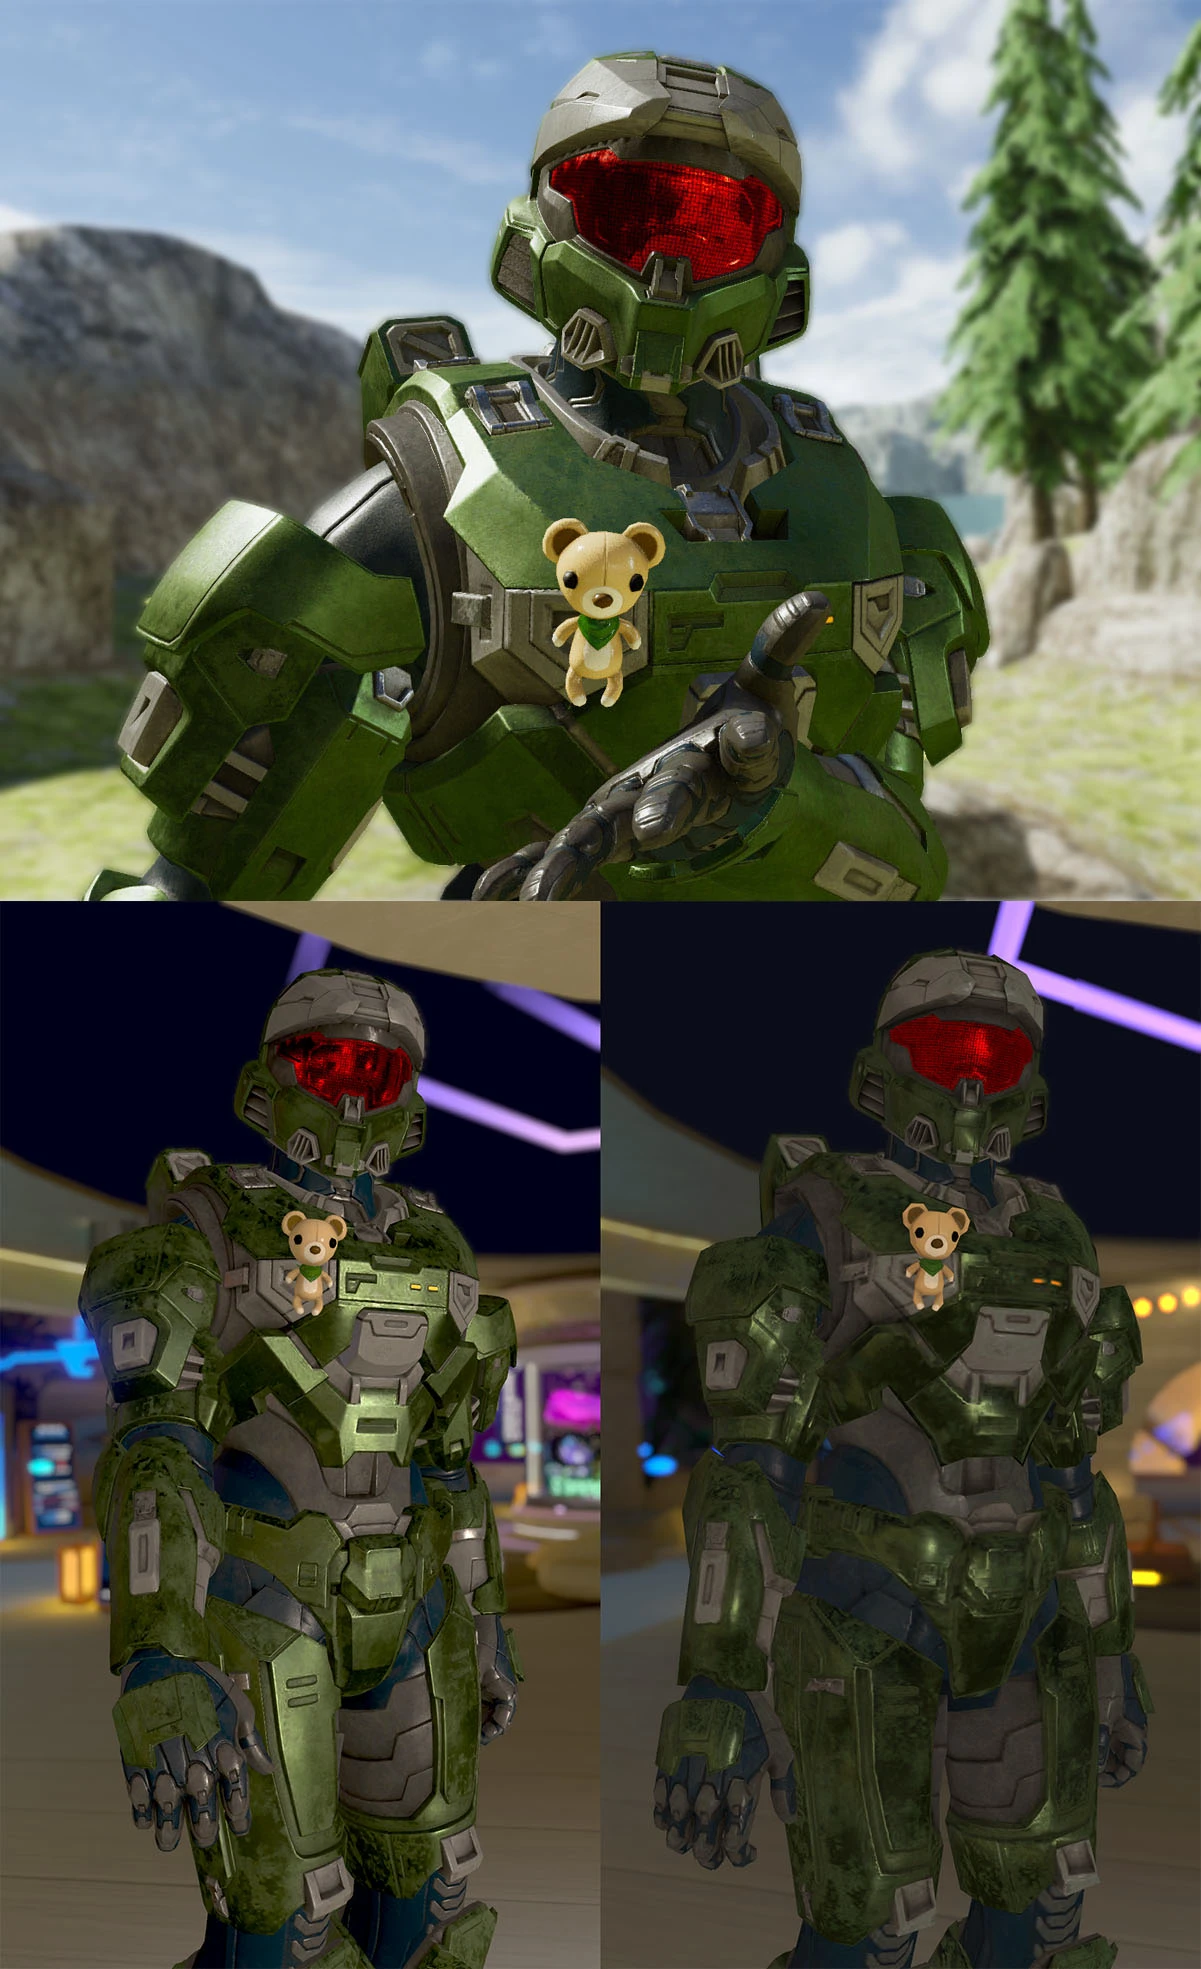
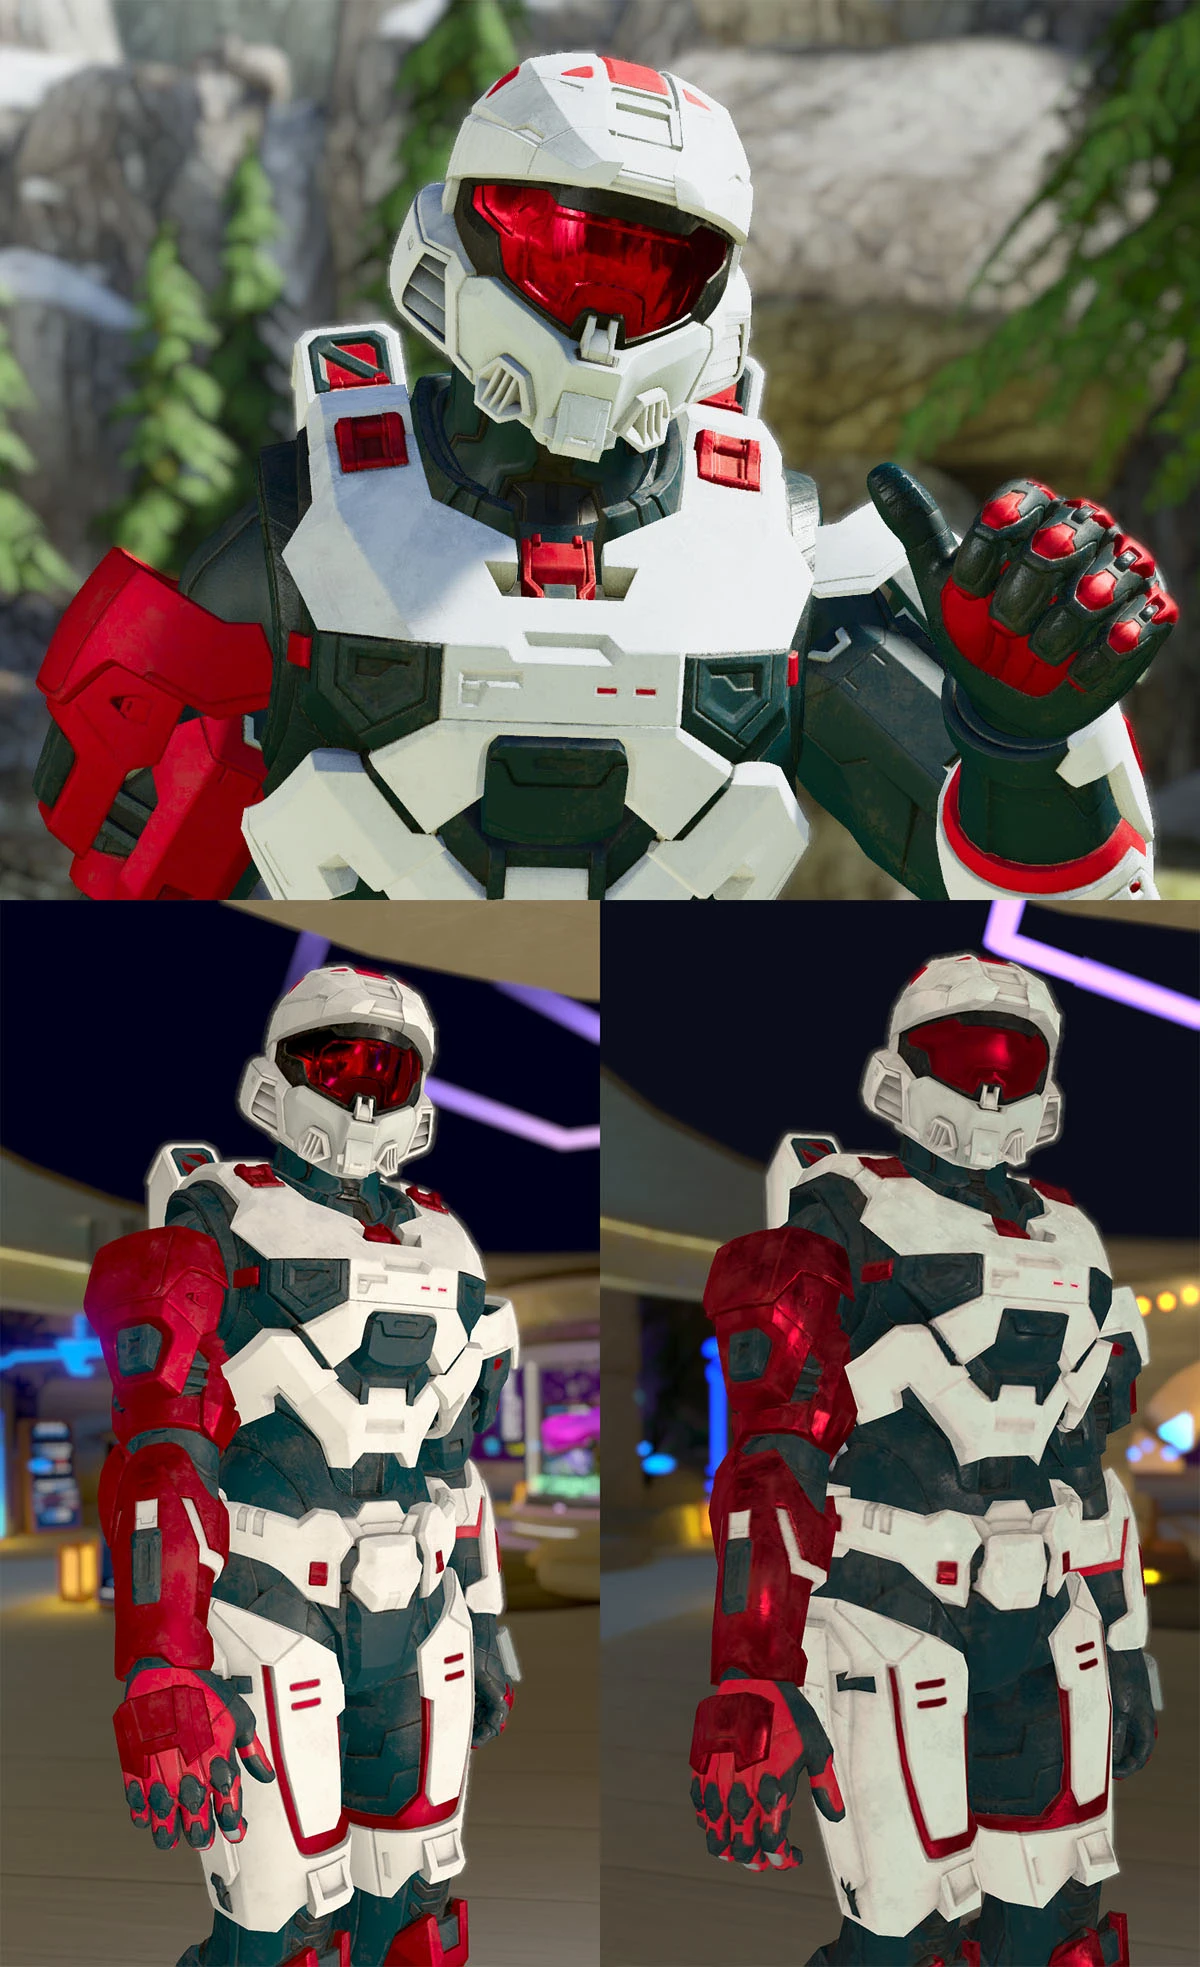
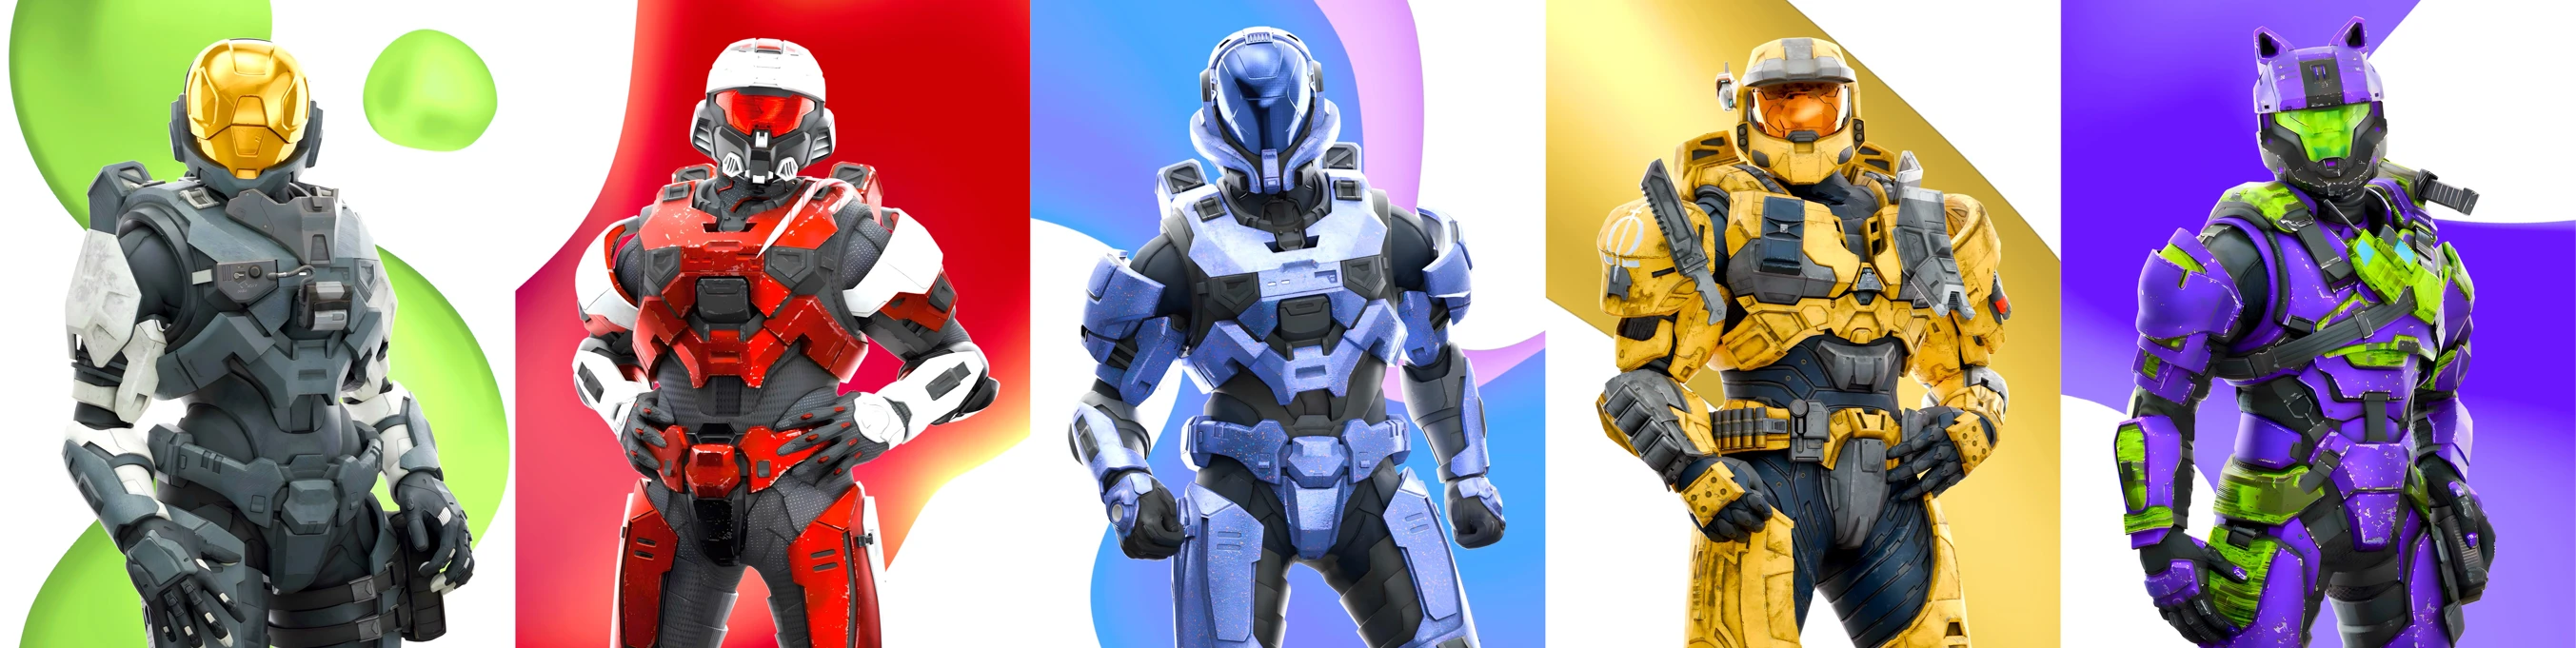
Images of most Spartans I ported to VRChat
Machinima of my own
In my first video I did a short clip of me talking as my Spartan in VRChat at the beginning to give the viewer an idea of the end result, and to act as an intro to the video. For the updated video, I wanted to make a short film with the same intention to showcase the end result to the viewer, but this time with a larger production effort. I also wanted to show appreciation to the Machinima community members who introduced me to the community due to my first Spartan to VRChat tutorial video. Thus, I thought making a Machinima of my own featuring some of the prominent Halo Machinimators would be a nice way to show that.
Since I had ported the Spartans of so many Machinima creators that I had met, and whom each had their own unique character, I thought it would be a very fitting idea to showcase these creators in their own armor in a short film with the narrative surrounding the avatar creation process. I had a very faint idea of what I wanted the scenes to be like with the main idea being that various Halo Machinima creators are admiring their own armor after they've received it. Each creator would play their own Spartan personality that I had gotten familiar with from watching their content, and their lines would loosely follow that established lore per character so those in the know would get it.
Planning
I had talked with ZeroGlitches about potential concepts for the trailer; him suggesting a TV store commercial setting, but in the end I went without any specific theme—instead just focusing on the Spartans and their armor as it felt natural to me. The film would have to be shot in VRChat as that was the whole point of the guide video—to make a VRChat Spartan—so I was limited to community maps already present in VRChat.
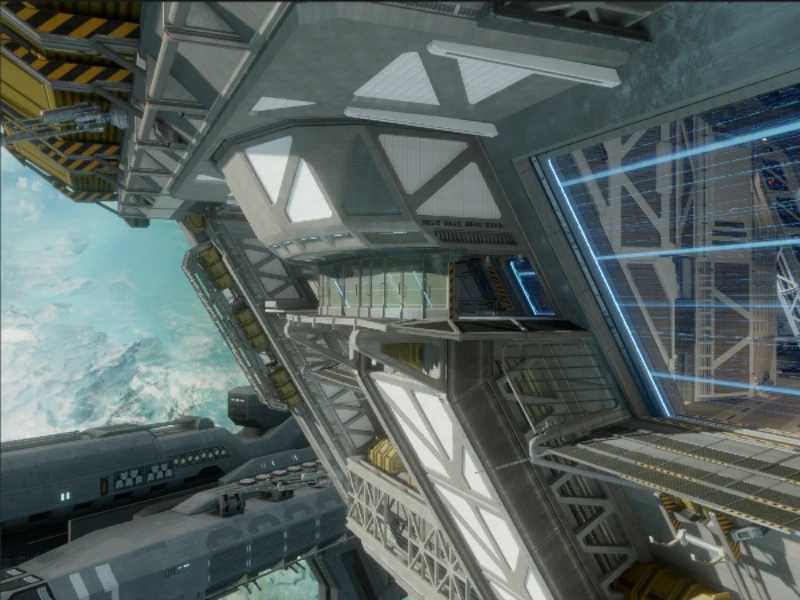
The Spartans being from Halo, I of course also wanted to use a Halo map. The map had to have good lighting and be an accurate representation of the ported Halo map. Additionally, I wanted a map with some computers and screens so I could transition into the actual guide video by zooming in a screen during the Machinima. That would narratively put the viewer in the position of a character who'd be instructed to watch the guide video within the Machinima—making the viewer be a part of the story as well. I ended up using the Anchor 9 map by The Heavynator for the film as it had all the features I was looking for, and plenty of computers and screens.
Directing
Having found a suitable map, I immediately started storyboarding what the Machinima would look like. Since I had already created the avatars for all of the Spartans I'd be showcasing, and I was inside VRChat, I had a unique opportunity to create quite accurate storyboard images without much effort; I just concepted the shot, stood in place with the right character and took a still shot of the scene with the in-game camera.

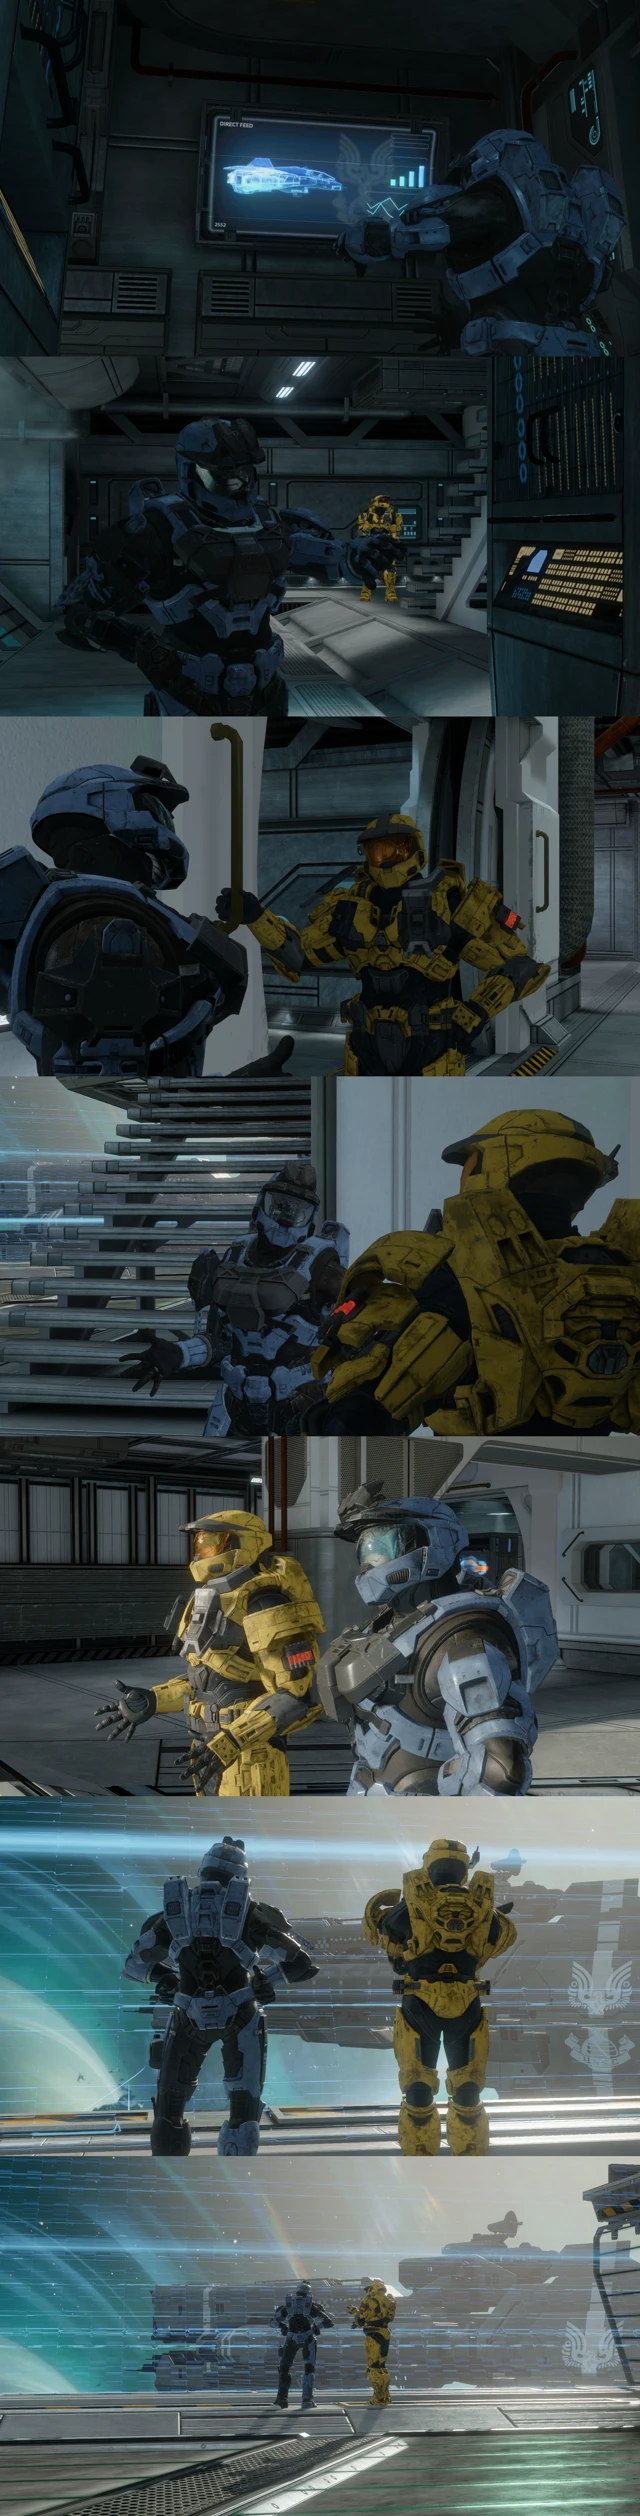
I asked Jupiterjr/CallistoProject to help make the characters come to life with her full-body tracking in VRChat. She played every character in shots with only one subject, and for scenes with two subjects, I had to make the most out of me not having full-body tracking by playing the second subject, and planning the shots so that the lack of lower body movement wouldn't be too noticeable. We had two body acting sessions, each lasting about two hours where we got all the intro and outro shots recorded.
The creators showcased in the intro in order were CorbinoBamBeano, CallistoProject, Spylens, M4rk M4dness (and Jimmy), ZeroGlitches, and finally myself. The creators in the outro were THAT Cobalt Spartan and mellohyelloh.
Script
As I was concepting the shots and coming up with the storyboard images, I was also writing the script for the film. I had recently talked with Jr Pie/Nick Presley about an ambitious Halo 3: ODST short flim project of his, and had gotten a little familiar with how a film script should look like. The script has multiple shots of the aforementioned characters each referencing the armor creation process in one way or another. The outro scene features "Cobalt" as the main character, who is wearing the armor that the guide video explained how to create.
There are some fun references to the lore of these characters within the scenes:
- CallistoProject: Working at an interface as she is a technician
- Spylens: Mentions "ONI", which is a prominent organization in his Machinima series L.E.N.S
- M4rk M4dness: Has an interaction with "Jimmy" similar to his Spartan Talks shorts
- ZeroGlitches: Turns into a low-poly version of his Spartan which he wanted made; also references the goofiness of Zero
- mellohyelloh: Mentions "Cobalt Cars", which is a brand made up by THAT Cobalt Spartan
- THAT Cobalt Spartan: Talks of starting a business via "flying by the seat of one's pants", which points to mellohyelloh's Machinima series "flying by wire", which reference's Trocadero's album "Flying by Wire", but also the term "Fly by the seat of your pants".
I initially wrote the script on a Markdown text file, which would've been fine as in the end it's literally just text, but once I had the entire script finished, I asked Nick to convert it to a standard format just for the fun of it. In the process I learned some script writing and formatting techniques that I wasn't expecting to learn, but I'll take those skill points any day. You never know when they may come in handy. The script includes both the intro and outro, and explains the location and setting of each scene as well as what each character's lines are.
Thoughts on VR filmmaking
Directing a film in VRChat was quite intuitive as you could just pull up the script at a moment's notice in front of your face without changing your pose, or even have it permanently in front of your face if you wanted to due to the lack of limitations in a virtual reality environment. I was also able to move the location of the camera without hassle up in the air, or do panning shots with just a steady movement of my controller's joystick. VRChat is great for filmmaking in VR as you have complete freedom on what sets and avatars you can create. It doesn't compare to films made with motion capture and Blender scenes, but it can be good for short films like this if you have the environment and avatars ready.
One VRChat short film scene that really impressed me was a fight scene from "THE PENROSE PROTOCOL". What's impressive to me is the fight scene having very convincing physical contact. Understand, that having two body actors interact physically with each other in virtual reality produces no actual real-life contact or resistance, so they have to somehow still produce convincing physical contact without actually contacting their partner. Also latency between actors has to be taken into account, which can range from 10-300 ms depending on where you're located in the world. Khangaluwu, the Studio Lead of Studio Penrose explains the struggle better in a VR interview by Nepherti.
While my Machinima was carefully planned, and each of the lines by different Machinima creators were added in post to sell the illusion of it being a continuous act, there were some bloopers in between takes like one would expect, so I've compiled the highlights in a video which is pretty entertaining if I do say so myself.
Thoughts from Jupiterjr:
Step-by-step guide
Here is a written step-by-step guide on how to get your Halo Infinite Spartan to VRChat. You can use the page navigation on the right side to easily jump to sections.
Blender
PC
First-time setup
- Own Halo Infinite; have downloaded all the required files for it, and have it currently installed
- Install Blender
- Install Ekur
- Follow the installation instructions to point to the Halo Infinite files
- Edit → Preferences → Add-Ons → Ekur → Download Required Files, Dump Required files
- Set up Blender settings
- Load the Spartan Template.blend file in Blender, or at least copy the rig from it to your own Blender file
- File → External Data → Automatically Pack Resources: Off
- Edit → Preferences → System →
- CUDA, if NVIDIA non-RTX GPU
- OptiX, if NVIDIA RTX GPU
- HIP, if AMD GPU
- oneAPI, if Intel GPU
- Viewport Overlays (top right) → Face Orientation: On
- Edit → Preferences → Themes → 3D Viewport → Face Orientation Front (blue), Alpha: 0.000
- (Optional): Use my Blender key binds
- Edit → Preferences → Keymap → Import
Loading the Spartan model and initial setup
- Ensure the correct armor is applied on the account in Halo Infinite whose armor you will be pulling
- Load the Avatar by navigating to N → Ekur → Import Vanity
- Set Body Type
- Set limb overrides if necessary (robot arms or legs)
- Gamertag (input name) → Import Spartan from Gamertag
- Blender will freeze for 2–5 minutes
- Right Click "Spartan_Control_Rig_V2" → Delete Hierarchy
- Confirm that the avatar has the correct armor
- Preview in "Viewport Shading" view (top right)
- Fix potential attachment transform issues
- Some attachments import at a wrong position and rotation, and have to be manually adjusted
- Delete hidden mesh variants
- Hidden body type variants if other than "Body Type 0" was used
- Hidden arm or leg parts if robotic limbs were used
- Combine meshes into Helmet, Attach and Base
- Select multiple meshes by holding Shift and join meshes with Ctrl+J
- Helmet = Helmet + Helmet attachments
- Attach = Attachments, Shoulders, Kneepads and Hands
- Base = Neck, Chest, Waist, Arms, Legs
- Rename each mesh with a descriptively
- Avatar Name_Helmet
- Avatar Name_Attach
- Avatar Name_Base
- Remove the old armature modifiers on all meshes
- Modifiers → Armature → Remove Modifier
- Delete the connector piece between torso and hips (Edit Mode, L → Del → Vertices)
- Unnecessary part that will never be seen; only shown in Halo Infinite at 78 FOV or under when looking down at your lower body
-
(Optional): If you aim for any performance rank other than "Very Poor" in VRChat and the total "Tris" count (bottom right) of the model is over 70,000 when all meshes are visible, reduce it to be under
- Merge nearby vertices of all meshes
- Select all meshes → Edit Mode
- Alt+H to unhide any potentially hidden meshes
- A to select all vertices in Edit Mode
- A → Shift+L on the helmet visor to exclude the visor so its texture doesn't deform
- M → By Distance (Merge Distance: 0.0001 m)
- Object Mode → Select Mesh → Modifiers → Decimate → Adjust "Ratio" down from 1.00 until under 70,000 Tris. Optionally adjust multiple meshes instead of just one
- Carefully inspect the model as you're changing the Decimate value as it may leave some unideal holes in the model
- Apply the modifier with Ctrl+A while hovering over it
- Merge nearby vertices of all meshes
- Add "Bake" UV Map to all meshes and ensure it's selected
- Data → UV Maps → Add UV Map
- Go to the UV Editing tab and load and rename all materials for all meshes
- Set UV Map target image to an empty square (usually named -1 or 0)
- Use Object Mode to swap between meshes and load materials
- Change to Edit Mode to select material groups and rename materials to descriptive names
- Fix the UV Atlas on all meshes
- Pivot: 2D Cursor
- Select mesh → Edit Mode → Material → Select (select both sides such as left thigh and right thigh)
- If there are any asymmetries with the textures such as different colored limbs or different shoulder pads, these will need separate areas in the atlas, such as fitting two 0.25x separate thigh UV Islands next to each other instead of overlapping them
- Manipulate the UV Island on the left for each material's vertex group
- A to select all, S to scale. S → Y/X to scale on just Y or X axis
-
UV Atlas reference for the "_Base" mesh
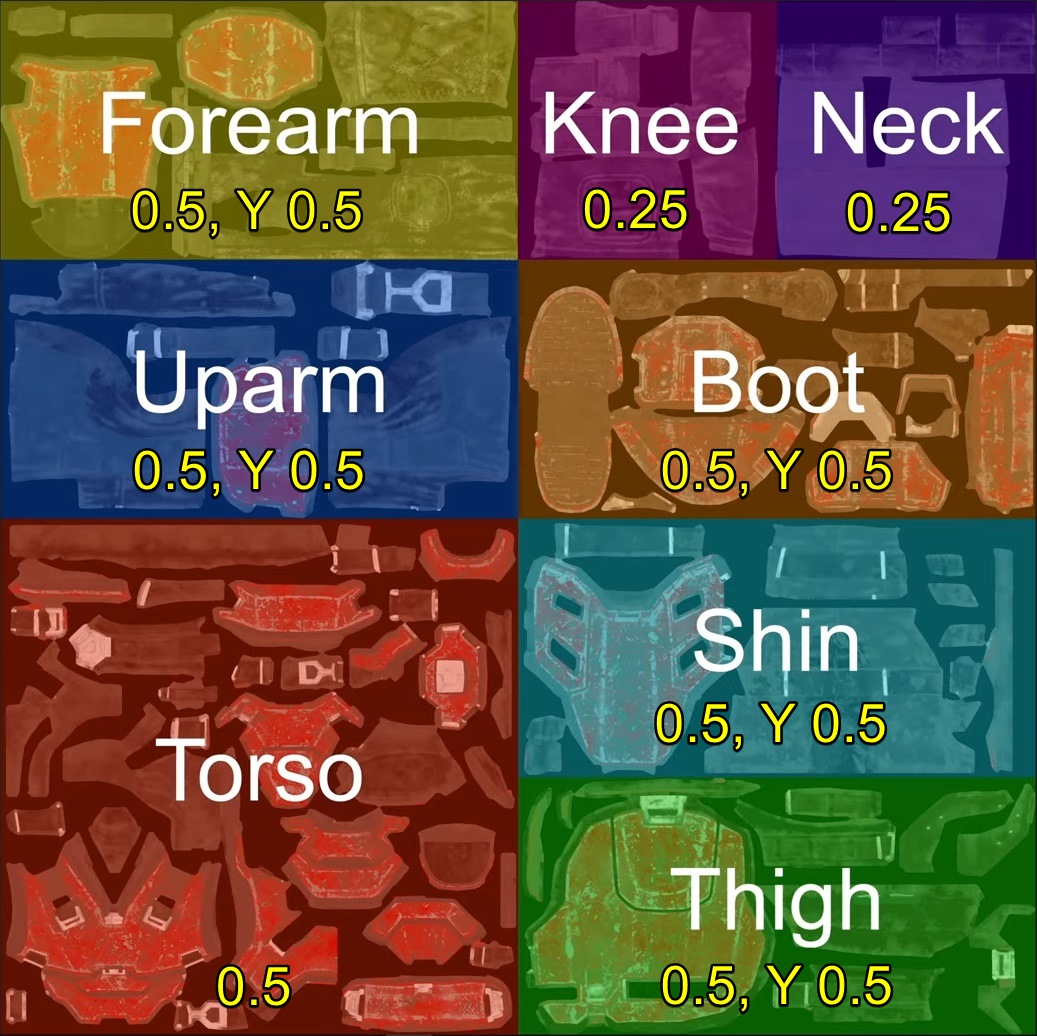
Image by OneWeirdGuy
- Some textures like the Neck, Shoulders or parts of the Helmet may have a UV Island that can be made to overlap with an existing UV Island to optimize the UV Map as they are the same texture just mirrored. These mirrored parts will show outside the square and will have to be moved on top of the other UV Islands at the same position
- For attachments: scale attachment UV Islands based on size and detail importance of the attachment; a large chest attachment should get more space than the kneepads
Creating the textures
- Setup textures in the Shading tab
- Object Mode → Shading tab
- Unhide all meshes, select the Base mesh and select the top material
- Double click the green "Halo Infinite Shader x.x.x" shader to open it
- Search with Ctrl+F:
- "Group Output", move to the right of "Principled BSDF"
- "Separate Color" (with only "Red" connected), move above "Principled BSDF"
- "Power", disconnect "Exponent" and set to 0 (removes Ambient Occlusion)
- Using Shift+Right Click (Hold), make cuts to "Principled BSDF" on Base Color, Metallic, Roughness
- Add nodes with Shift+A
- "Combine Color", move above "Principled BSDF"
- Metallic → Blue
- Roughness → Green
- "Separate Color" Red → Red
- "Combine Color", move above "Principled BSDF"
- Exit the shader
- (Optional): If the default Scratch Amount on the armor looks too bright, adjust the scratch for all materials on each mesh
- Select a mesh → Materials tab
- Reduce: Zone 1 of the shader → Scratch Amount: 0.200
- Set the Viewport Shading: Solid
- Create a new Image Texture with Shift+A → Image Texture → New
- Note which mesh you have selected and create an Image Texture for each with the same name as the mesh and an "_" at the end
- Base = 4096x4096
- Attach = 2048x2048
- Helmet = 2048x2048
- Alpha: On
- Press "New Image" and set Source to "Generated" (defaults to "Single Image")
- Note which mesh you have selected and create an Image Texture for each with the same name as the mesh and an "_" at the end
- Copy the Image Texture to every material in the mesh and ensure the Image Texture is the selected node in each material
- Some materials for attachments use a different shader than the "Halo Infinite Shader x.x.x", so steps 1–3 must be done separately for those shaders as well
- Some materials for attachments use a different shader than the "Halo Infinite Shader x.x.x", so steps 1–3 must be done separately for those shaders as well
- Set the render settings in the Render properties:
- Render Engine: Cycles
- Feature Set: GPU Compute
- Sampling → Render
- Noise Threshold: Off
- Samples: 1
- Denoise: Off
- Choose a Base Color bake method:
-
Baking textures without transparent parts
- Open the shader node and connect Base Color from "Principled BSDF" to BSDF in "Group Output"
- Exit the shader, ensure the Image Texture is selected and the Color Space is "sRGB"
- Bake → Bake Type: Emission
- Press "Bake"
- Image → Save As
- Append "C" to name
- Color: RGB
- Save As Image
-
Baking textures with transparent parts
- Open the shader node and duplicate "Principled BSDF"
- Connect Base Color and Alpha from the original "Principled BSDF" to the duplicated "Principled BSDF"
- Make a split to existing connections with Shift+Right Click (hold)
- Connect BSDF from the duplicate "Principled BSDF" to BSDF in "Group Output"
- Exit the shader, ensure the Image Texture is selected and the Color Space is "sRGB"
- Bake → Bake Type: Diffuse
- Influence → Contributions: Direct: Off, Indirect: Off, Color: On
- Press "Bake"
- Image → Save As
- Append "C" to name
- Color: RGBA
- Save As Image
-
- Open the shader node and connect Color from "Combine Color" to BSDF in "Group Output"
- Exit the shader, ensure the Image Texture is selected and the Color Space is "Non-Color"
- Bake → Bake Type: Emission
- Press "Bake"
- Image → Save As
- Append "ORM" to name
- Color: RGB
- Save As Image
- Open the shader node and connect BSDF from "Principled BSDF" to BSDF in "Group Output"
- Exit the shader, ensure the Image Texture node is selected and the Color Space is "sRGB"
- Press "Bake"
- Image → Save As
- Append "E" to name
- Color: RGB
- Save As Image
- Ensure the Image Texture is selected and the Color Space is "Non-Color"
- Apply Normal Map bake settings:
- Bake Type: Normal
- Modifiers → Edge Split: 0°
- Press "Bake"
- Image → Save As
- Append "N" to name
- Color: RGB
- Save As Image
- Remove the "Edge Split" modifier from the mesh
- Repeat the process from step 6 for the remaining meshes
Fixing weight paints
- Go to Layout and rotate the meshes to match the rotated rig
- Unhide all meshes
- Unhide the "Spartan Rig" armature
- Select all meshes and set their origin point to the 3D cursor
- N → View → 3D Cursor, Location: 0,0,0
- Object → Set Origin → Origin to 3D Cursor
- Transform Pivot Point: Individual Origins
- Select all meshes and rotate them -90° on the Z-axis (to the right)
- Hold Ctrl to rotate in 5° increments
- While holding the meshes, hold Shift (hold Ctrl if selecting in Hierarchy) and select the Rig → Right Click → Parent → Armature Deform
- Select the Rig and lastly the "_Base" mesh while holding Shift and hide the other meshes
- Weight Paint mode → Data tab → Vertex Groups sort by name
- Rename Vertex Groups to corresponding bone names for that mesh area
- Open the hierarchy of "Spartan Rig" with Shift+Left Click to see the bone names
- Alt+Left Click on the bones in the viewport to view their names and get familiar with them
- Select a Vertex Group and see if it has any associated weights on the mesh with it, then rename it to the bone closest to the mesh
- Start renaming Vertex Groups from the bottom of the list
-
- (Base mesh) The "b_torso" Vertex Group contains weights for robotic arm meshes on some cores and is assigned to the "Chest" bone
- (Base mesh): The "shoulder_helper" Vertex Groups are assigned to the "Upperarm.x" bones
- Knees and Kneepads get assigned to the "Shin.x" bones
- (Base mesh) The "b_head" Vertex Group that has the neck painted is assigned to the "Head" bone
- (Attach mesh) The "pinky0" Vertex Group should often be assigned to the "Hand.x" bone based on the positioning of the weight paint
- (Attach mesh) the "hand_twist" Vertex Group is assigned to the "Forearm.x" bone
- (Attach mesh) the "forearm_helper" Vertex Groups are assigned to the "Forearm.x" bones
- Delete Vertex Groups that have no weight paint visible on the mesh preview
- Be careful here as deleting an important Vertex Group results in a lengthy task of fixing the weight paint of it later on
- Combine the Vertex Groups assigned to the same bone as one Vertex Group
- Modifiers → Add Modifier → Vertex Weight Mix (add multiple)
- Vertex Group A: Search for "001", select a result such as "Neck.001" and remove the ".001", copy the remaining name "Neck"
- Vertex Group B: Paste the text "Neck" and select the duplicate of it with "001"
- Vertex Set: All
- Mix Mode: Add
- Repeat for all Vertex Groups that show up when initially searching for "001"
- If a Vertex Group has multiple duplicates e.g. "002", add these in new Vertex Weight Mix modifiers to the originally named Vertex Group e.g. "Neck" + "Neck.002"
- Delete extra Vertex Weight Mix modifiers
- Good idea to save here
- Modifiers → Add Modifier → Vertex Weight Mix (add multiple)
- Apply all Vertex Weight Mix modifiers with Ctrl+A while hovering over the modifier
- Go to the Data tab and sort the Vertex Groups by Bone Hierarchy
- Go to the top of the list and inspect that all Vertex Groups with no numbers at the end have the correct combined weights on the areas
- Delete the now unnecessary Vertex Groups with numbers appended
- Repeat the process from step 2 with the remaining meshes
- Unhide all meshes and validate that all the meshes move when moving the bones
- Object Mode → Unhide all meshes → Select rig → Pose Mode
- Select the "Hips" bone and rotate it to rotate the entire rig. There should be no meshes left disconnected
- If there are disconnected meshes, find what they are and apply weight paint to them to the correct Vertex Group (explained in next step)
- Find weight paint issues:
- Rotate individual bones and find areas where the mesh deforms unnaturally
- Common areas include: Elbows coming out of shoulder armor, bottom of foot coming out when moving toe up, front of neck distorting when tilting head up, clavicles disconnecting from chest armor when moving arms and issues when moving hand or fingers
- The finger issues are annoying to find, but can be spotted by finding green marks of weight paint on the hands in areas where they don't belong. Select all the finger bones in Pose Mode and set the Transform Pivot Point to "Individual Origins" and rotate the finger bones to simulate a realistic grasp motion, then see if any unintended part of the hand moves with the finger bones
- Looking for issues with the clavicles should be done by selecting the "Shoulder" and "Upperarm" bones, changing Transform Pivot Point: Individual Origins, and then rotating either bone to simulate a realistic arm rotation
- Fix weight paint area issues
- Object Mode → Select rig and the mesh where the issue is (most likely Base) → Edit Mode
- Hide parts of the mesh around the weight paint issue by selecting them with L and pressing H
- (Optional): Lastly select the area with the weight paint issue by hovering over it and pressing L if you want to later isolate this selection
- Weight Paint → Bone Selection (top left) → Find the Vertex Group with paint in the issue area e.g. "Forearm.L" via Alt+Left Click on the bones
- (Optional): Select "Paint Mask" on the top left to only apply weight modifications to the previously selected area from Edit Mode
- (Optional): Enable weight paint mirroring on the X axis if you want to fix both sides at once
- Top right arrow dropdown → Mirror Vertex Groups: On, Mirror: X, Topology Mirror: On
- Using either the "Gradient" or "Brush" paint tools, paint the desired weight on to the mesh. Blue/0.000 = 0% movement with the bone, Red/1.000 = 100% movement with the bone.
- The Gradient tool doesn't mirror the weight on the other side, so it may be unideal
- When done, go to Object Mode → Unhide all meshes → Select rig → Pose Mode, rotate bones to see if the issue is fixed
- Repeat for all mesh issues and at the end select the mesh → Edit Mode → Press Alt+H to unhide all mesh parts
Fixing bone and rig position issues
- Fix the leg pose to be compatible with VRChat
- The default Halo Infinite A-pose has the legs spread apart, which is not how the reset pose in VRChat is like for Full-Body Tracking, thus it will cause tracking accuracy issues if not addressed
- Object Mode → Unhide all meshes → Select rig → Pose Mode
- Select a bone and press A to select all bones
- Pose → Clear Transform → All
- Ensure X-Axis Mirror: Enabled, Pivot Point: Individual Origins, Transform Orientations: Normal
- Select the "Thigh.L" bone → Rotate blue -8.2
- Select the "Foot.L" bone → Rotate green 10, Rotate red 1.4, change Transform Orientations: Global, Rotate blue -7
- Object Mode → Select one mesh → Modifiers → Apply the Armature modifier
- Repeat for all meshes
- Select rig → Pose Mode → Pose → Apply → Apply Pose as Rest Pose
- Object Mode → Select all meshes → Lastly select the rig while holding Shift (hold Ctrl if selecting in Hierarchy)
- Right Click → Parent → Armature Deform
- Ensure the rig is connected to the meshes by temporarily rotating the "Hips" bone in Pose Mode
- Fix the height of the rig after the legs were straightened
- Ensure the 3D Cursor location is at 0,0,0 (N → View → 3D Cursor)
- Object Mode → Select rig → Move rig up on the Z-axis by 0.012
- G → Z → 0.012
- Select the rig and all meshes
- Object → Set Origin → Origin to 3D Cursor

Saving a backup and exporting the model
- File → Save Copy → Append "_Bake", and save. This will be a copy of the file without any destructive changes
- (Continuing from the regular file): Remove the "UV0" and "UV1" UV Maps from all meshes
- Leave only "Bake" on all meshes
- Remove all materials from the meshes
- Add one material per mesh that has the same name as the mesh
- Select all meshes by holding Shift → Join meshes (Ctrl+J)
- Rename the new single mesh to "Name_PC" ("Name" is custom)
- Select the mesh and the rig
- Export the model from: File → Export → FBX
- Include → Selected Objects: On
- Geometry → Vertex Colors: None
- Armature → Add Leaf Bones: Off
- Animation: Off
- Export FBX
- Save (Ctrl+S)
Mobile
Creating the mobile variant and optimizing model triangle count
- Make a "Mobile" folder in your project folder, copy the _Bake.blend file there and rename as _Mobile.blend. Load the file in Blender
- Merge nearby vertices of all meshes
- Select all meshes → Edit Mode
- Alt+H to unhide any potentially hidden meshes
- A → M → By Distance (Merge Distance: 0.0001 m)
- Decimate the face count of each mesh
- Object Mode → Select one mesh → Decimate (Modifier)
- Preview with shading, drag the Ratio scalar and aim for a target Tris amount (Decimating each mesh). Don't go below a threshold where the mesh starts looking distorted
- "Good" ranking guideline (10,000 tris): Helmet: 0.20, Attach: 0.18, Base: 0.18
- "Medium" ranking guideline (15,000 tris): Helmet: 0.20, Attach: 0.25, Base: 0.30
- Increase fidelity if remaining tris
- Apply modifiers with CTLR+A while hovering over Decimate modifier
- Performance ranks reference
- Object Mode → Select one mesh → Decimate (Modifier)
Setting up textures
- Edit UV Maps to fit in one square
- Ensure the "Bake" UV Map is selected on all meshes
- Select one mesh in Object Mode and go to the UV Editing tab
- Edit Mode → A, to select all of the mesh
- Scale and reposition the texture atlas for the mesh so the atlases from all meshes can fit in the same square and each take up a reasonable amount of space
- Base: 75%, Attach: 12.5%, Helmet: 12.5%
- S to scale the selected meshes, X and Y to scale only on one axis after pressing S, type a number for an exact scale like "0.5".
- When done, Object Mode → Select all meshes → Edit Mode → A, and ensure that no meshes overlap in the texture atlas
- Join meshes to one
- Layout → Select all meshes → Ctrl+J
- Pay attention to your Tris count in the bottom right that it stays the intended amount to ensure you remembered to apply the Decimate modifier on all meshes beforehand
- Ensure the "Bake" UV Map is selected on the combined mesh
- Rename mesh to "Name_Mobile"
- Delete Image Textures in Shading tab for each material
- Create a 2048 px Image Texture, Shift+A → Image Texture → New
- Name to "Name_Mobile_", uncheck Alpha channel
- Copy the Image Texture to every material in the mesh and ensure the Image Texture is the selected node in each material
- Bake and save all textures (Reference the PC process from step 9)
- Return to the Layout tab after you're done
Saving a backup and exporting the model
- File → Save Copy → Append "_Bake", and save. This will be a version of the model without any destructive changes
- Remove the "UV0" and "UV1" UV Maps from the mesh
- Leave only "Bake" on the mesh
- Remove all materials from the mesh
- Add one material to the mesh that has the same name as the mesh
- Select the mesh and the rig
- Export the model from: File → Export → FBX
- Include → Selected Objects: On
- Geometry → Vertex Colors: None
- Armature → Add Leaf Bones: Off
- Animation: Off
- Export FBX
- Save (Ctrl+S)
Unity
PC
Importing the project files to Unity
- First-time setup:
- Install the VRChat Creator Companion
- Watch the tutorial video
- Unity will be installed with the installation process of VCC
- Download the ReroStandard shader .unitypackage
- Install the VRChat Creator Companion
- In VCC, create a new Unity 2022 Avatar Project
- If any updates to the "VRChat Package Resolver Tool", "VRChat SDK - Base" or "VRChat SDK - Avatars" packages are available, apply them
- Open the project
- Import the ReroStandard shader into the Unity project
- Drag ReroStandard.unitypackage from your PC to the Assets folder in the Unity project and press "Import"
- Create a new folder: "Avatar" in the Assets folder and open it
- Locate the folder on your PC where you saved all assets from the Blender process and import the files into Unity
- Inspect the image files ending with "_E" to see if they have any content or are just fully black. These are the emission textures, and if there is nothing but black present, they can be deleted
- Select the .fbx file and all the image files, and drag them into the Avatar folder in Unity
Configuring the avatar rig
- Select the .fbx of your Spartan and configure the rig as a Humanoid
- Inspector (top right) → Rig → Animation Type: Humanoid → Apply → Configure...
- Fix any missing bone mappings
- Common missing bones include the Chest, Shoulders and Spine. If they are missing in the mapping, drag the correct bones from the Hierarchy (left) to the Inspector (right) at the correct locations on the body
- Note: The "Upper Chest" bone is not present on this rig, and is not needed
- Common missing bones include the Chest, Shoulders and Spine. If they are missing in the mapping, drag the correct bones from the Hierarchy (left) to the Inspector (right) at the correct locations on the body
- For VRChat Only: Adjust the height of the rig to account for the VRChat default pose being slightly in the ground
- Select the "Hips" bone and scroll down on the right to the Transform section
- Type "+0.0001" at the end of the Z position → Apply
- Go to the "Muscles & Settings" tab (top right) and move the "Open Close" and "Finger Open Close" sliders to ensure the rig is mapped adequately to the mesh
- Press "Done" after you're ready to close the rig configuration window
Adding the avatar to the scene and configuring basic features
- Drag the .fbx of the Spartan into the Hierarchy (top left)
- Add a VRC Avatar Descriptor to the avatar and adjust the View Position
- Press "Add Component" on the Inspector (right) while the avatar is selected → VRC Avatar Descriptor
- Adjust the View Position values to X: 0, Y: 2.06, Z: 0.12
- Note: If you press "Edit" to preview its position, the height will look slightly too high in the scene preview, but the VRChat rig height fix from earlier is not shown in the scene and this accounts for that
Configuring textures and materials
- Optimize texture properties
- Select all textures in the Avatar folder and adjust the following settings on all:
- Alpha Source: None
- Advanced (Dropdown) → Mip Streaming: On, Mipmap Filtering: Kaiser
- Filter Mode: Trilinear
- Resize Algorithm: Bilinear
- Compression: Low Quality
- Use Crunch Compression: On
- Press "Apply"
- Select only the ORM textures and change sRGB (Color Texture): Off → Apply
- Select only the Normal Map textures and change Texture Type: Normal map → Apply
- Select only the "_Base" textures and change Max Size: 4096 → Apply
- If you have textures with transparent parts, select them and change Alpha Source: Input Texture Alpha, Alpha Is Transparency: On → Apply
- Select all textures in the Avatar folder and adjust the following settings on all:
- Select the avatar in the Assets folder → Materials (top right) → Extract Materials... → extract in the same folder
- Select all three extracted materials and set up the material properties
- Shader: .Rero → Rero Standard → Rero Standard (Metallic Setup)
- Custom Rim: Enable
- Albedo (Color): FFFFFF (Full white)
- Rim (Min / Max): Drag to full left (Min)
- Advanced Channel Selection: On
- Enable GPU Instancing: On
- Metallic: B (dropdown)
- Set scalar to 1
- Roughness: G (dropdown)
- Set scalar to 0.8
- Occlusion: R (dropdown)
- If you have textures with transparent parts, select the material where they will be applied to and change the Rendering Mode to Cutout
- Select Material → Rendering Mode: Cutout
- Apply texture files to the materials
- Select a material and drag the corresponding texture files for that material (_Base, _Attach or _Helmet) on to specific sections of the material properties:
- Albedo: _C.png
- Metallic: _ORM.png
- Roughness: _ORM.png
- Normal Map: _N.png
- Occlusion: _ORM.png
- Emission (if present): Enable → Color: _E.png
- Global Illumination: None
- Repeat for all three materials
- Select a material and drag the corresponding texture files for that material (_Base, _Attach or _Helmet) on to specific sections of the material properties:
Uploading the avatar to VRChat
- Open the Build Panel and ensure the build platform is correct
- VRChat SDK (top left) → Show Control Panel → (Log in with your VRChat account)
- Set the Build Type to "Build & Publish Your Avatar Online"
- Set the Build Platform to "Windows"
- If prompted, press "Confirm" to switch the built target
- Press "Auto Fix" on any alerts that give the option (see entire list of alerts)
- Set the avatar name and image. Optionally fill in more metadata
- If prompted, press "Save Changes" at the top
- Press "Build & Publish" → Ok
- If prompted, save the Unity scene in the Assets folder, but saving is not mandatory for the uploading to work
- Your avatar is now uploaded to VRChat and can be found in the Avatars → Uploaded tab
Mobile
Importing the project files to Unity
- Continue from the PC Unity project and go to the Assets → Avatar folder
- Create a new folder: "Mobile" in the Avatar folder and open it
- Locate the folder on your PC where you saved all assets from the Blender Mobile process and import the files into Unity
- Inspect the image files ending with "_E" to see if they have any content or are just fully black. These are the emission textures, and if there is nothing but black present, they can be deleted
- Select the .fbx file and all the image files and drag them into the Mobile folder in Unity
Configuring the avatar rig
- Follow the PC setup steps
Adding the avatar to the scene and configuring basic features
- Follow the PC setup steps
- Hide the PC avatar in the Hierarchy with the eye icon on the left of it
Configuring textures and materials
- Optimize texture properties
- Select all textures and adjust the following settings on all:
- Alpha Source: None
- Advanced (Dropdown) → Mip Streaming: On, Mipmap Filtering: Kaiser
- Filter Mode: Trilinear
- Resize Algorithm: Bilinear
- Compression: Low Quality
- Use Crunch Compression: On
- Press "Apply"
- Select only the ORM texture and change sRGB (Color Texture): Off → Apply
- Select only the Normal Map texture and change Texture Type: Normal Map → Apply
- Select all textures and adjust the following settings on all:
- Select the avatar → Materials (top right) → Extract Materials... → extract in the same folder
- Select the extracted material and set up the material properties
- Shader: VRChat → Mobile → Toon Standard
- Main Texture (Color): ECECEC
- Use Normal Map: On
- Shading: Realistic
- Occlusion: On
- Occlusion Map (dropdown) → Color Channel: Red
- Specular: On
- Metallic Map (dropdown) → Set scalar to 1, Color Channel: Blue
- Gloss Map (dropdown) → Set scalar to 0.65, Color Channel: Red
- Apply texture files to the material
- Select the material and drag the texture files on to specific sections of the material properties:
- Main Texture: _C.png
- Normal Map: _N.png
- Emission Map (if present): _E.png
- Color: FFFFFF (Full white)
- Occlusion Map: _ORM.png
- Metallic Map: _ORM.png
- Gloss Map: _ORM.png
- Select the material and drag the texture files on to specific sections of the material properties:
Connecting the Mobile avatar variant to the uploaded PC avatar
- Find and copy the PC avatar Blueprint ID
- Select the PC avatar from the Hierarchy
- In the Inspector, under the VRC Avatar Descriptor, find the Blueprint ID on the bottom right and copy it
- This Blueprint ID is generated when that avatar is uploaded to VRChat
- Attach the Blueprint ID to the Mobile avatar
- Go to the VRC Avatar Descriptor of the Mobile avatar, paste the ID in the Blueprint ID field and press "Attach (Optional)"
Uploading the avatar to VRChat
- Open the Build Panel and ensure the build platform is correct
- VRChat SDK (top left) → Show Control Panel → (Log in with your VRChat account)
- Select the Mobile avatar variant from the "Selected Avatar" dropdown
- Set the Build Type to "Build & Publish Your Avatar Online"
- Set the Build Platform to "Android", optionally iOS as well
- If prompted, press "Confirm" to switch the built target
- Press "Auto Fix" on any alerts that give the option (see entire list of alerts)
- Don't worry about a "Build download size too large for this platform" alert, that can sometimes show if the Build Panel doesn't update the data from the Mobile variant; just continue
- Set the avatar name and image. Optionally fill in more metadata
- If prompted, press "Save Changes" at the top
- Press "Build & Publish" → Ok
- The platform target will automatically change and start running multiple processes if it didn't do so before. Let the process complete, including the sign-in window being present for a while—you don't need to sign-in again, just wait
- If an error shows when building the avatar, first try building it one more time, and if it happens again, then see what the error may be about
- Your avatar is now uploaded to VRChat and can be found in the Avatars → Uploaded tab
Optional texture optimization
If your PC or mobile avatar goes under the "Good" performance ranking, it most likely is due to the texture memory size being too high. You can reduce the texture memory size by selecting the textures you want to reduce size on and changing the "Max Size" property to be lower than what it currently is. It's recommended to first reduce the size of the Helmet textures as quality loss there is less noticeable compared to the other areas.
VRChat Performance Ranks reference (see Texture Memory size):
Exporting a Unity avatar package
- Detach the Blueprint ID from the PC and Mobile avatars
- Select the avatar from the Hierarchy → VRC Avatar Descriptor → Detach (Optional) on the Blueprint ID
- Detach on both PC and Mobile avatars, if present
- Select the avatar from the Hierarchy → VRC Avatar Descriptor → Detach (Optional) on the Blueprint ID
- Go to the Assets folder and drag the PC (and Mobile) avatars from the Hierarchy to the Assets folder to make them into Prefabs
- Optionally rename them
- Right Click on the avatar package you want to export in the Assets folder and select "Export Package"
- Ensure "Include dependencies" is enabled
- Press "Export..." and save the .unitypackage with a name to a location
Importing a Unity avatar package
PC
Importing the project files to Unity
- First-time setup:
- Install the VRChat Creator Companion
- Watch the tutorial video
- Unity will be installed with the installation process of VCC
- Install the VRChat Creator Companion
- In VCC, create a new Unity 2022 Avatar Project
- If updates to the "VRChat Package Resolver Tool", "VRChat SDK - Base" or "VRChat SDK - Avatars" packages are present, apply them
- Open the project
- Drag the .unitypackage of the avatar into the Assets folder (bottom middle) in the Unity project and press "Import"
- Drag the avatar Prefab into the Hierarchy (top left)
Uploading a PC avatar to VRChat
- Open the Build Panel and ensure the build platform is correct
- VRChat SDK (top left) → Show Control Panel → Log in with your VRChat account
- Set the Build Type to "Build & Publish Your Avatar Online"
- Set the Build Platform to "Windows"
- If prompted, press "Confirm" to switch the built target
- Press "Auto Fix" on any alerts that give the option (see entire list of alerts)
- Set the avatar name and image. Optionally fill in more metadata
- If prompted, press "Save Changes" at the top
- Press "Build & Publish" → Ok
- Unity will prompt saving the scene, but you can press "Cancel" if you don't want to save the project
- Your avatar is now uploaded to VRChat and can be found in the Avatars → Uploaded tab
Mobile
Importing the project files to Unity
- Drag the .unitypackage of the avatar into the Assets folder (bottom middle) in the Unity project and press "Import"
- Drag the avatar Prefab into the Hierarchy (top left)
Connecting the Mobile avatar variant to the uploaded PC avatar
- Find and copy the PC avatar Blueprint ID
- Select the PC avatar from the Hierarchy
- In the Inspector, under the VRC Avatar Descriptor, find the Blueprint ID on the bottom right and copy it
- This Blueprint ID is generated when that avatar is uploaded to VRChat
- Attach the Blueprint ID to the Mobile avatar
- Go to the VRC Avatar Descriptor of the Mobile avatar, paste the ID in the Blueprint ID field and press "Attach (Optional)"
- Unity will prompt saving the scene, but you can press "Cancel" if you don't want to save the project
- Go to the VRC Avatar Descriptor of the Mobile avatar, paste the ID in the Blueprint ID field and press "Attach (Optional)"
Uploading a Mobile avatar to VRChat
- Open the Build Panel and ensure the build platform is correct
- VRChat SDK (top left) → Show Control Panel → (Log in with your VRChat account)
- Select the Mobile avatar variant from the "Selected Avatar" dropdown
- Set the Build Type to "Build & Publish Your Avatar Online"
- Set the Build Platform to "Android", optionally iOS as well
- If prompted, press "Confirm" to switch the built target
- Press "Auto Fix" on any alerts that give the option (see entire list of alerts)
- Don't worry about a "Build download size too large for this platform" alert, that can sometimes show if the Build Panel doesn't update the data from the Mobile variant; just continue
- Set the avatar name and image. Optionally fill in more metadata
- If prompted, press "Save Changes" at the top
- Press "Build & Publish" → Ok
- Unity will prompt saving the scene, but you can press "Cancel" if you don't want to save the project
- If it didn't already happen before, the platform target will automatically change and start running multiple processes. Let the process complete, including the sign-in window being present for a while—you don't need to sign-in again, just wait
- If an error shows when building the avatar, first try building it one more time, and if it happens again, then see what the error may be about
- Your avatar is now uploaded to VRChat and can be found in the Avatars → Uploaded tab