My Map Trailer Process
How I create cinematic trailers for game levels.
 Written by Okom on Jan 11, 2026 in Video. Last edited: Mar 14, 2026.
Process summary
- Pick and create the background music. Emphasize on matching a feeling you want to evoke in the audience with the music.
- Split the music into 3–4 sections and listen to them on loop in the background as you record freecam, HUD-less, 80–90 FOV footage of gameplay from real matches on the desired map.
- Skim through the recordings with MPV and clip the shots using FFMPEG for a fast workflow.
- Import the music and clips into a video editor and combine the shots together, matching the shot changes with the beat or measures of the music.
- Create a fitting thumbnail for the trailer that retains the same vibe as the trailer.
Map trailers for me are the culmination of a map project I've been a part of. They are a way to showcase the map to a new audience with the intent of getting the viewers excited to try it out. For me this means crafting a viewing experience that represents a unique feeling the map is aiming to give to the players.
The music
All my trailers start with picking and creating the music. It's integral to the experience and sets the foundation for the pacing of the video and the feeling I'm looking to get across with the trailer. You can download high quality songs from Lucida.
Finding the right feeling
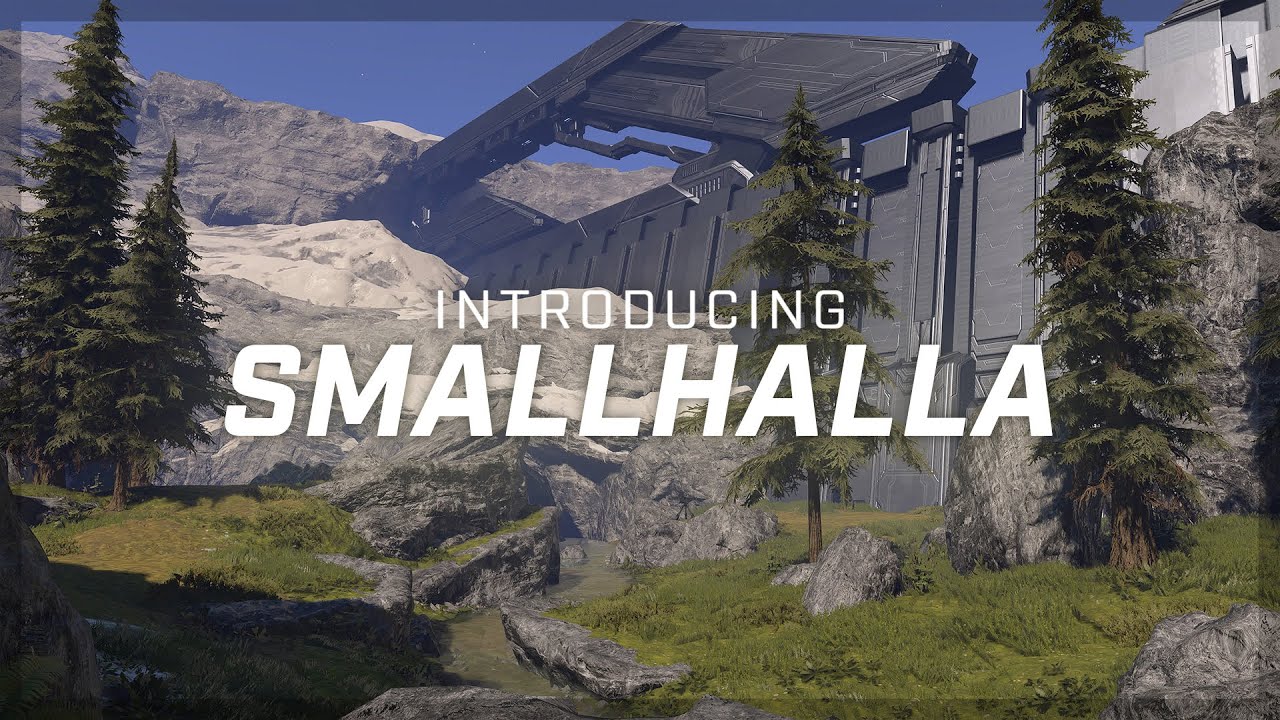
I start by thinking about roughly what feeling that I want to evoke with the trailer. Most of the time with my Halo map trailers it's epic Halo music, but for some trailers the music choice is a more creative decision that matches the vibe I'm going for. Trailers such as Just Keep Driving on Sandtrap, Smallhalla Infection Release Trailer, and de_dust2 Release Trailer all use non-Halo music that better fits the vibe of the trailer.
These two trailer songs have a vastly different pace and evoke different feelings in the listener:
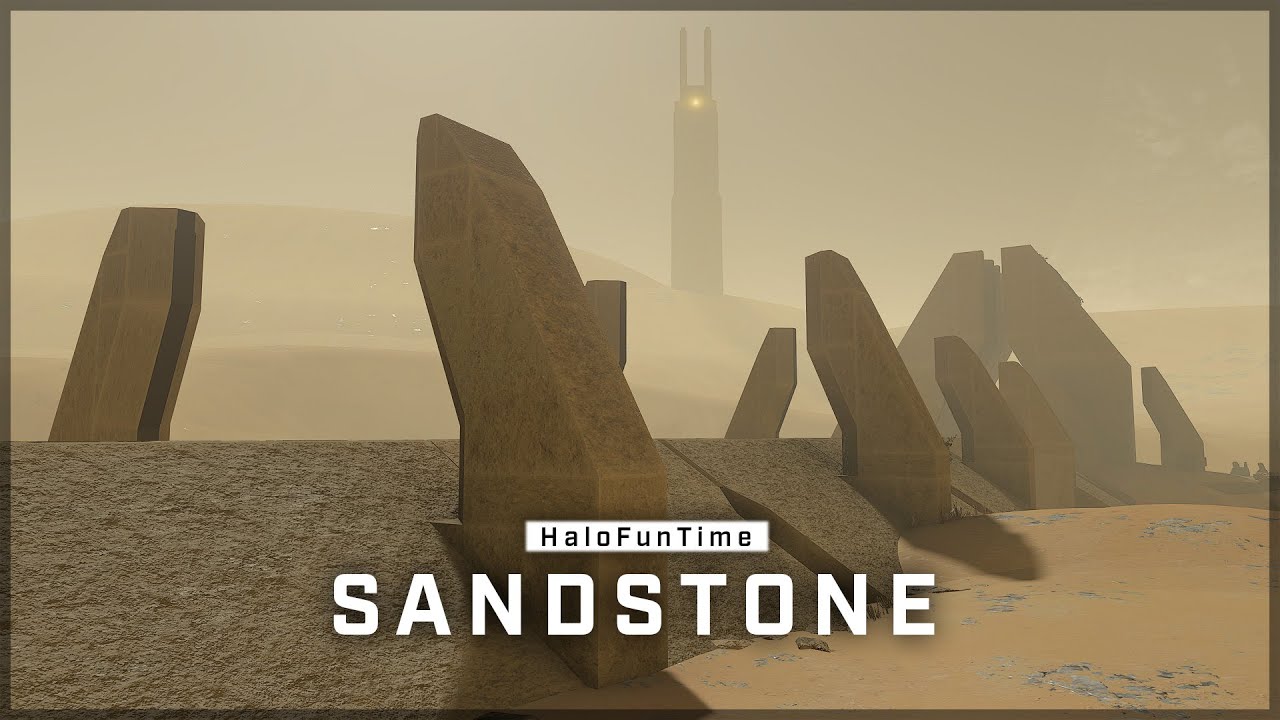
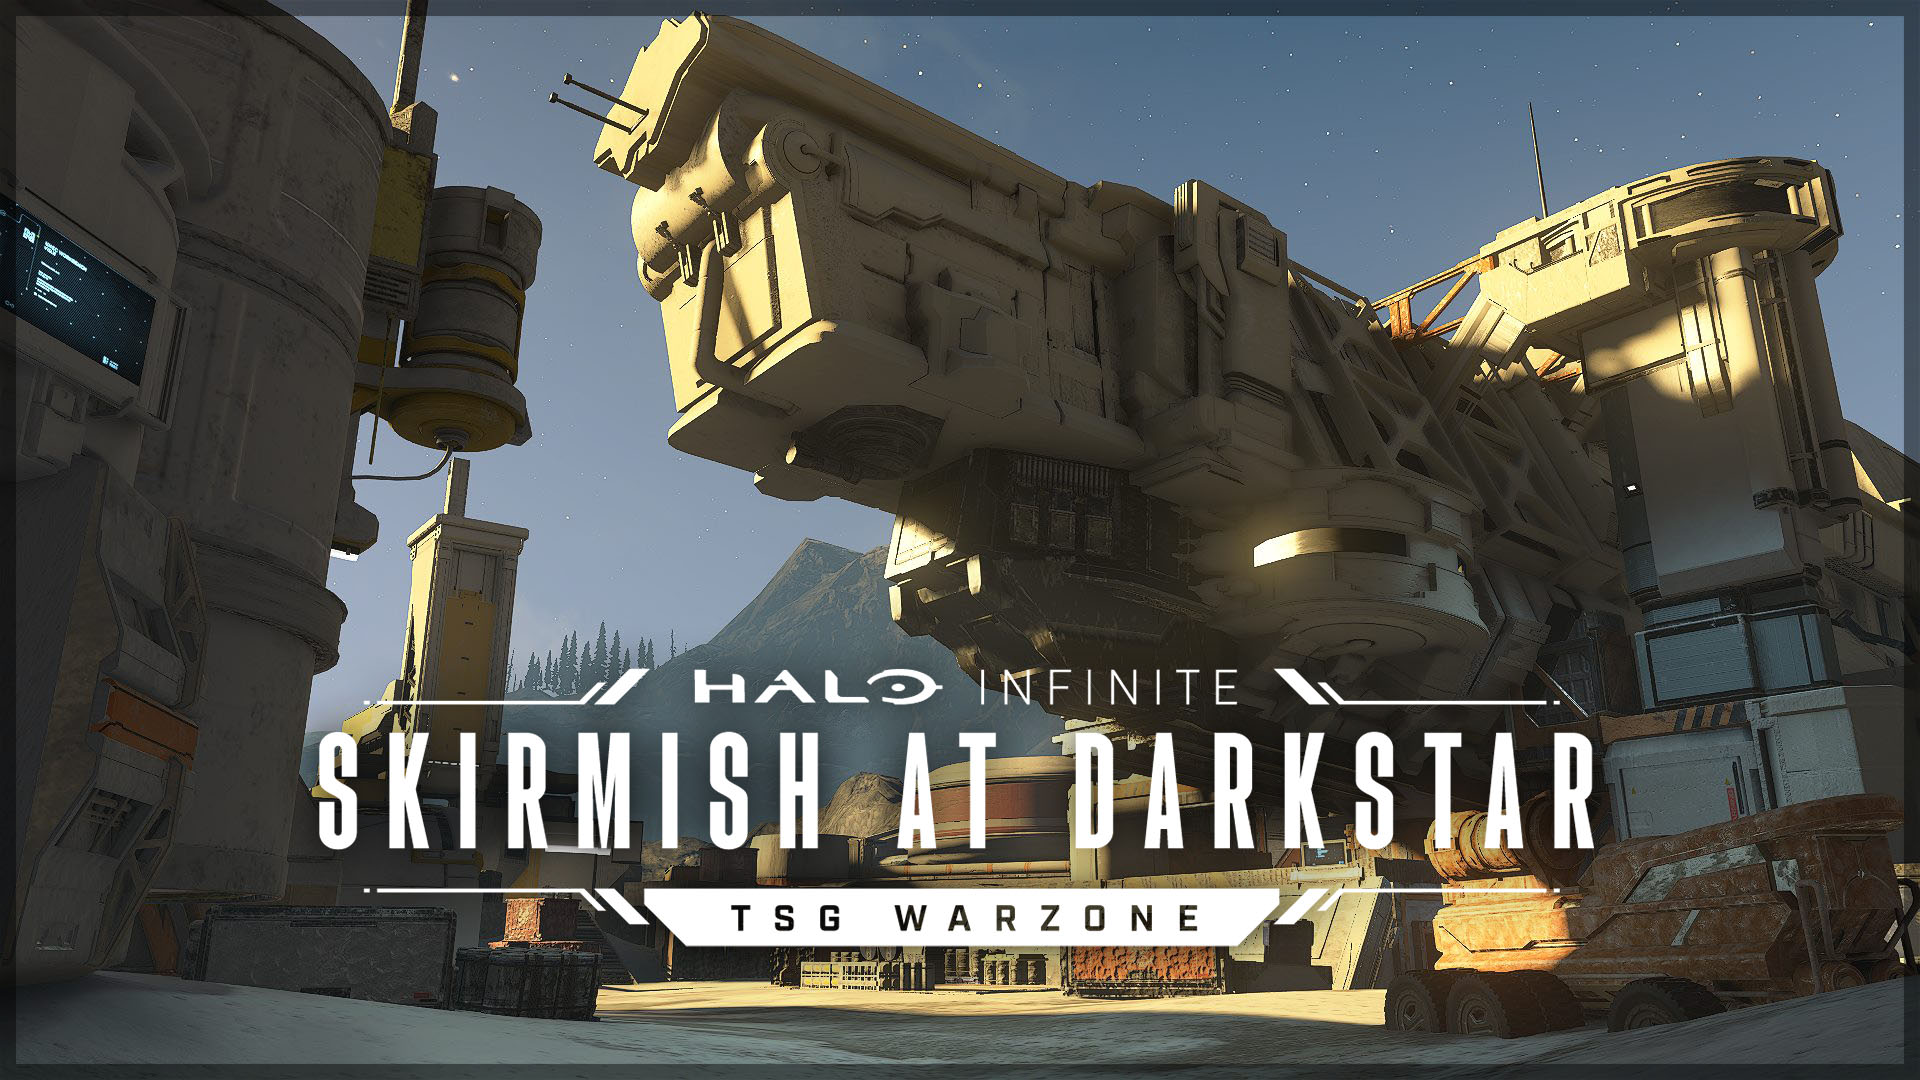
After roughly outlining the feeling I want to evoke, I filter the selection of songs by ones that relate to the map theme. Often with Halo maps it's a song from the soundtrack of the game the map is themed after such as the Halo 5 Soundtrack for the Skirmish at Darkstar Release Trailer and the Halo 3 Soundtrack for the Sandstone Release Trailer. I listen through the entire soundtrack and note down the songs that match the vibe I'm going for. I keep my eyes closed and just focus on the feelings that the music is giving me, and whether they align with the experience I want the trailer to ultimately give.
Combining songs
Full-length songs are usually too long for a map trailer of any kind, so I must often splice songs together in order to fit the roughly 2-minute timeframe for a map trailer. I either skip portions of the same song in order to get to the intense parts faster, or more commonly combine parts of multiple songs together with some clever fading.
Examples of combining songs:
- 0:00–0:44: (When) Your Middle Name Is Danger
- 0:44–1:53: Reparation
- 0:32–0:47: Rock Anthem for Saving the World
- 0:47–1:25: Rock Anthem for Saving the World (skip forward)
- 1:25–1:52: Finale
Surprisingly enough I don't pay attention to how long the song ends up becoming, but more often than not they seem to end right around the 2-minute mark.
Creating looped sections
After I've finished the entire background music track, I split it up into 3–4 sections that I will later play on loop as I'm recording the cinematic shots. Having the music play on loop as I'm recording helps me get in the right mood and subconsciously makes me fit the recording style and pacing to match the music.
Here's a breakdown of the split audio sections for the Skirmish at Darkstar Release Trailer:
I use this short FFMPEG command to create these music sections, then set my video player to infinitely loop it once I play the file:
ffmpeg -ss 45.3 -to 1:31.4 -i music.m4a -b:a 210k credits.m4a
Recording footage
After spending time immersing myself with the music the trailer is going to use, I'm ready to record the footage for the trailer. I use gameplay shots from real matches since it's authentic and takes less time than setting up fake scenarios. You can find great gameplay footage as long as you've played enough matches on the maps with game modes that naturally produce cool footage, such as modes that give players various different sandbox items to play with.
Long recordings
I begin a recording using OBS Studio and I only stop it once I'm done with a set of recordings. It's later easier to go and clip parts of it while working with a single file, which will become apparent later. I start the looping music in the background that I created previously and load into a freecam replay ("Theater" in Halo) of a match that I want to record footage on and start looking for cool moments.
Smooth movement
Smooth movement using a controller is mandatory for achieving professional shots. Even a minor mistake in the movement path of a panning shot will be noticeable, so I focus closely on each shot I take so I don't make an accidental mistake in the movement.
It can be difficult to achieve these prolonged smooth movements for 10–20 seconds at a time and I often find myself holding my breath for the duration as I don't want to mess it up during the panning. I prolong the smooth movement of the shot to more than what I think I'll use as I oftentimes run into scenarios where the slightly longer clip fits better with the music pacing, and at that point it's already too late to retake the shot if it was too short.
Getting the right take
I keep re-taking the same shot until I intuitively feel that the latest shot was the best. I then move on to the next shot. This workflow speeds up the clipping process later as I can quickly skim the long recording containing all shots and just clip the last take of each since I know it's the best take.
Room for unique shots
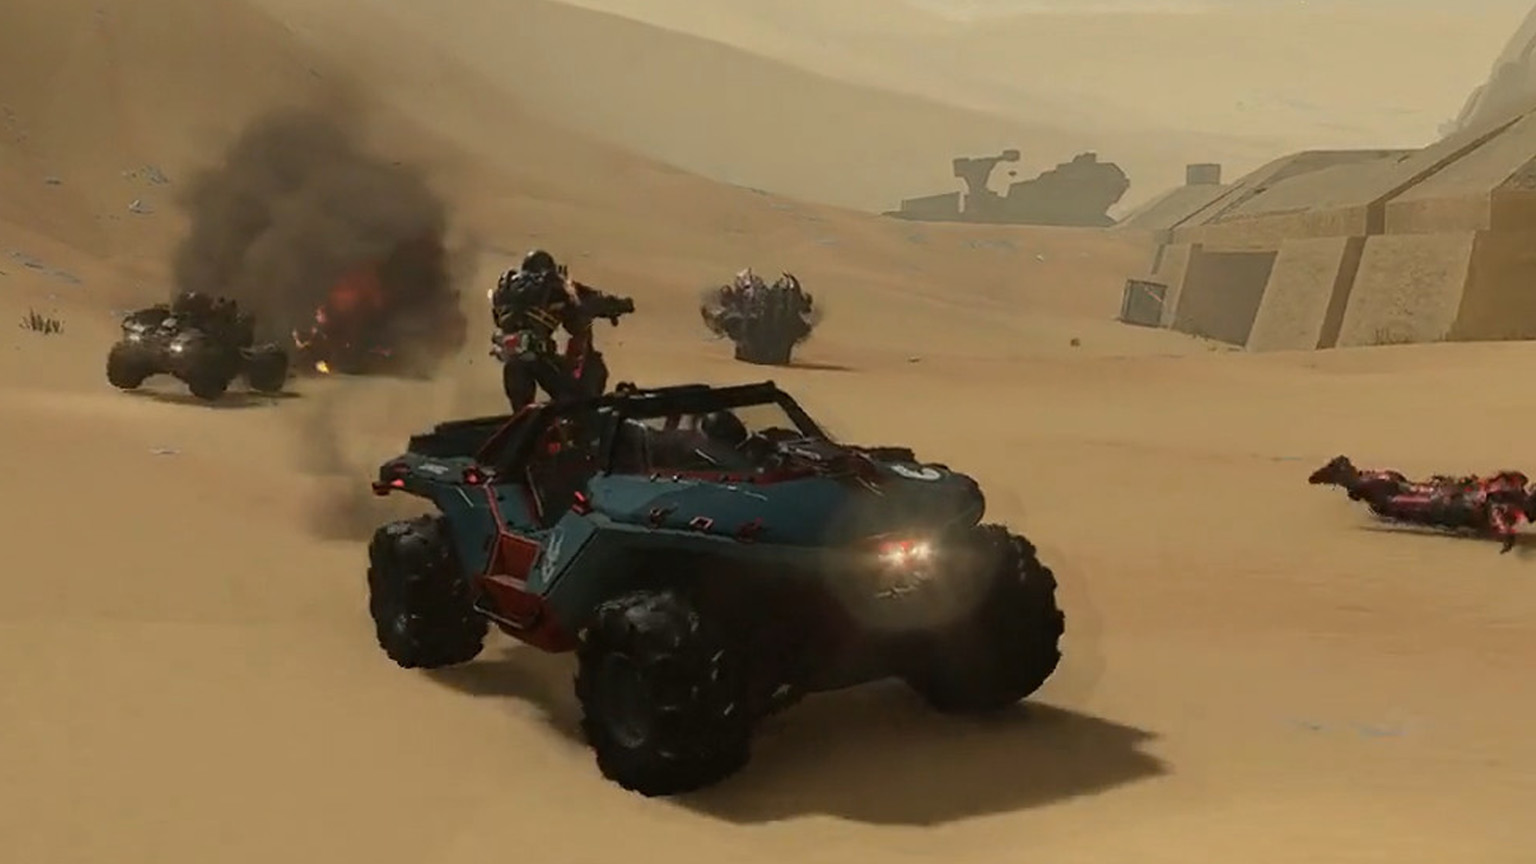
Not all of the shots have to be smooth-panning cinematic shots if the style of the trailer suits various shot types. I used a third-person gameplay shot in the TSG Warzone Teaser Trailer as I wanted to show off some real gameplay, and the entirety of my Just Keep Driving on Sandtrap trailer was recorded in a 4:3 aspect ratio while mimicking the janky and static movement of old Halo 3 theater compilations; I intentionally didn't record conventional cinematic shots.
If the theme allows for it, you can get really creative and even include something completely out of the ordinary like what I did for the Blood Triangulch Release Trailer by recreating the iconic "You ever wonder why we're here?" scene from Red vs. Blue. The release of the Mark V CE armor in Halo Infinite lined up perfectly at the time when I was making the trailer for the map, so I recruited two forgers to help me recreate the scene and later included it in the trailer as an opening.
Clipping and editing
Once all the footage is recorded, I go through all the recordings and clip the best take of each shot I took. I open each long recording in MPV, find the timestamps for the clips and clip each shot using an FFMPEG command:
ffmpeg -ss 15:59 -to 16:08 -i recording.mkv -map 0:v -map 0:3 -crf 19 gameplay1.mp4
- -ss 15:59: start the video at 15 minutes 59 seconds from the input file
- -to 16:08: end the video at 16 minutes 8 seconds
- -i recording.mkv: input file
- -map: choose stream from the input file
- 0:v: from the first input file (0) choose the video stream (v)
- 0:3: from the first input file (0) choose the third stream (3), in my case the game audio stream
- -crf 19: a constant rate factor to maintain the quality of the video; default is 23, higher means lower quality
- gameplay1.mp4: output file
This workflow is fast cause the video player loads the 5–10 GB video files instantly and allows for fast seeking of the video. Then the single FFMPEG command per clip only takes your CPU power for a short period of time, and now you've got a clip of the shot size 5–30 MB, which are fast to import into a video editor in the next step.
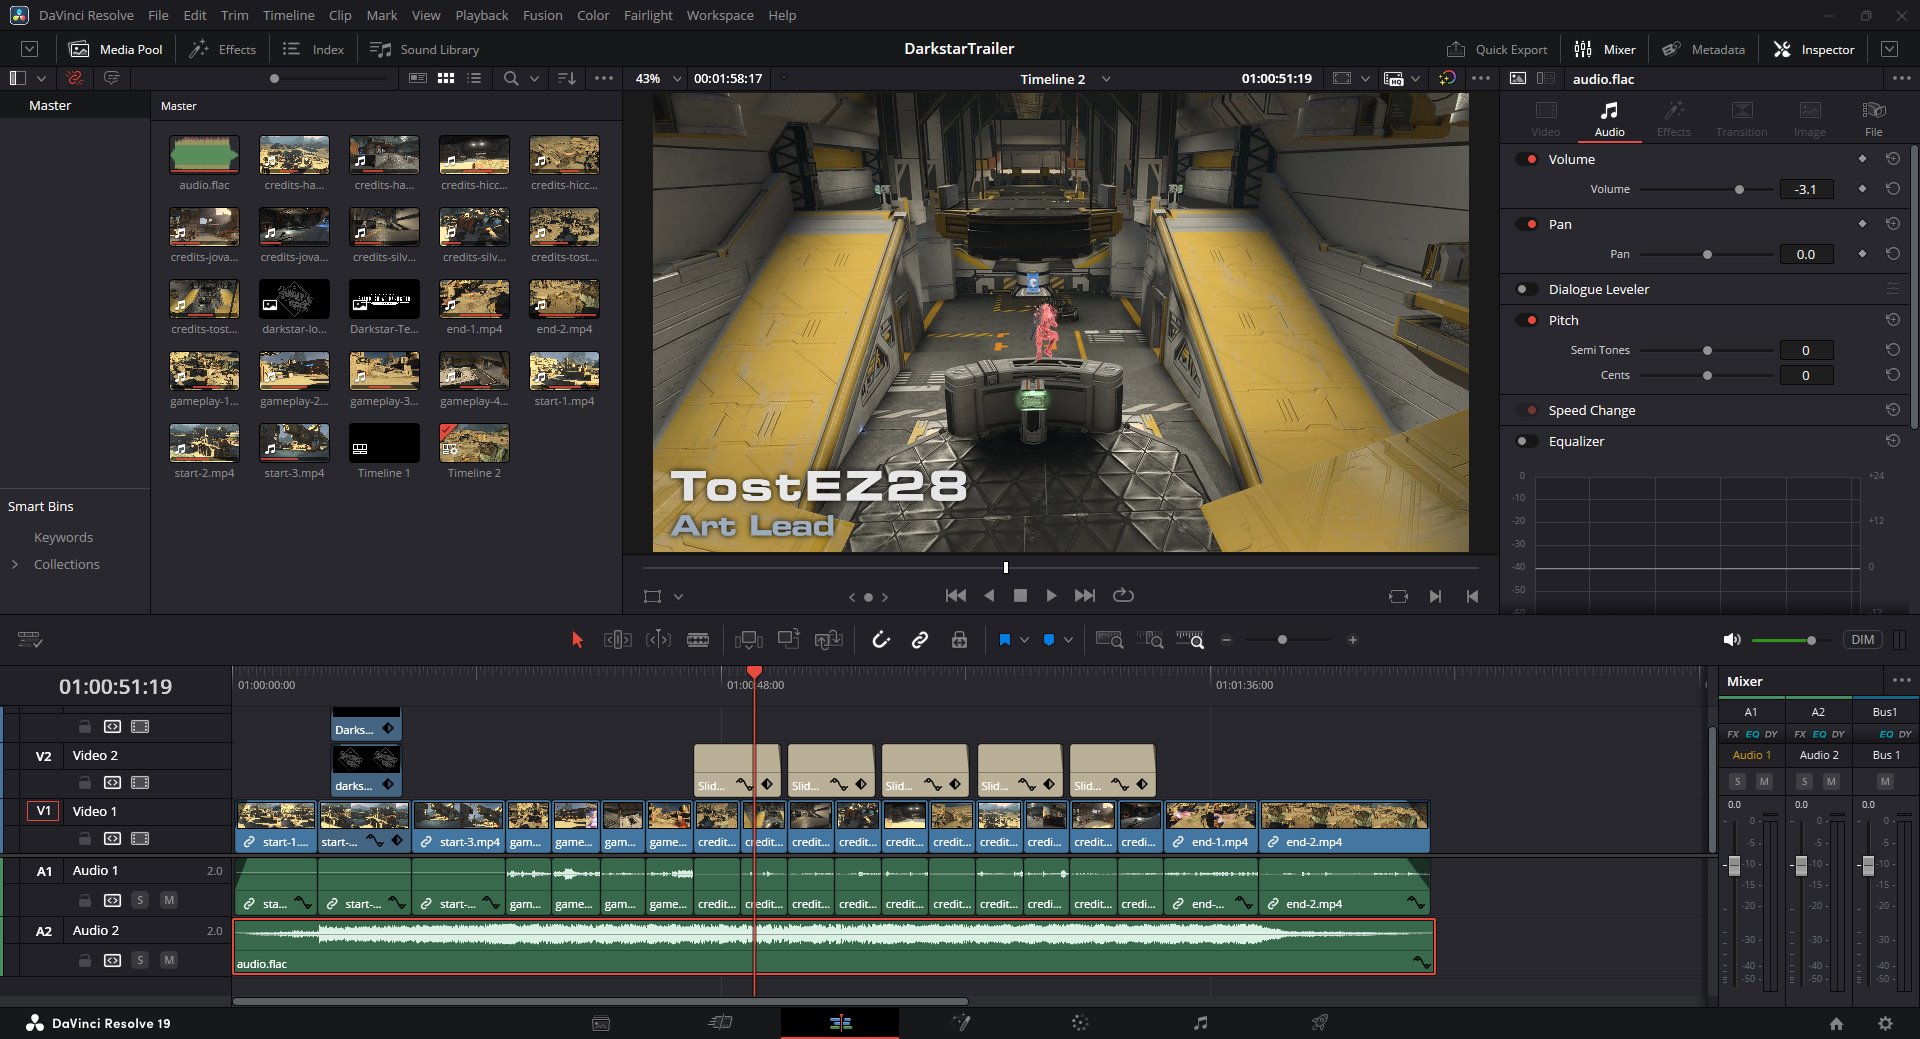
Editing
After clipping all the shots from the long recordings, I drag them in the video editor and just put them in the order that I've nearly already decided on when taking the shots as everything is still decided by the background music. Sometimes clips will get rearranged and if I didn't plan for an exact number of shots, some clips will not be featured, in which case I'll just use the best fit based on if the length and visual content of the clip match the music for that part.
An important aspect at this stage that keeps the video feeling professional and respects the music is matching the scene transitions with the beat of the music. Listen for changes in measures for determining where to place a scene transition.
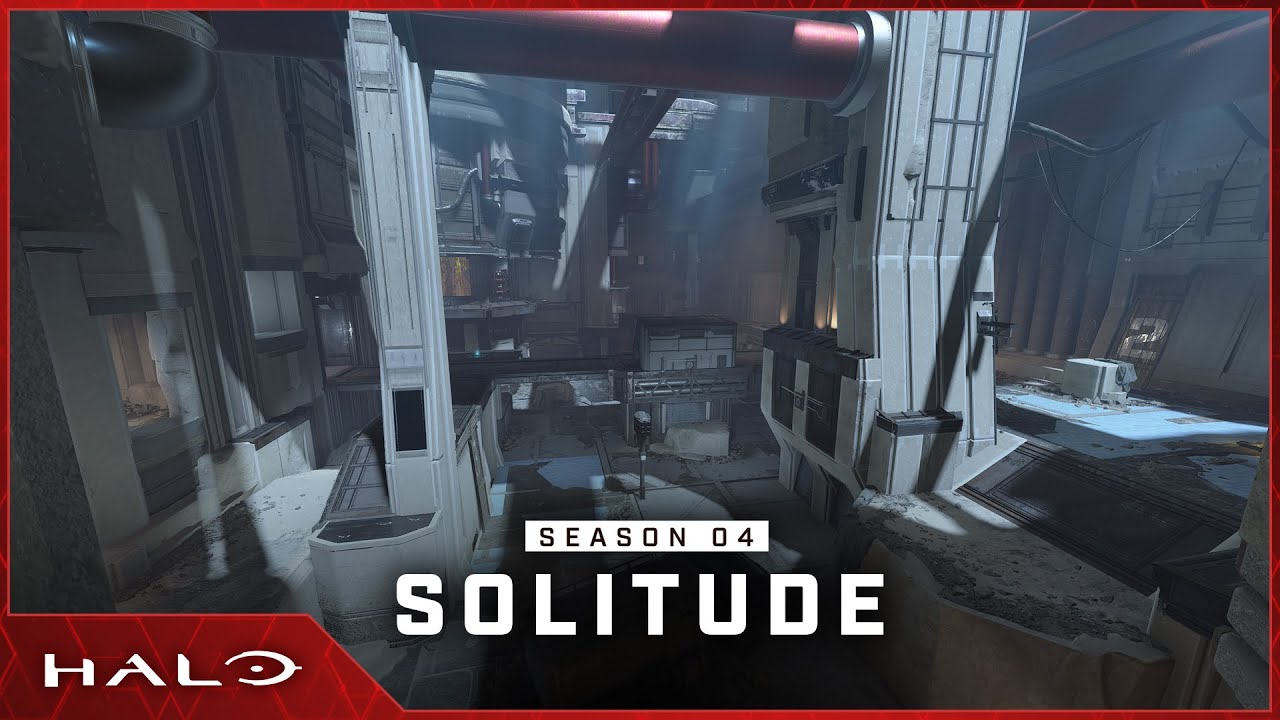
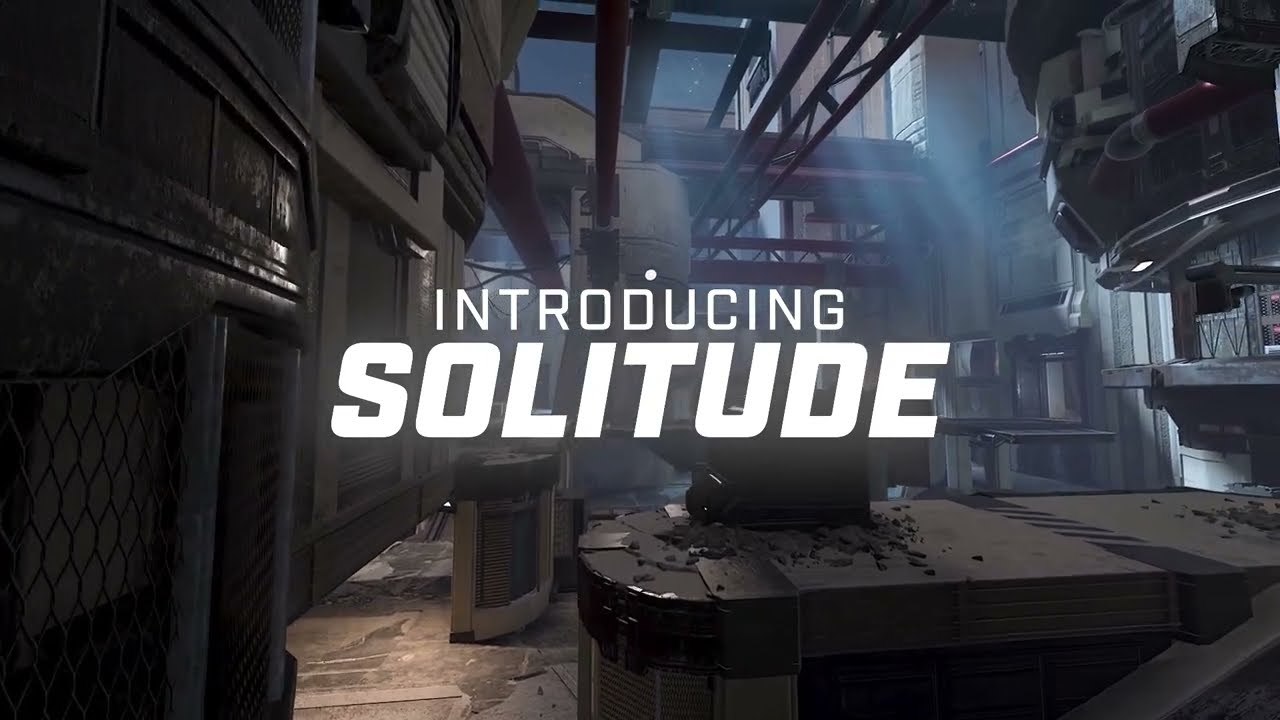
Thumbnail
Then the last part is crafting an eye-catching thumbnail that also fits the theme of the trailer. For my Halo Infinite map trailers, I've copied the thumbnail design from two official videos showcasing the map Solitude, as I saw those designs as being quite modular, and something 343 Industries made, so I knew they were within the Style guidelines of Halo Infinite content.
Closing
With these methods I've been able to create 13 cinematic map trailers as of writing this, and have seen people appreciate the quality and even be fooled by it, thinking them to be official Halo trailers. A map trailer is a showcase of the map to players who aren't aware of the of the map yet, so being able to convey the desired feelings in the viewer with the trailer is key to making them excited to try it out, or at the least leave a good impression of the map, even if they don't decide to play it.
For me this process of creating a map trailer takes between 6—10 hours, but to me it's worth the effort as I don't want people to undermine the effort that went into creating the map due to watching a sloppy trailer, as the time to make a map can sometimes be 100x that of what would go into making the trailer.